How to Clean a Conventional Microwave Oven
Introduction
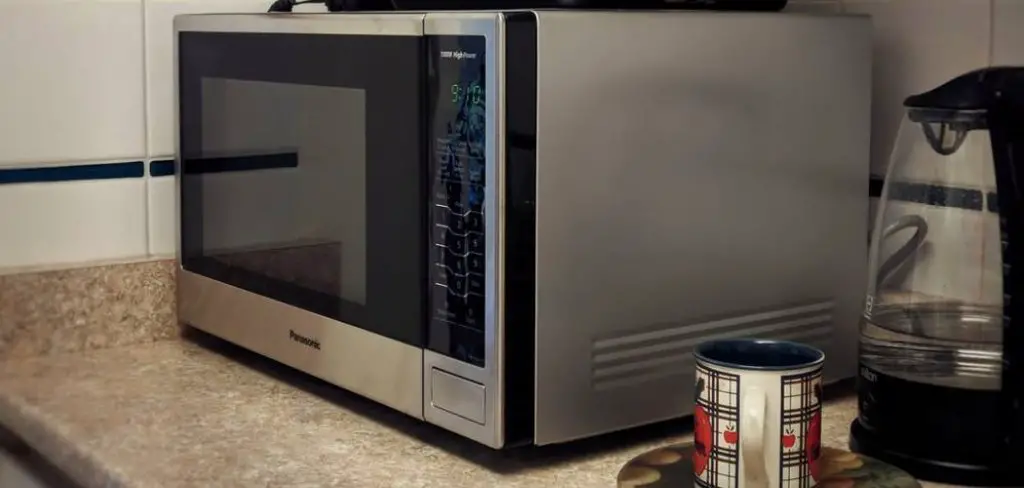
A conventional microwave oven is a standard unit that heats food with microwaves. The magnetron generates microwaves, which are bounced around by the internal metal walls of the cooking chamber. This causes the polarized molecules in the food to rotate, creating friction and thus heat. Conventional microwaves have few moving parts, so they are more reliable than convection or grill-style units. In this article, I will discuss how to clean a conventional microwave oven. So let us get started.
A Detailed Stepwise Guide on How to Clean a Conventional Microwave Oven
Step 1: Unplug the Conventional Microwave Oven
Unplug your conventional microwave oven before cleaning it. If there is an alternative power source for the heating mechanism that cannot be unplugged, switch off the device itself so that it will not accidentally come on while you are working on it.
Step 2: Gather Supplies and Remove Any Removable Parts
You will need a clean washcloth, a clean spray bottle with water, baking soda, and vinegar. You can also use lemon juice and salt if you don’t have any vinegar in the house. Also, get a microwave-safe bowl or measuring cup for mixing your cleaning solution and paper towels to wipe up spills and splashes while working on this project. You should also find a vacuum brush or other tool for removing crumbs from the bottom of the unit. Finally, make sure that nothing flammable is within arm’s length of where you are working, such as curtains, paper towels, etc.
When it comes to removable parts like glass turntables, ensure they are safely secured inside properly operating appliances before going any further. To prevent burns and other injuries, it’s best to leave the oven door closed and place your bowl of solution and rags somewhere out of your arm’s reach until you are done with that part of the process.
Step 3: Clean around Door Gaskets and Seals
Take a clean cloth moistened with warm water and wipe the rubber gasket, which seals around the door. Do not use harsh chemicals or abrasives on this delicate seal, as they will easily damage an otherwise sturdy design. Instead, wipe the edges away from the center to avoid pushing food particles into gaps. They can be harder to remove later without resorting to more robust methods like solvents, wire brushes, or scrapers. If soap is required for this job, choose a gentle dishwashing variety free of dyes, perfumes, or other additives that will leave a residue or stick to surfaces. Rinse the cloth in clear water and wipe again to remove any soap residue before allowing it to dry.

Step 4: Clean Interior Walls and Lamps
Wipe down interior walls with a clean wet cloth followed by a dry one. Use caution when wiping near switches or buttons so as not to damage them or get your body parts caught in moving parts when you least expect it! If mild soap is required for this job, avoid using anything more potent than dish soap since it will affect the heating unit, usually made from metal alloys like aluminum.
Some ovens feature lamps that stay illuminated while the oven is in use. In this case, clean lamps with a damp cloth, taking care not to touch electrical components or get your body parts pinched when doors are opened and closed. Once again, dry well before using the appliance again to avoid creating fire hazards by leaving moisture inside conducting components after cleaning has taken place.
Step 5: Clean Interior Crumbs and Odors
Open interior doors and remove all removable trays, grilles, racks, etc. Use a vacuum brush to remove loose food particles from these surfaces treating stubborn spots with baking soda mixed into a paste made of warm water. You can also mix some vinegar into the water instead if you want since it’s good for removing odors left behind by microwaved meals.
Use a damp cloth to wipe out the metal walls of the oven after grinding away the paste residue with baking soda or vinegar. Be sure to remove any excess moisture before inserting these items back into place since metal conducts electricity and will give you quite a surprise if you try using it while wet!
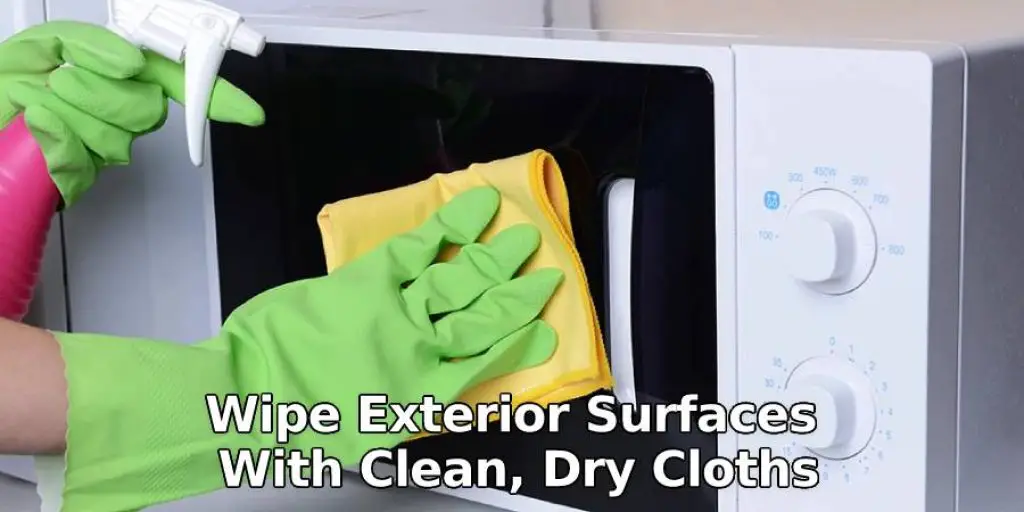
Step 6: Clean Exterior
Wipe exterior surfaces with clean, dry cloths until they are completely free of dust, crumbs, or other debris. This is especially important for areas like handles where finger oils may contain acids that can erode surface materials over time, making them more vulnerable to damage from heat, water, and air, which can rust metals like aluminum and lead to plastic parts breaking down faster than their shelf life would indicate.
Step 7: Replace Interior Parts in Reverse Order
Once you have finished cleaning all removable parts, run a glass or bowl of white vinegar through the microwave on high for several minutes to remove odors from inside. Even if your model features a turntable, it’s best if liquids are not heated in this appliance since a powerful magnet built into the unit often causes materials containing iron or other magnetic compounds to stick to walls and other surfaces as they rotate over time.
If any food has been left behind in the oven, use a few drops of dish soap mixed with water applied sparingly onto stubborn areas using an old toothbrush. Do not use abrasives like steel wool since they can damage sensitive conductive surfaces designed for heating rather than cleaning! Once you have removed all food particles, rinse thoroughly with clean hot water before allowing the unit to dry completely before replacing any removable parts.
Step 8: Test for Proper Operation
Replace the oven lamp and turn on the power supply if applicable. Place a fresh garbage bag into a metal frame at the back of the appliance and close the door. Turn the dial to the desired setting. Suppose you hear clicking sounds, but the microwave fails to start. In that case, this may be due to some loose wires behind the control panel, or one of its components has failed to require professional assistance from an authorized service agent using factory-approved spare parts only.
You Can Check It Out to Self Clean Hotpoint Oven
Precautions While Cleaning a Conventional Microwave Oven
Always remove metal parts from the oven before cleaning. Never use a conventional microwave oven for heating food or beverages – always follow the manufacturer’s instructions on using your appliance safely and effectively. In particular, never heat an empty oven as this can be very dangerous.
It is also important that you allow enough time for the microwave to cool down after being used before you attempt to clean it. If the inside of your microwave still looks greasy after using a damp cloth, wipe over with a damp kitchen roll on a piece of kitchen towel instead, but remember to wipe dry thoroughly afterward. You should also unplug the microwave before cleaning it.
Which Washing Soap is Suitable for Cleaning a Conventional Microwave Oven?
You should not use the following types of soaps while cleaning a conventional microwave oven. These can cause damages to your appliances or other metallic parts because they have ingredients that could corrode metal. Harsh chemicals should also be avoided when you want to clean your microwave oven. Harsh chemicals will create damage after some time, especially when it comes in contact with food items.
Basic dishwashing liquids contain a pH level of around 9-10, which is acidic enough. However, it can still cause damage to certain metals like aluminum and stainless steel over time because these materials are very sensitive to acids (any kind). If you want to use washing soap for your appliance, make sure this does not contain any corrosive ingredient. Dishwasher liquid soap is a good alternative because it is not acidic and can be used on any type of metal.
Frequently Asked Questions
Can You Use Oven Cleaner on a Conventional Oven?
It is not recommended to use oven cleaner on a conventional oven because it can damage the ceramic tiles, glass surfaces, and other parts of the oven. However, if you want to clean out your conventional oven with a chemical cleaner, then yes. You can use dish soap or vinegar for cleaning.
How Often Should You Clean a Convection Oven?
Cleaning a convection oven is essential to maintaining its efficiency. It would be best if you cleaned your oven once every week or so, depending on how often you use it.
First, remove any racks that are in the oven. After that, you can use a damp cloth to wipe down the entire surface of the oven. If there are sticky spots leftover from cooking food, make sure to scrape them off with a metal spatula before moving on to the next step.
Next, open up all of the vents in your oven and place baking soda inside each one before closing them back up again. This will eliminate odors from being trapped inside of your oven and will help maintain its freshness for longer periods.
Will Baking Soda Harm a Conventional Oven?
It is not recommended to use baking soda in a conventional oven because it can cause damage to the heating element.
Baking soda has been known to corrode metal surfaces and cause short electrical circuits, leading to fires or equipment failure.
In addition, there is no way of telling how much baking soda was used, and if too much was used, the oven may need repairs that would cost more than just replacing the entire appliance.
Can You Use Vinegar and Baking Soda to Clean a Convection Oven?
Yes, vinegar and baking soda can clean a convection oven. This is because vinegar has natural acids that will dissolve the baked-on grease on the walls of your oven while baking soda neutralizes odors.
First, you should turn off your oven then use a cloth or paper towel to cover the bottom of the oven with either vinegar or baking soda. Let it sit for about 10 minutes before wiping away any excess liquid. Rinse with warm water and dry completely.
You Can Check It Out to Clean Electric Oven Grill Element
Conclusion
I hope this article has been beneficial for learning how to clean a conventional microwave oven properly. However, ensure all the precautions while performing the process. Thank you and have a nice day!
Related Article: How to put oven drawer back on track.


