How to Install Wood Stove Pipe Through Cathedral Ceiling
The pipe is attached to the ceiling with a wood spacer, which will act as an anchor. This space can be found between any of the rafters and the masonry wall that surrounds your chimney. The spacer should be no more than 6 inches long, and then you’ll need to drill two holes in it for screws that will hold it in place. Next, the Chimney Pipe will be attached to the spacer with two screws on either side. The other end of the pipe will be slipped into the vent stack, which is also attached to the chimney.
Next, you’ll toss on some insulation- this is imperative because heat rises; if there’s not enough insulation up there, your heat could easily escape out the top! Then attach a metal strap or band clamp to ensure everything stays put while installing new drywall over it or whatever material.
Finally, cover all exposed pipes with flashing tape before applying paint or wallpaper, so moisture doesn’t enter the pipes through the wall. This post is about how to install wood stove pipe through cathedral ceiling. Like for like installation (no bigger and no smaller) You might get away with a single storey but the pipe would have to be horizontal then. I did not want to cut into the siding, so this was my solution.
Materials that You Will Need for This Project:
- Woodstove or fireplace
- Wood stove pipe
- Drill
- Tape measure
- T square or framing square
- Level
- Stud finder
- Angle finder
10 Steps to Follow on How to Install Wood Stove Pipe Through Cathedral Ceiling
Step One: Install Wood Stove
Install the wood stove according to its manufacturer’s specifications. This includes setting it on something that will not catch fire and cannot burn, such as concrete, dirt, or sand. The distance between the stove and combustible items should be one foot.
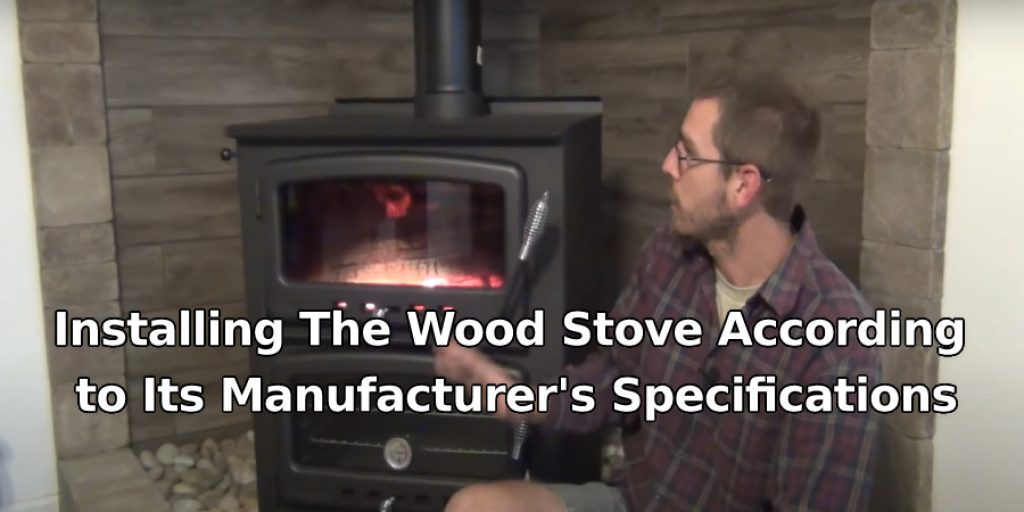
If you are unsure of how close you can place the stove, do research beforehand. In most locations, it is required to have a clearance of at least three inches between the stove and woodwork. In other locations, the clearance could be as much as a foot. If you have woodwork in the room where you want to place your stove, make sure that it is not located too close to the stove. If the woodwork gets too hot, it can easily catch fire.
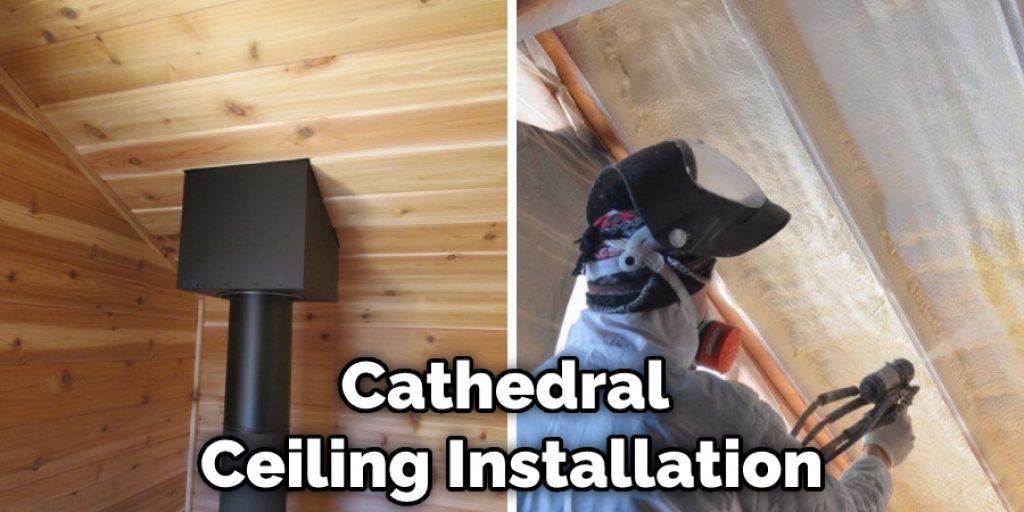
Step Two: Build Cathedral Ceiling
A cathedral ceiling is a type of roof where the sides slope down towards the center, creating a tall, vaulted look. You can build a cathedral ceiling using standard building materials like wood, and then finish it with a paint or stain of your choice. This type of ceiling is great for running flue pipe through, since it doesn’t stick out as much as a traditional roof.
A cathedral ceiling is a type of ceiling that is taller than it is wide. It can be built using either a truss system or a false roof system. A truss system uses a series of standard rafters, which are then seated into the top plate of the exterior wall and then nailed together at the top of the cathedral ceiling. A false roof system is built using common two-by-four studs and a plywood or OSB deck, hidden with insulation and drywall or paneling.
Step Three: Cut a Hole in the Ceiling
Cut a hole in the ceiling with a circular saw, according to the location of the stove pipe run. Make sure the hole is large enough for the overall diameter of the flue piping, which should be just larger than two inches in most cases.
Cut a small hole to ensure the fit and alignment of the stove pipe. Insert a piece of flue piping, align it at one end and make sure that there is no gap or misalignment between the two ends. You can use screws outside the building to secure the fittings in place while you check for such things.
Step Four: Make an Opening in the Flue Pipe
According to measurements taken earlier, make an opening in the side of the flue pipe with a hack saw. Make the opening so that it’s directly centered in the diameter of the pipe. The opening should be roughly 1 inch lower than the height of the hole in your cathedral ceiling so it does not interfere with the ceiling.
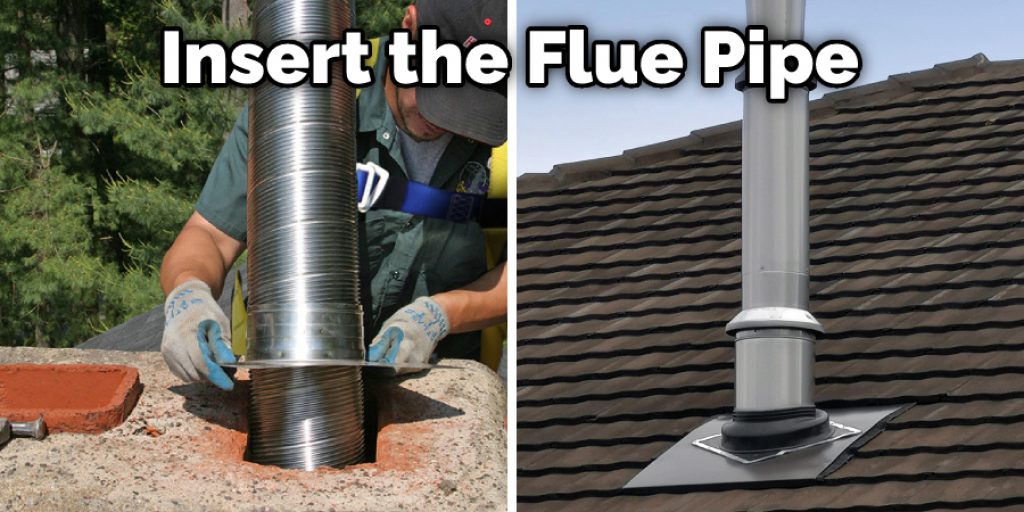
Step Five: Insert Flue Pipe Through Ceiling Holes
Insert the flue pipe through the holes in both your ceiling and pipe. Then, use a hammer to pound it into place, working around the circumference of it until you have hammered much of it into place. If needed, use an L-shaped metal object to help hammer the flue into place.
They should be able to provide detailed specifications for the proper installation of their products. For example, this will help in how to install wood stove pipe through cathedral ceiling.
Step Six: Attach Flue to Exterior Wall
Attach flue piping to the exterior wall of your home using standard metal connectors. Connect the piping to either a cowl top or top plate fitting. The bottom end should be connected directly to the stove pipe outlet on the side of your woodstove, while it should also be connected to an exterior wall vent hood if you have one installed.
If the vertical distance between your wood stove and the outdoor wall is less than three feet, you can use a clamp connector to connect the two. If the distance is greater than three feet, you’ll need to use a through the connector in order for the flue gases to be able to flow upward.
Step Seven: Cover-Up Completed Pipes
Cover the flue pipes with a rug, drapes, or other items to hide them. They should be left open for the time being; they will only be secure when you finish your cathedral ceiling installation. You can also sandwich foam board insulation between the floor joists if you’re worried about drafts, though this is usually unnecessary with cathedral ceilings.
A cathedral ceiling is an architectural feature, typically found in households where wood stoves are used for heating. The home has high ceilings throughout except for one space which is flat against the roof, creating a long slot between the two sections of the room. The area under this roof is often called an attic, though the space is usually used for storage rather than living.
Step Eight: Finish Installing Your Cathedral Ceiling
Finish your cathedral ceiling installation according to the steps in the materials guide for your particular project. If you have a ceiling fan or light installed, make sure that it is positioned securely, and wiring has been run through the holes for them before covering over the opening with drywall or paneling. If you want to find out more about how to install wood stove pipe through cathedral ceiling, keep reading.
Does Wood Stove Pipe Have to Be Double Wall Pipe?
When you are shopping for a stovepipe to vent your wood stove, you may notice that most pipe carried in home improvement stores is double wall steel pipe. If you tried to use this in the State of Maine, you would not be able to pass inspection. This pipe is designed for forced-air heating units in dry climates and does not handle moisture very well.
If your home is heated with a wood stove with direct venting to the outside, you can use double-wall or single-wall aluminum pipes. Since most homes that use wood stoves run the exhaust through one short section of metal pipe, it is better to go with aluminum than steel. In addition, aluminum doesn’t rust in moist conditions and won’t ignite creosote in your flue.
Frequently Asked Question
How High Should Wood Stove Pipe Be Above Roof?
The higher the height of the stove pipe, the better it will be able to heat up your home. A good rule of thumb is that the stove pipe should be about 10 feet above the roof.
Does a Wood Stove Pipe Have to Go Straight Up?
Yes, the pipe of a wood stove must go straight up to the chimney.
There are two main types of wood stoves: Direct vent and indirect vent. A direct vent stove has a combustion chamber with no air intake from outside the building, while an indirect vent stove has an air intake that is either vented through a flue or a pipe directly into the room’s chimney.
In order to make sure your stove is operating properly, you should periodically inspect your chimney for clogs and other obstructions that could restrict airflow.
What Is Code for Installing a Wood Stove?
Code for installing a wood stove is:
Nail the front and back walls to the studs of the chimney wall.
Nail the flue collar to the top of the chimney.
In order to protect your work, you can use an appropriate length of metal flashing or at least some paintable caulking to make sure that water doesn’t get into your drywall or woodwork.
How Far Should a Wood Stove Be from The Wall?
It depends on the size of your stove. A standard wood stove should be about a foot away from the wall, but if you have a larger model, then it can be up to three feet away.
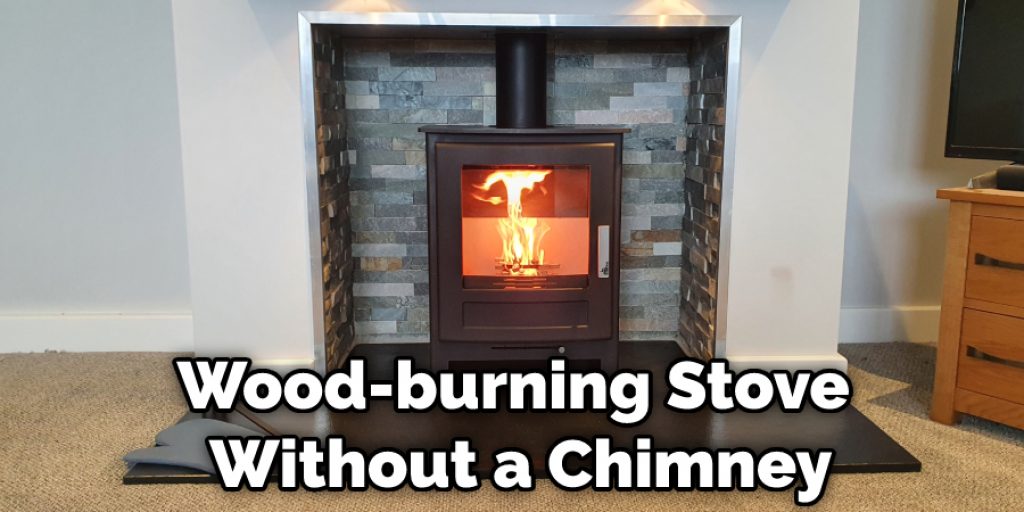
Can You Install Wood-Burning Stove without Chimney?
Yes, you can install a wood-burning stove without a chimney.
If you want to avoid the need for installing a chimney, it is possible but will be much more difficult than with a chimney.
This type of installation is not recommended and should only be done by experienced professionals who have the necessary equipment and know-how to do this type of work properly.
Conclusion
The best way to install wood stove pipe through cathedral ceilings is by hiring a professional. This may be an expensive option, but it will ensure that your new stove installation goes smoothly and without any problems. For those who are still considering installing the stove on your own, we’ve provided some helpful tips below for how to do so safely and efficiently.
Take the time now before winter arrives to make sure you’re prepared and ready! The infomercial style has shared information on how to install wood stove pipe through cathedral ceiling.
You ,may also like – How to signs of over firing wood stove.


