Introduction
Roof shingles are the actual pieces of wood that cover your roof. Each piece is cut to fit into a specific place in your home. Roof shingles come in bundles of three, five, or more. The area where one bundle ends and another begins varies according to how large your home is. If you have an unusually shaped roof, you will likely need to order individual roof shingles rather than shipping them in bundles with pre-cut seams. In this article, I will discuss how to tie into existing roof shingles. So let us get started.
Stepwise Guide on How to Tie Into Existing Roof Shingles:
1. First, measure and cut a piece of the metal lath so it is wide enough to cover the bottom edge of your roofing paper PLUS an additional 16″ for overlap and long enough to fit from end-to-end on your roof rafters.
2. Nail the pre-measured metal lath strip-down throughout the shingles that you are going to be using. Position it about 1/8″ up from the bottom edge of the last course of shingles. The idea here is to put a small “lip” or “rabbet” over which you will butt each succeeding period of roofing paper when you install them afterward. You can use either wire nails or roofing nails, and it doesn’t make much difference. (If you use roofing nails, the next step might be to remove them and counter-sink the holes with a nail set.)
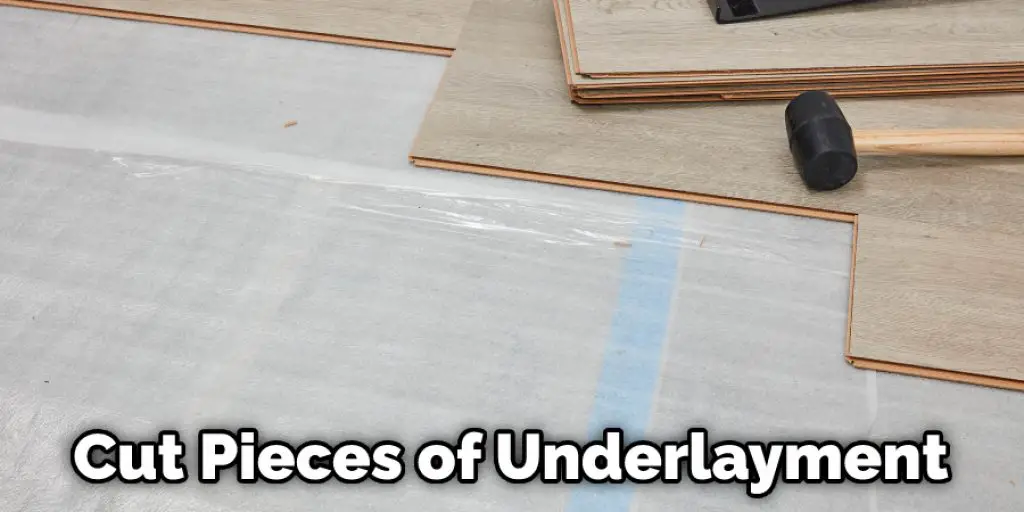
3. Cut pieces of underlayment according to the width needed for each course. Note: If your new shingle courses are too wide to cover side-to-side on rafters spaced 16″ apart, it may be necessary to rip some of these more comprehensive underlayment pieces down in width before installing them using a circular saw or hand saw.
4. Start at one end of the roof with your first full-length piece butted up tight against the metal lath strip that has been fastened down over the existing shingles, and start nailing it down with roofing nails. When you get to the end of that piece, install another full-length piece butted up next to it in the same manner. This way, you are starting with a couple of full-length pieces which will act as “strengthening seams” for your entire installation job.
5. When you have finished laying your underlayment shingles, trim them off square using a utility knife and straightedge (or power shears if available). If some pieces are extensive so they can’t be laid side-to-side on rafters spaced 16″ apart, rip these more comprehensive pieces down to their final widths after they have all been installed. For example, if two adjacent rafters are 24″ apart. You have a shingle that is too wide for a 16″ spacing, rip it in half with a circular saw or hand saw so you can lay one piece on each of the two adjacent rafters. (These ripped pieces won’t be strong enough to withstand driving rains or winds by themselves if they get caught between 2 rafters like this, but at least there will be some “sealant strips” installed over the top of them to act as temporary weatherproofing.)
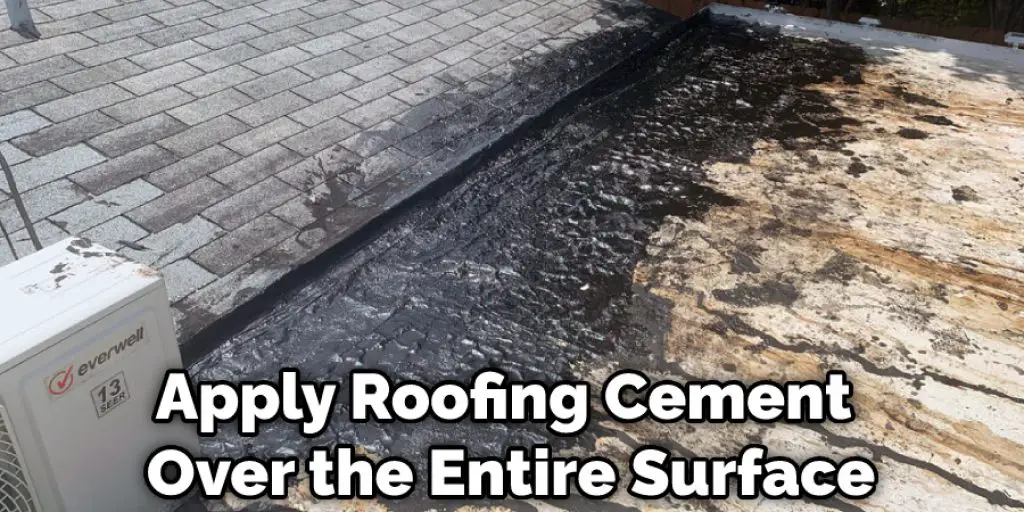
6. Once all your underlayment has been fastened down securely (and any ripped pieces that were still too wide after installation have been trimmed back to size), next comes to an application of roofing cement over the entire surface of the roof to help hold everything in place. You can buy small tubes of this material or larger pails, depending on the size of your project. Mix it up according to the directions on the container for best results, and spread it out evenly with a large putty knife over all seams that have been nailed down (or where there are no seams), including eave rakes, hips, and ridges.
7. At this point, you’re ready to install a starter strip at eave level using one full-length shingle cut down from a full-length piece. Cut this piece about 1/8″ shorter than necessary, so it will be just tight enough to fit under your outercourse “overhang.” This is done so it won’t telegraph through your outer course shingles when the sun hits them. If you forget to do this step, you will very likely end up with ugly brown streaks showing on the front edge of all your new shingles before long caused by dried-out roofing cement, which has deteriorated over time and shrunk away from that front face.
8. Once your starter strip is in place (and roofing cement applied), go ahead and install your first full-length piece at eave level, starting directly below where the “dropped” starter piece was nailed down. The trick here is to keep everything perfectly aligned while still maintaining a tight seam between two courses of shingles. To do this, push your second shingle course tight against the metal lath strip, which was fastened over the existing roof. To maintain a “tight seam” on any given row of shingles, you will need to offset each piece by 1/8″. This can be done very quickly by first aligning one edge of your next shingle course directly below where the dropped starter piece falls on that row of shingles, then just lay down your first nail near the top center of that piece and mark its location with a pencil point.
9. Next, grab another full-length piece at eave level and cut it 1/8″ short as you did before. Then, using the nail point as a guide, attach it to your course below at either end, where two shingles come together. The reason for cutting the piece short is that these three nails will be covered up by a full-length piece on all courses above it anyway. This way, you can maintain good alignment and an excellent tight seam until you reach the next dropped starter course, which is where your pattern begins again.
10. Important: You must stagger every other course of shingles downward from the one directly below it so that no more than two joints fall on any rafter or truss spacing that’s less than 24″. For example, on this roof, we’re using 16″ rafter spacings so the joint in every other course of shingles will fall on a 16″ truss spacing. This is extremely important to do because if you don’t, the gaps between your course joints will be far too large, and rain or snow could find its way into your house through them!
You can check to Make Curtain Tie Backs With Beads.
Precautions While Tying Existing Roof Shingles

Work on the roof should be done during fair weather only. It is not safe to stand up there in high winds, even if you are tied down. Work should not be started unless it can be completed before bad weather sets in.
Wear boots with non-slip soles and carry a pair of rubber overshoes to change into when you get up on the roof. Before starting work, check to see no loose or missing shingles or flashing around vent pipes or other protrusions that might cut your rope.
Keep all strings off the roof except within reach of the worker while he’s standing on the top (he needs both hands free to work, anyway). Do not tie around an edge of a shingle that is peeling up. If you have to do this, be sure there are no nails under the shingle. Be careful about carrying tools with metal parts over the roof.
Frequently Asked Question
How Do You Tie in Shingles to an Existing Shingles?
Shingle is a viral infection that causes an itchy rash on one or more sides of the body. It’s caused by the reactivation of the varicella-zoster virus, which was previously dormant in nerve cells.
The first step to solving this problem is finding out what type of shingles you have, whether it be Herpes Zoster or Varicella Zoster.
After identifying your condition, you can then proceed with either immunotherapy or antiviral therapy, depending on your situation.
A typical course of treatment would be:
- Immunotherapy – This method typically involves taking an oral medication such as acyclovir (Zovirax) and applying topical creams such as corticosteroids and calcineurin inhibitors twice daily for 5 days a week for 4 weeks.
- Antiviral Therapy – This method includes treating symptoms through antiviral medications such as valacyclovir (Valtrex), famciclovir (Famvir), and penciclovir (Denavir). These drugs target the virus directly by inhibiting its replication without affecting the rest of the body’s immune system response to it, so side effects are minimal.
Do You Join Two Roof Shingles Together?
No, you don’t. If you want to join two roof shingles together, it’s best to do so with a wood or metal nailer. This will provide more strength and stability than just using staples.
Can You Build a Roof Over an Existing Roof?
There are two types of roofs that you may be considering:
- The first is the type of roof you want to build over an existing roof. This can be done by adding on or replacing the current roof with one that has a lower slope and then adding insulation and waterproofing.
- The second type is when you want to install a new roof over an existing one, which will require demolishing the old roof and building from scratch.
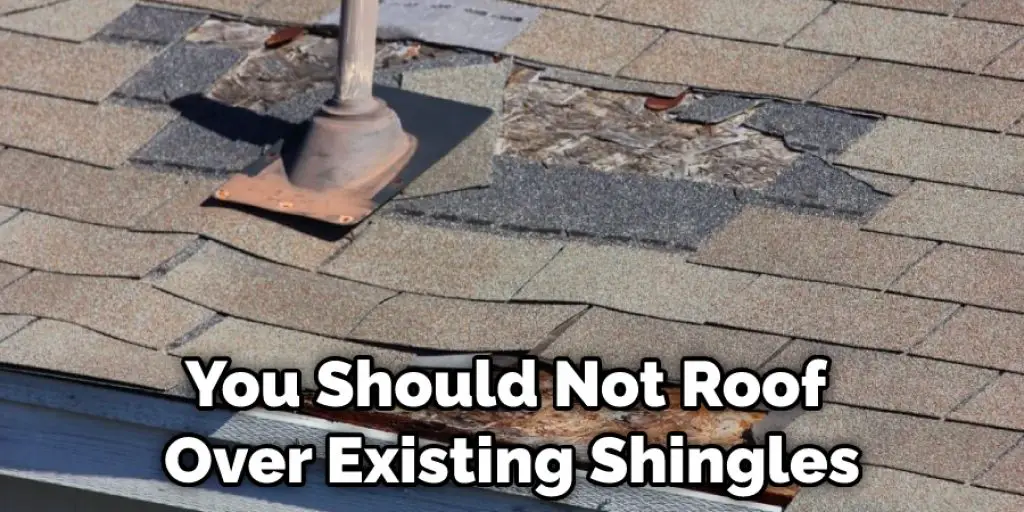
Is It Ok to Roof Over Existing Shingles?
No, you should not roof over existing shingles. The best option is to replace the shingles with a new one, because it will prevent future water damage.
Conclusion
I hope this article has been beneficial for learning how to tie into existing roof shingles. Ensure all the precautions are appropriately followed. Thank you and have a nice day!
You may also like – How to reinforce trusses in roof.


