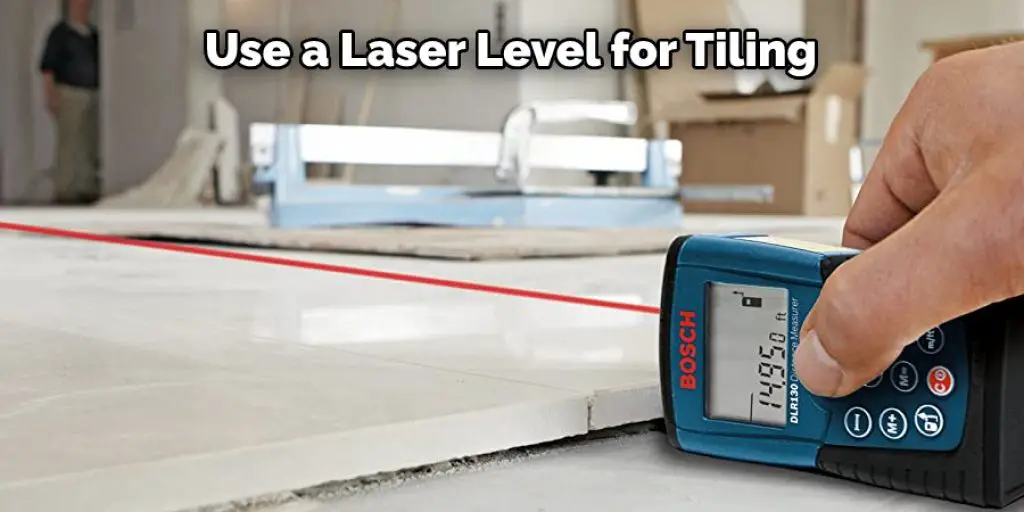
A laser level is a tool that can be used to make sure the tile work on your floor or wall is straight and even. Laser levels are great for use in situations where you need to make sure the tiles line up without measuring every one of them. They’re also useful because they allow you to see how high or low a specific area needs more grout, saving time and money!
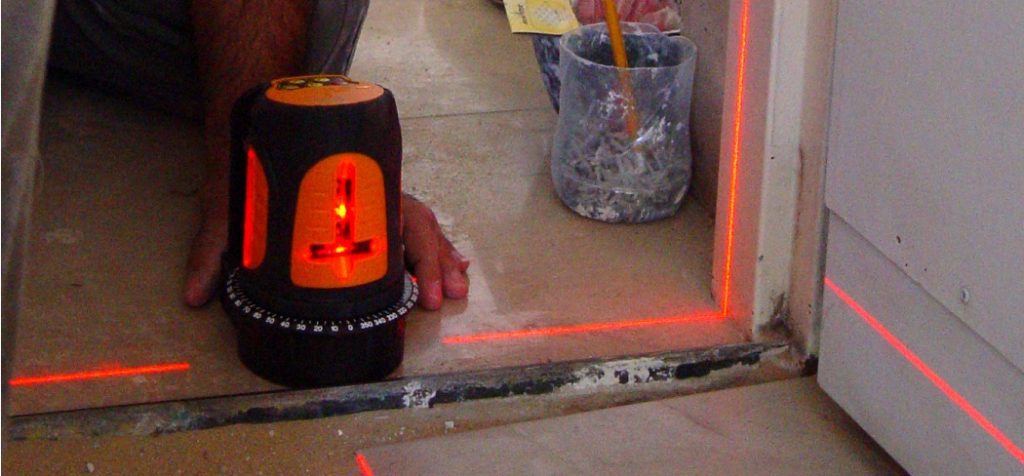
The best way to use a laser level for tile work is by placing it at the top of the room and then using it as a guide while laying out your tiles from there. It’s important not only that the tools be pointed down so they’ll show you an accurate reading, but also that they have been calibrated, so they will This article will discuss what exactly a laser level does and how to use a laser level for tile.
What Is a Laser Level?
A laser level is a powerful and heavy-duty version of the ordinary bubbles one finds attached to canine eyeglasses. It emits a tightly focused beam which can be used for leveling or aligning purposes in nearly any situation, from installing tile to building an entire house.
The idea is that when a vertical and horizontal beam meets at a common point, everything in between is perfectly level. Some models even come with horizontal and vertical beams, which allows you to make cuts along the laser grid. It can also be used for outdoor purposes like landscaping, grading, or planning out pools.
The term laser level is actually a misnomer because it doesn’t emit lasers like in shows like Star Wars. Instead, it emits lights beams similar to those of traffic arrows. The difference is that these are much smaller and more powerful.
Ten Ways on How to Use a Laser Level for Tile
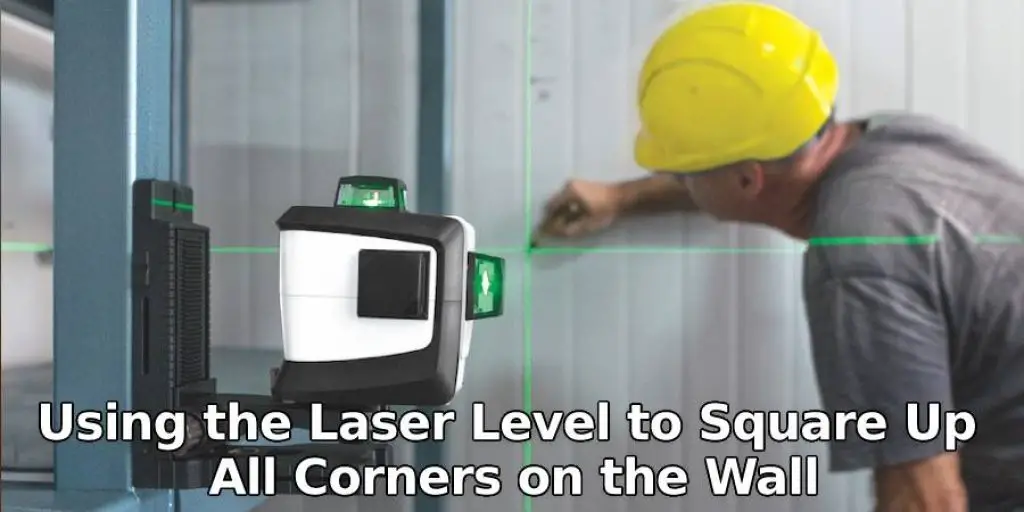
Step One:
Use the laser level to square up all corners on the wall where you are hanging your tile. This means you will have square corners with 90-degree angles when you finish this step.
Step Two:
Next, mark each room corner on your tiles concerning the squaring lines that you drew in Step One. This will be the location of your first tile and your counter-sink drill hole if you plan to use a countersink bit.
Step Three:
Once you have marked where each corner is, mark outlines along each wall that follows your angle lines from Step One. Make sure that these line-markings are straight and go from one corner to the next.
Step Four:
Now transfer each of these lines down onto your tile with a pencil so that you have markings on all four sides of where your first piece is going to be placed. Use a square, starting in the upper left-hand corner to ensure that your marks are 90-degree angles.
Step Five:
Now place your first tile piece in the correct spot and use your level to ensure straight before tapping it down with a mallet. Make any necessary adjustments so that all sides are perfectly horizontal or vertical. Also, ensure that you securely tap the tiles onto the wall so they will not shift or fall out of place.
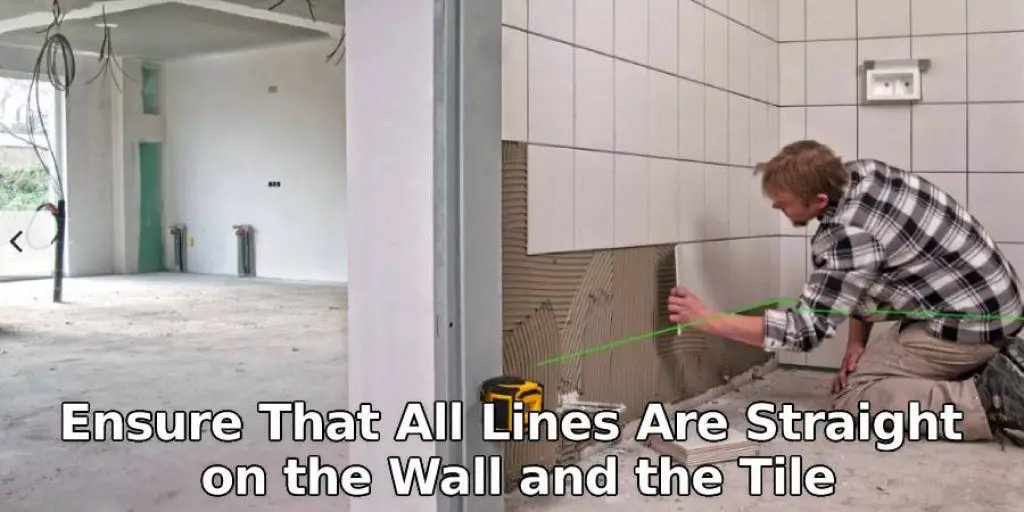
Step Six:
Once you have your first tile in place, ensure that all lines are still straight on the wall and the tile. If they are not, shift the entire piece until they look correct and firmly attach it with a hammer and nails. Line up each new piece into place using your lines on the wall as guides.
Step Seven:
Once the pieces of tile are all up on the wall, you will need to drill holes for any counter-sinks that you plan to use. Use a pencil to mark where each hole needs to be drilled, and then drill them with your drill bit appropriate for your chosen countersinks.
Step Eight:
Cut the tiles with a tile saw or masonry blade according to your needs and desires. Keep in mind that you will not be able to fit them together perfectly because of the width of the grout lines and how they can vary, so cut all of your pieces slightly larger than each space, and then sand them to fit it perfectly.
Step Nine:
Now that all pieces are cut to size, you will want to apply a grout release agent or mold preventer at least six hours before you start installing the tile for best results. This is because tiles have porous surfaces that will pull this substance into the grout lines and cause them to be permanently discolored.
Step Ten:
Once the tiles are grouted, you can use a rag or an old brush (old paintbrush) to wipe away excess grout from around the pieces and make sure all surfaces are clean before using silicone caulk to fill in all spaces between tiles. This is another substance that may permanently discolor grout if not used correctly.
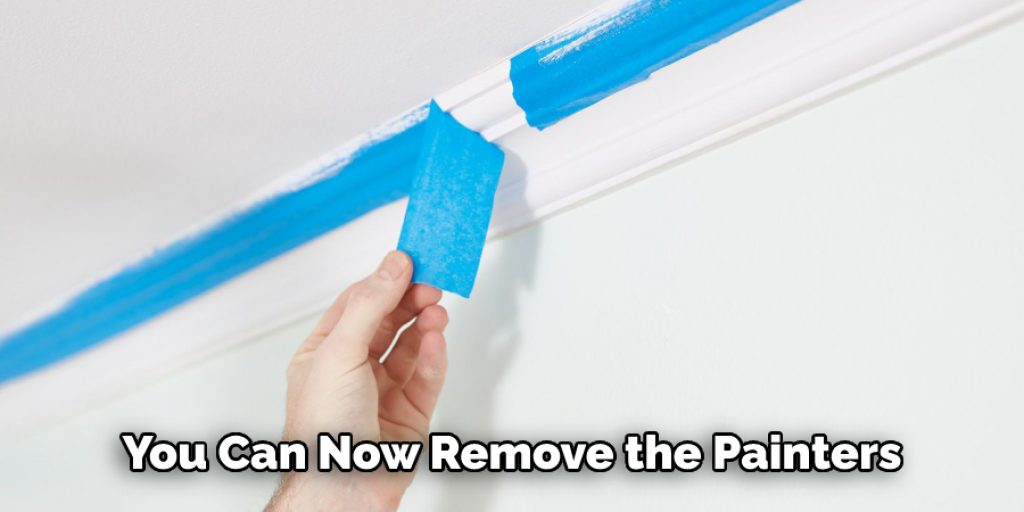
After about an hour, you can now remove the painters or masking tape installed around the tile to help protect your walls from getting any unwanted grout on them. If there is excess grout on your tiles, wipe it away with a wet rag, and then they will look like new again.
How Accurate Are Laser Levels?
Laser levels are used for all types of construction, including DIY household projects. This article aims to explain how to use a laser level for tile and show you how accurate they can be when properly set up and used as a guide for tile installation or as a layout tool for any other job where straight, level lines are needed. While the gauge of accuracy varies from model to model, all laser levels are extremely accurate.
What Is the Difference Between a Laser Level and an Ordinary Level?
There are two major differences between a laser level and an ordinary level. The first is the ease of use. A laser level makes it much easier to get the job done faster because it requires only one person instead of two, there’s less stretching involved, and you don’t have to stand by while someone else holds the tool. The second is precision. A laser level will give you much more accurate results than an ordinary spirit level, especially on walls that are not perfectly straight.
What Are the Benefits of Using a Laser Level for Tiling?
The advantages of using a laser level include much more accurate results. It’s easier to use than an ordinary level, particularly when there’s only one person available to do the job. You can be sure that you won’t overshoot your measurements which means you will avoid mistakes. You’ll also be able to see the level and plumb indicator precisely, making life a lot easier for you. You can also work alone, which is another benefit. We have already discussed how to use a laser level for tile in this blog post. So be sure to check that out.
Working with a laser level for tiling has plenty of benefits. It’s much more accurate than an ordinary level and easier to use, too, particularly if there isn’t anyone else available to help you out. You don’t ever need to overshoot your measurements either, so it’s a lot less likely that you’ll make a mistake. You can also precisely see the level and plumb indicator, so your life will be much easier.
Frequently Asked Question
Can You Use a Laser Level for Floor Tiles?
You can use a laser level for floor tiles.
Laser levels align items or surfaces on flat, horizontal surfaces. They typically consist of two parts: the laser and the sensor unit that is mounted on a tripod or other base and sends an electrical signal to indicate the position of the laser beam. The distance between these two parts is measured by an internal encoder that moves along with the sensor unit.
To determine whether a laser level will work for your project, you’ll need to understand how it operates:
- A laser level uses reflected light from its source to provide accurate positioning information.
- It has three components: target (the surface being leveled), beam (the path of light from the source), and sensor (the part that detects where the beam intersects with the target).
- You’ll need to determine which types of lasers are available and what their properties are before deciding which one you want to use for your project.
Is It Safe to Use a Laser Level for Beginners?
A laser level is a device that helps you find the horizontal and vertical lines of your room or project. It is used by professionals, contractors, home improvement enthusiasts, and people who want to create levels for furniture assembly.
To use a laser level safely, make sure that you’re familiar with how it works before you start using it. When in doubt, consult with a professional who will teach you how to use it properly.
What Are 2 Things You Should Do Before You Use a Laser Level?
- Laser levels come with a number of different features.
- Ensure that the laser level is clean and that there are no obstructions in front of it before use.
- Never look directly into the beam, as this can cause eye damage.
What Are the Main Dangers of Laser Levels?
Some of the main dangers of laser levels are:
- Laser levels can cause temporary or permanent eye damage.
- Laser levels can cause a host of health problems such as cancer, cataracts, and even birth defects.
- Laser levels can make it difficult to see in low-light conditions.
What Laser Level Is Best for Tiling?
When selecting a laser level, the most important consideration is whether it has an automatic leveling base. If you have a large project and need to install several tiles, this feature will help prevent the tile from tilting as you work.
Conclusion
If you’re installing tiles in your home, it can be difficult to get them perfectly level. A laser level is a perfect tool for ensuring that all of your tiles are on a flat plane, so they look seamless and even.
This blog post has provided some great tips about what type of tools you need and how to use these products properly for best results when installing new flooring in your kitchen or bathroom. We’ve created the following infographic to give you an idea of how to use a laser level for tile. We hope this information helps!


