How to Add Secondary Burn to Wood Stove
A stove can be a great way to stay warm, but what about those days when the wood is wet, or it’s too cold outside. If you’re lucky, you might have a secondary burn system for your stove that will help preserve the heat and keep you comfortable on those extra chilly days.

The best part of having this kind of system is that it doesn’t require any additional fuel source other than what’s already going into your firebox, so there won’t be any need to chop more wood! In this post, we’ll explore some different types of secondary burns and how they work, as well as discussing their benefits and drawbacks. In this article, we’ll explore how to add secondary burn to wood stove.
Steps to Follow on How to Add Secondary Burn to Wood Stove
Step One: Obtain Secondary Burn Hardware
You can find secondary burn hardware at your local hardware or fireplace store. However, it is usually not carried by most retail stores, so you may need to go to a specialty store for this type of product. It is usually sold as an accessory kit that comes with the necessary parts to add the feature to your stove.
If you want to get a wood stove that will work with the equipment, you will need to ask someone at the store what type of wood stove to get. Some wood stoves are not compatible with the equipment.
Step Two: Drill New Holes in the Reflector
The secondary burn kit usually comes with a drill bit so you can drill new holes in the reflector. You will have to find out how many holes are required for your stove so that it is compatible with the kit. If there is not enough hardware, then you may want to consider getting a new secondary burn kit; otherwise, this step is completely optional.
Once the new holes are drilled, you can connect your flexible pipe to the kit and place it on the stove. It will usually attach to the holes that you just drilled if they are big enough.
Step Three: Prepare Your Air Supply
You will need to connect the flexible pipe to the blower unit or fan that comes with the kit. You can do this by using the flexible tubing that comes with the secondary burn kit. You will need to determine how long the tubing needs to be so it reaches from the blower unit up to the top of the stove without being too short or too long.
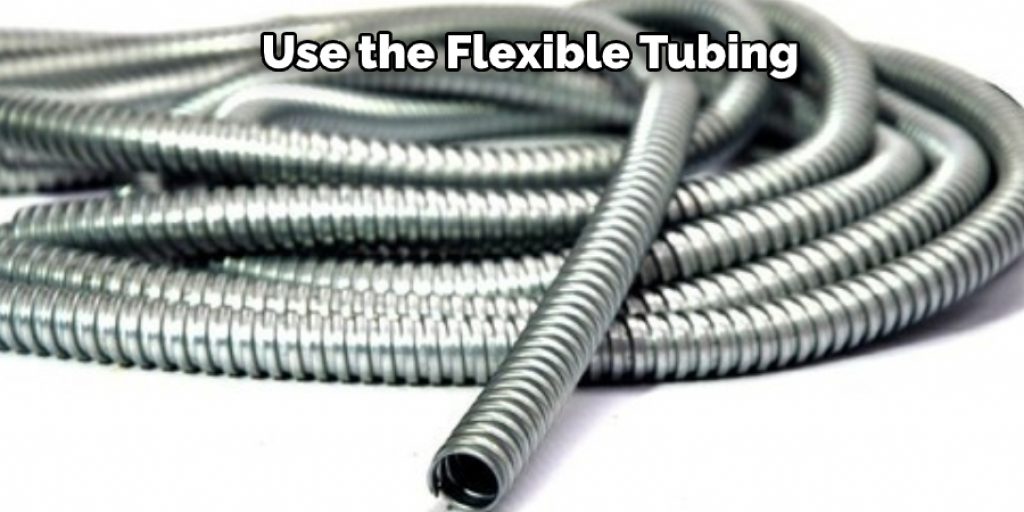
If your stove is too short, you may need more flexible tubing. If your stove is too long, you will have to discard some tubing. After the tubing is connected, you can attach your blower unit or fan by drilling holes into your stove for screws. Make sure that the screws fit through the holes on the back of your stove before attaching them with a screwdriver.
Step Four: Turn the Blower Unit on
After you have attached your blower unit, you can turn it on and wait for it to start pumping air into the stove. In order to allow adequate time for the secondary burn feature to work, make sure that your fire is lit before turning it on.
You may also need a little time for the air to move through the tubing and reach your blower unit. However, you do not need to wait an extensive amount of time; usually, it takes about five minutes before you start seeing results.
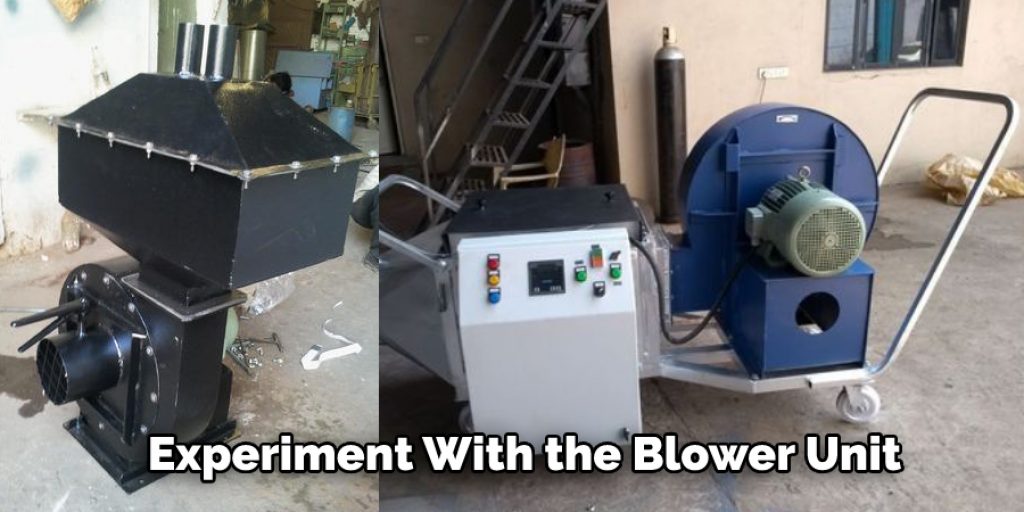
Step Five: Experiment With the Blower Unit
Now that you know how long your tubing needs to be and that everything is connected correctly, it’s time to experiment with the blower unit. You might want to start with a low setting on the blower unit first, before moving up to medium or high. If there are any leaks in your system, the stove will not produce any results, so be sure to check for leaks before starting it.
If there are no leaks in your tubing or anywhere else, then you can start your fire by using kindling to get that initial wood-burning process started. Once your fire is lit, leave it alone for about five minutes so it can grow stronger before you turn the blower unit on.
Step Six: Monitor the Fire
Once you have turned your blower unit on, it is time to monitor the fire and wait for results. You should be able to see the flames getting bigger within a few minutes of turning on the blower unit; if not, then there may be something wrong with your secondary burn hardware or tubing. This can be a particularly difficult problem to troubleshoot since it may require some knowledge of the interior components of your wood stove.
If this is the case, then you should check for leaks and make sure that everything is attached correctly. You should also try blowing into the tubing to ensure that it is not clogged; if there are any leaks or blockages, then you can make repairs using heat-resistant tape.
You Can Check It Out to Operate a Fisher Wood Stove
How Do I Increase the Burn Time on My Wood Stove?
The secondary burn process allows you to burn more efficiently, which warrants a higher efficiency rating for your stove. The goal of the secondary burn process is to have an efficient second combustion process that leaves behind very little if any, unburned fuel. Burning with good secondary combustion will also allow you to cut down the amount of wood that you normally use.
One way to increase the burn time on your wood stove is by adding a passive air supply to your secondary combustion process. This will aid in the burning process and provide you with less unburned fuel, meaning you can cut back on how much firewood you bring home for next winter. Thanks for reading about how to add secondary burn to wood stove.
Frequently Asked Questions
Can a Wood Stove Heat Two Stories?
Yes, a wood stove can heat two stories. There Are Three Types of Wood Stoves :
1. Wood-burning Stoves – these use logs to produce heat and need to be loaded in the firebox every time you want to start a fire.
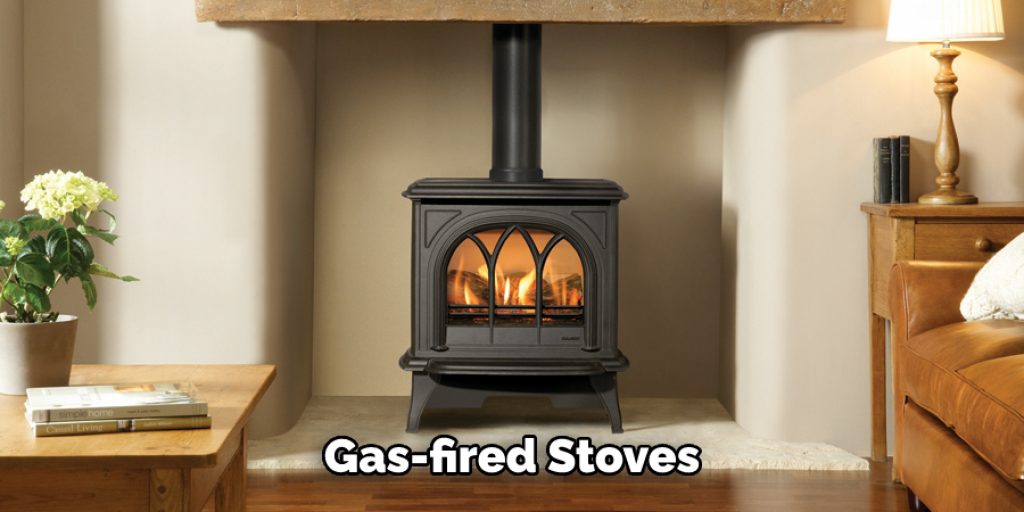
2. Gas-fired Stoves – these use gas or propane fuel that is heated up inside the furnace before being distributed through a duct system into the room where it will be used for heating purposes.
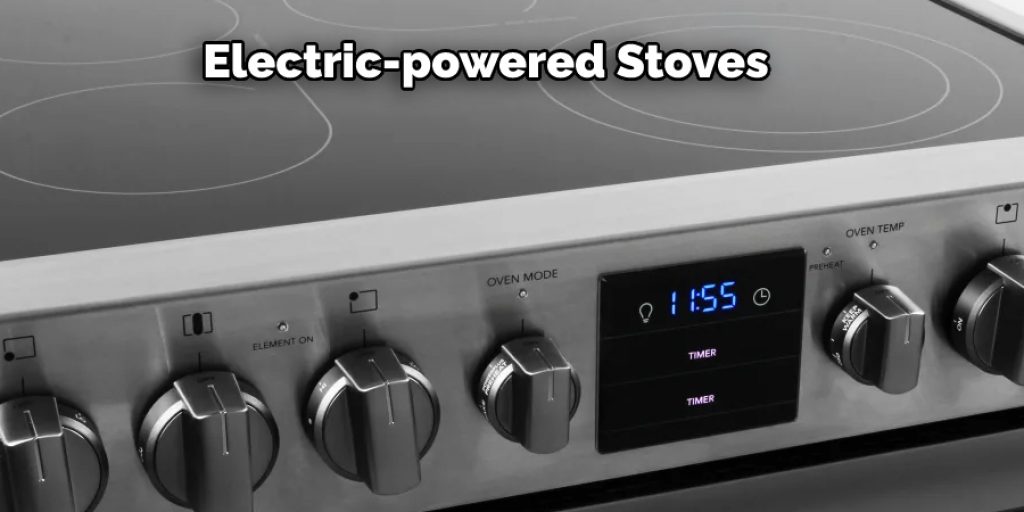
3. Electric-powered Stoves – these use electricity generated by an electric heating element instead of gas or logs as a fuel source, which makes them easier to operate than gas-fired stoves but more expensive than wood-burning stoves.
Can Two Wood Stoves Share a Flue?
Wood stoves and flues can share a flue. You need to have a larger chimney for both the wood stove and the flue to accommodate two different appliances.
Can You Put a Wood Burning Stove Upstairs?
There are many types of stoves that you can choose from, but in general, the answer is no. If your home has a chimney, you may be able to install one on the roof. However, if it doesn’t have a chimney or if you want to run an electrical wire up the wall and into your room, then it is not possible.
Can You Add a Wood Burning Stove to an Existing Chimney?
You can add a wood-burning stove to an existing chimney. It is not advisable to have a wood-burning stove if you do not have the proper chimney for it.
The first thing that comes into mind is having a new chimney built specifically for your wood-burning stove. If you cannot build a new one, you can try and install it without cutting the original chimney.
Conclusion
There are many options, and it’s important to consider what type of fuel is available locally, how much smoke you want coming out the chimney, and whether or not there is an odor. Most of these secondary burn options can be purchased through a local hardware store or online, but there is one that you should never use to increase your burn time.
This is because it contains a dangerous chemical called creosote. Creosote is a flammable by-product of the incomplete combustion process, which burns at high temperatures. It can build up in your chimney and cause a house fire if it combusts inside the chimney instead of outside. In this blog, we’ve laid out a few tips on how to add secondary burn to wood stove.
You may also like – How to circulate heat from wood stove


