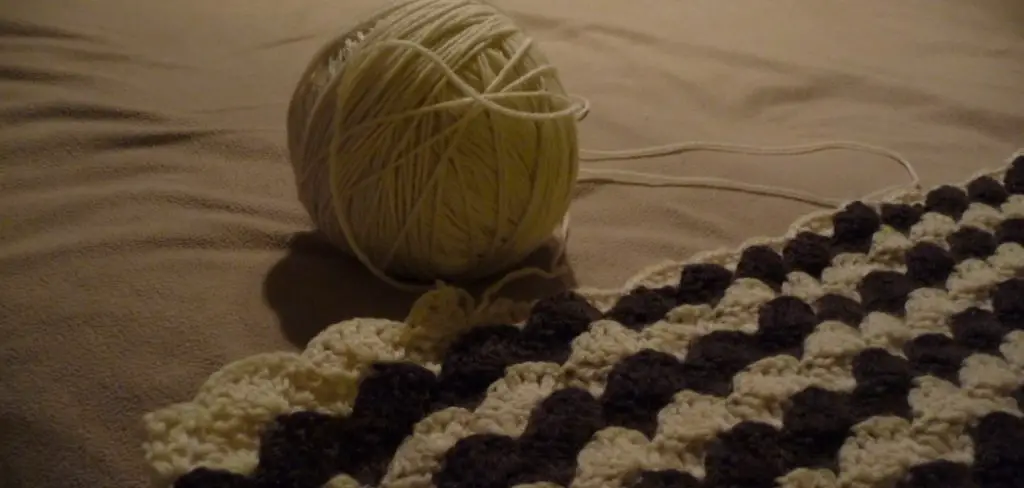
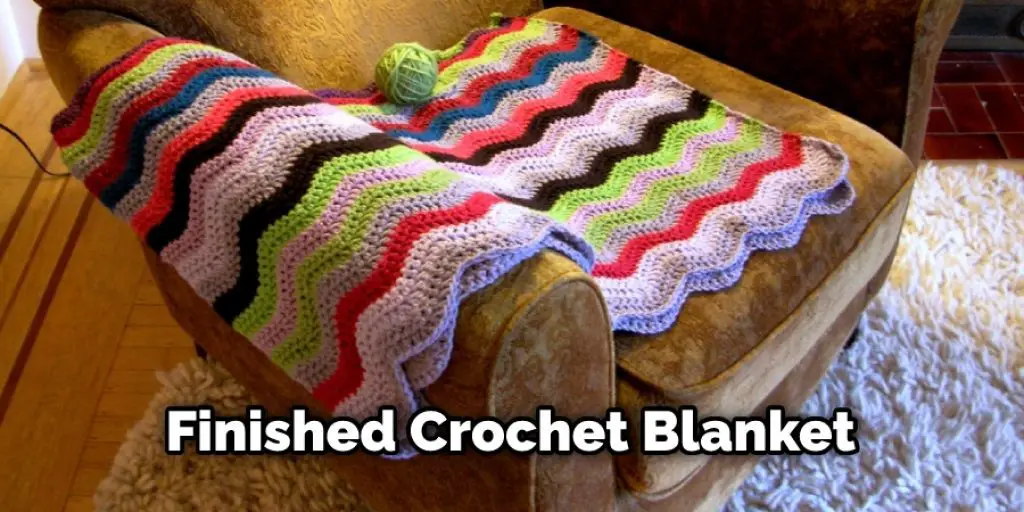
A few weeks ago, I finished crocheting a beautiful baby blanket. It was such a fantastic experience to watch it take shape and grow into something that my child would cherish for years to come. However, when I finally completed the last stitch, I looked down at the blanketing and realized there were so many other things I could do with it!
From adding borders to seaming up the edges, there’s always more you can do to make your crocheted blanket even more helpful. This tutorial will show how to crochet along the edge of a baby blanket already in progress, making it bigger and better than ever!
Ask yourself if you are willing to sacrifice some yarn for this project. If not, don’t add any new stitches because you’ll need all of the thread you have for the blanket already in progress. So, this article is for you. You will learn how to add to a finished crochet blanket with just one simple trick!
8 Steps to Follow on How to Add to a Finished Crochet Blanket
Step One: Determine
First, you need to decide if the blanket is of the kind that would need loops sewn into it or not. If there are already holes in your finished work, then this will make things easier for you. However, if there are no holes, you will have to sew them in yourself before sewing on new yarns.
Check out our other post on how to sew in loops into blankets! The reason you need to know this is because the way to add another set of yarns into your crochet blanket will be different depending on what kind it is. If there are already holes, you only have to bury your new yarns into the holes, so it is easy.
If there are no holes, you will have to sew some in before adding more yarns. Thus, if the finished materials already have some holes for you to pull through with your new yarns, then this is the kind of project you will be following along with. If they do not, then you will follow along under that article instead.
Step Two: Plan
Next, you need to plan what colors of yarns you will be using for your project. The more bright and fun the colors are, the better it will look in the end! It is also best to crochet them all at once instead of carrying around loose bits of yarn. If they get tangled up, there’s no way you’ll be able to keep the project looking clean.
If you use a finished project to add another set of yarns, you can pick out your color combinations from there. If the current blanket is the one that needs loops sewn into it, then there’s nothing left for you to do except work on finding more yarns. This is where the best kind of projects will come from.
If you have a whole bunch of scrap yarns, you can mix and match them however you like. You may also choose to use an actual pattern so the strands of yarn will be evenly spaced throughout the blanket. We suggest using a simple one-colored design since this project is more about mixing colors than making something intricate work out.
Step Three: Gather
Next comes the time for you to gather all of your materials together. Make sure that there are no loose ends before working on it. If you need to cut off extra yarns, this is also the time to do so. You can also use scissors to even out any ragged edges in the finished material if needed.
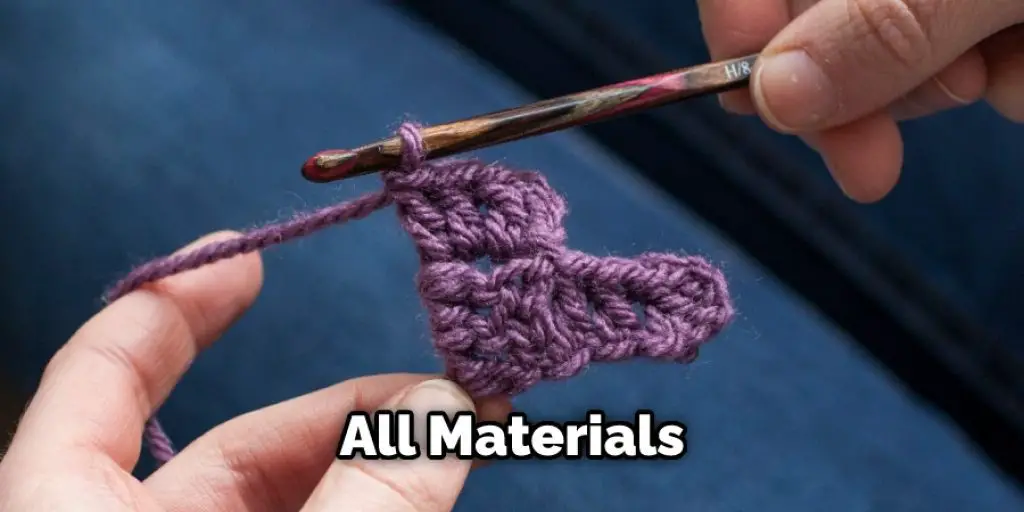
You can also cut new yarns to work with if you want, but the shorter they are, the more difficult you are. If you’re going to do this, then go ahead and cut the yarns to about 28″ in length for best results. This is just long enough not to get in your way when working on the project.
If you are following the sew the first pattern, you will need to sew some holes into your blanket before doing anything else. You can use a sewing needle or even your crochet hook for this purpose. This will help in how to add to a finished crochet blanket.
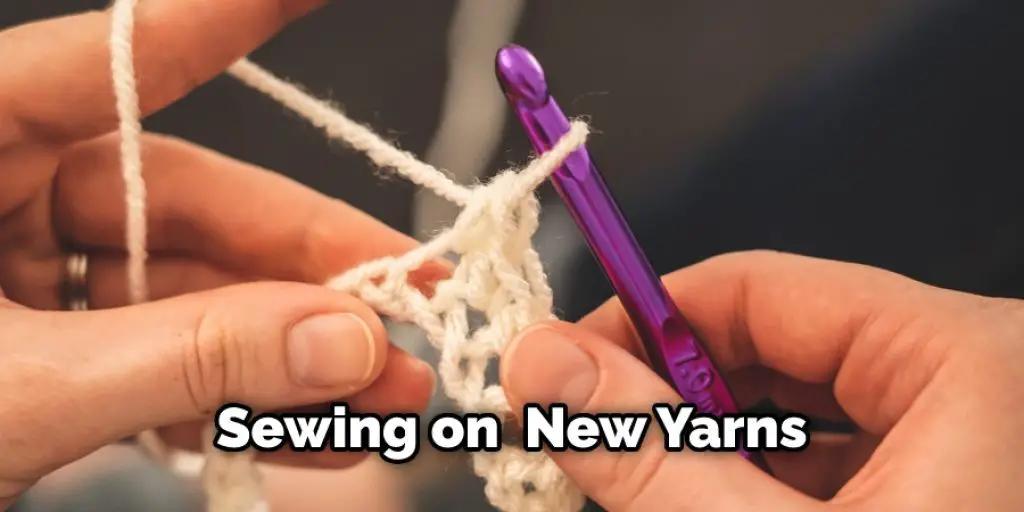
Step Four: Sew
If you will be sewing on your new yarns, then this is the time to do so. First, find the holes in your material and stick them through there until they come out of the other side. Then, when you get too far away from the hole, double back on it and go through again.
You can use a regular needle or even your hook to sew with if you need to. If your material is thick enough, you can use a couple of strands tied together so they will not break as easily. It is easier for there to be holes in the blanket than for you to have to sew new ones yourself.
This makes things more cost-effective since you can use some small pieces of yarn leftover from other projects. If you do not have anything like this already, you can make some loops out of new yarn and then cut it into smaller bits later on.
Step Five: Crochet
After you sew the holes together, it is time for you to crochet them into place. All that this means is that you will be hooking your new yarns onto the blanket material. You want to be careful not to pull too hard since if they come out on their own later on, you could ruin some of your hard work.
If you used a hook to pierce through the top layer of yarn, then go ahead and pull it out and take off whatever pieces of it may be left behind. If you did not do this, then push your crochet hook through the material until you feel something sticking out on the other side.
Then your new loops should come up with your hook when you pull it back out. After this, you will need to move on to the next hole so that everything stays even. If you use the steps outlined above for how to add to a finished crochet blanket, you can do it yourself.
Step Six: Finish
Now it’s time for some finishing touches, and you can either leave your blanket like this or add something else. If you want to use the blanket for yourself, then go ahead and try it on. However, if you are giving the finished article away to someone else, then go ahead and let them try it out.
After checking for size accuracy, if everything is in order, you can skip this part. If your gift recipient does not like the finished article, you can take it back off and try again later on whenever they are ready to use it. Eventually, this task will get easier for you to work with if you practice often enough.
It may seem daunting at first, but these patterns only require that you follow directions closely once your hook is in hand. Good luck with your new crochet skills, and remember to share them with others so that they might enjoy the finished product as well!
You can check it to Fix a Hole in a Knitted Blanket.
Step Seven: Maintain
After you finish this project, do not go and toss it in the garbage if you think it is bad. Instead, try washing it gently to get rid of any excess dirt or grime. If there are still problems, take it back out and try again later when your skills have improved.
Just remember that practice makes perfect, and after a few tries, you will be able to make something that looks like the real thing. Just take it one step at a time, and you will get there just fine when you practice enough! Good luck with your new project, and remember that this article does not recommend sewing or hooking yarns into any old blanket.
If you want to keep your blanket clean, you should wash it on gently and let it air dry the next time you need to work with it. Fabric materials vary in thickness, and make sure that no holes or stitches are coming undone before buying or working with this stuff. These steps should help you in learning how to add to a finished crochet blanket.
You Can Check It Out to Fix Crochet Blanket Curving
Step Eight: Tips
If you want to get extra tips for your finished crochet project, then here are some things that you might want to take into consideration. When sewing yarns together, it is best to use two or three strands at a time for this project. This will give the blanket the thickness you need, and it will also be stronger than using just one strand of yarn all by itself.
The thicker your yarn becomes, the better it will be able to withstand wear and tear. You can also use this same trick for other projects if you want to make more substantial items. If you have never used yarn before, then here are some things that you should know.
You can check it to Make Rabbit Fur Blanket.
Conclusion
To add to a finished crochet blanket, cut the yarn and pull it through. Then place the new skein of yarn at least 10 inches away from where you pulled out the old one. Next, tie a knot in both ends so they don’t come undone; later on, insert your hook into this loop of string and start crocheting again with your new color of thread!
You’ll have an instant update for any unfinished projects around the house! Now you can easily update your raggedy jeans, hats, and even bed sheets if you ever want to change up the look of a room. The conclusion paragraph is informative and provides information on how to add to a finished crochet blanket.


