Do you have a wardrobe door that could use a mirror? Mirrors are a great way to add extra light and space to a room. If you’re looking to install a mirror on a wardrobe door, there are a few things you need to know.
In this blog post, we’ll walk you through how to attach a mirror to a wardrobe door. We’ll also provide some tips on doing it safely and efficiently. By doing this, you can use the space on the back of the door and increase your overall storage capacity. So, if you’re ready to give your wardrobe an upgrade, keep reading!
8 Reasons Why Attach a Mirror to a Wardrobe Door:
1. Add Depth and Dimension to a Room:
Mirrors reflect light and can make a space feel larger than it is. So if you want to add some extra depth and dimension to a room, attaching a mirror to your wardrobe door is a great way to do it. It will make the room look bigger, but it will also add some extra light.
2. Create the Illusion of More Space:
As we mentioned, mirrors reflect light and can create the illusion of more space. For example, if your wardrobe is located in a small room or hallway, attaching a mirror to the door can help make the space appear larger. It’s a great way to trick the eye and make the most of your space.
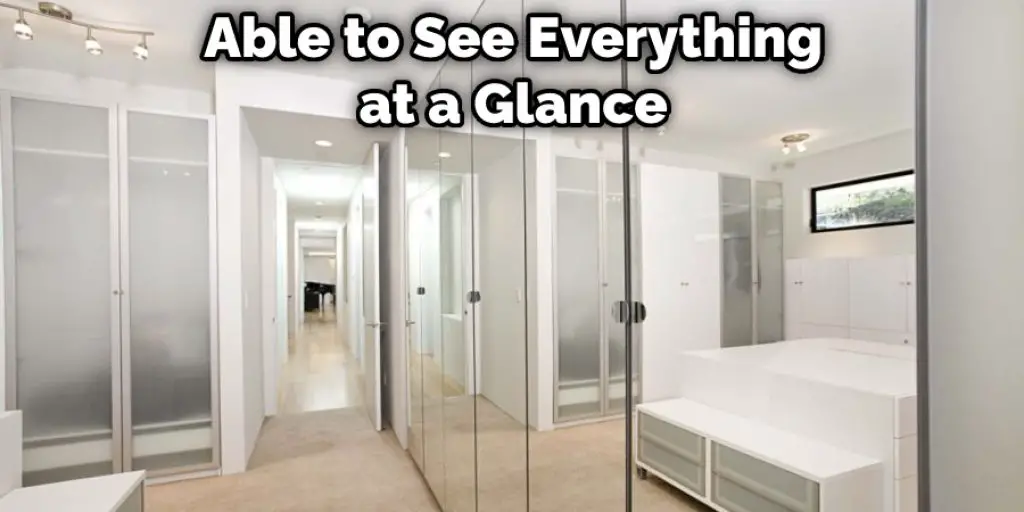
3. Maximize Storage Capacity:
By attaching a mirror to your wardrobe door, you can increase your storage capacity. In addition, the mirror will reflect the contents of the wardrobe, so you’ll be able to see everything at a glance. This is especially helpful if you have many items or if your wardrobe is crowded.
4. Save space:
If you’re short on space, attaching a mirror to your wardrobe door can help you save some. By utilizing the back of the door, you can free up floor or wall space for other purposes. This is a great solution for small homes or apartments.
5. Keep Your Wardrobe Organized:
Being able to see everything in your wardrobe at a glance can help you keep it more organized. When you can see what you have, it’s easier to put things away and know where everything is. This can save you time and frustration in the long run.
6. Make a Space Feel More Open:
If you want to make a space feel more open, attaching a mirror to your wardrobe door is a great way to do it. The mirror will reflect the room and make it feel larger than it is. This is a great trick for small bedrooms or apartments.
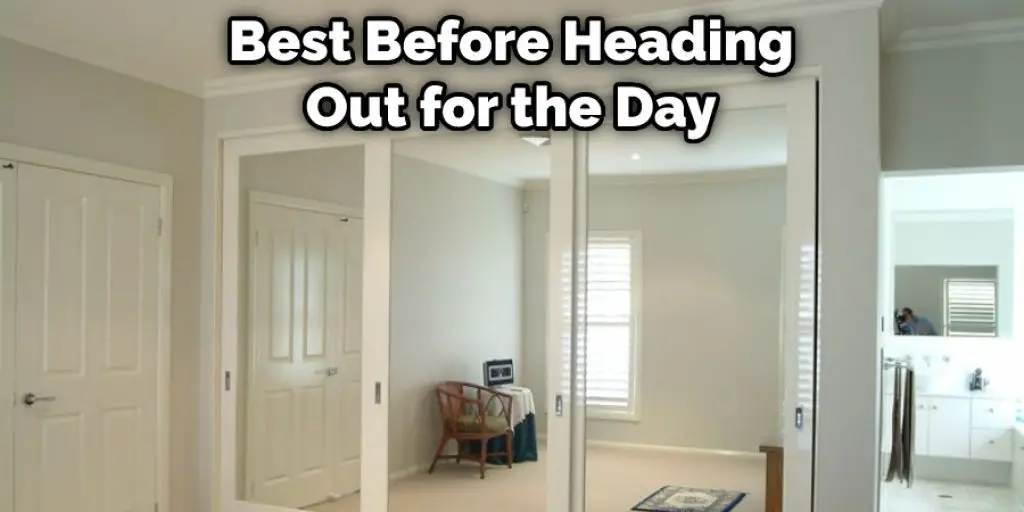
7. Get Ready for Your Day:
Start your day off on the right foot by getting ready in front of a mirror. Having a mirror attached to your wardrobe door means you can make sure you look your best before heading out for the day. No more worrying about whether your outfit is wrinkle-free or your makeup is smudged.
8. Can Be Used as Decoration:
In addition to its functional purposes, a mirror can also be used as decoration. You can find mirrors in various shapes, sizes, and styles to match your taste and decor. Attaching a mirror to your wardrobe door is a great way to add a touch of style to your space.
Step by Step Instructions: How to Attach a Mirror to a Wardrobe Door
Step 1: Choose the Right Mirror for Your Space.
The first step is to choose the right mirror for your space. You’ll want to consider the size of the mirror and the style of your wardrobe. There are a variety of mirrors available, so take some time to find one that will work well in your space.
Step 2: Measure the Door and Cut the Mirror to Size.
Once you’ve chosen a mirror, it’s time to measure the door and cut the mirror to size. You’ll want to make sure the mirror is cut slightly smaller than the door so that it can be easily attached.
To measure the door, start by measuring the width and height. Once you have those measurements, you can use a tape measure or ruler to mark where you’ll need to cut the mirror. If you’re using a power saw, it’s best to have someone help you hold the mirror while you’re cutting it.
Step 3: Apply Adhesive to the Back of the Mirror.
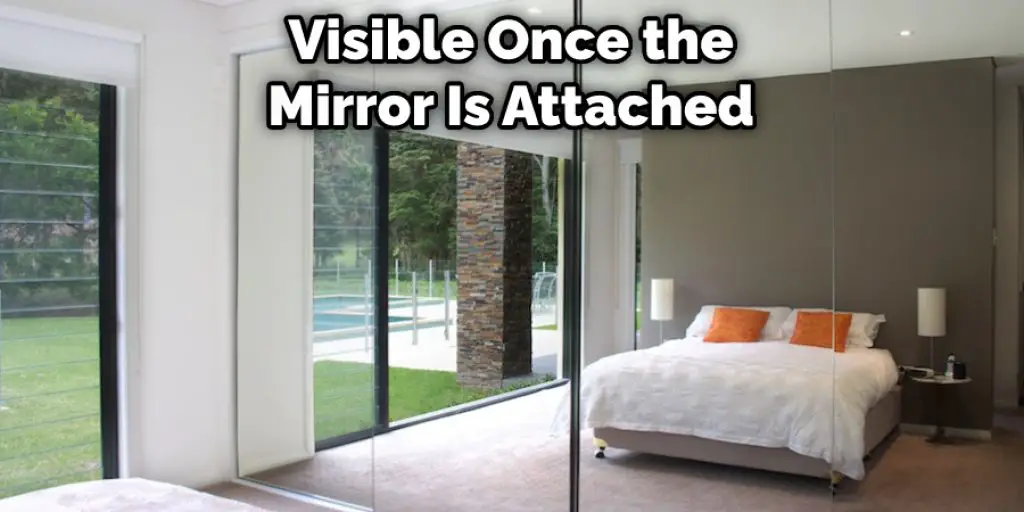
After you’ve cut the mirror to size, it’s time to apply adhesive to the back. You’ll want to use a strong adhesive to hold the mirror in place. Apply the adhesive evenly to the back of the mirror, making sure to avoid any areas that will be visible once the mirror is attached.
Step 4: Installing Anchors on the Door.
If you’re attaching the mirror to a hollow door, you’ll need to install anchors before proceeding. To do this, start by drilling a hole in the door slightly smaller than the anchor. Then, insert the anchor into the hole and screw it into place. Repeat this process until you have installed all of the anchors you need.
Step 5: Attach the Mirror to the Door.
Now that the mirror is cut to size and the adhesive is in place, it’s time to attach it to the door. Start by aligning the top of the mirror with the top of the door. Then, press the mirror into place and hold it there for a few minutes to allow the adhesive to set. Once the mirror is attached, you can apply any decorative accents.
Step 6: Enjoy Your New Mirror!
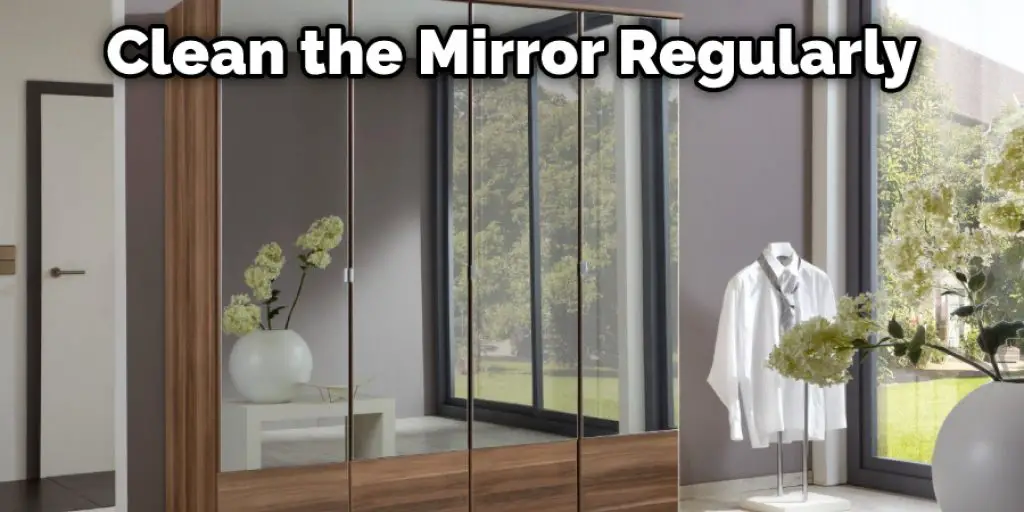
You’ve now successfully attached a mirror to your wardrobe door! This simple project can make a big difference in the look and feel of your bedroom or closet. Be sure to clean the mirror regularly to keep it looking its best.
Some Additional Tips & Advice:
Here we have given tips on how to attach a mirror to a wardrobe door.
- If you’re attaching the mirror to a solid door, you may not need to use anchors.
- Make sure the adhesive is strong enough to hold the mirror in place.
- Be careful when cutting the mirror to size. It’s best to have someone help you hold it while you’re cutting.
- Apply the adhesive to the back of the mirror, not the door.
- Press the mirror into place and hold it there for a few minutes to allow the adhesive to set.
- If you’re using screws, make sure they’re long enough to go through the thickness of the door and into the studs behind it.
- Use plastic or rubber washers under the screws to prevent them from marring the mirror’s surface.
- If you’re attaching the mirror to a hollow door, you’ll need to use anchors to ensure it’s securely in place.
How Do You Hang a Mirror on a Door Without Screws?
If you’re looking for a way to hang a mirror on a door without screws, a few options are available. You can use adhesive strips, fishing lines, or velcro to secure the mirror. Adhesive strips are the easiest option, but they may not be strong enough to hold the mirror in place if it’s too heavy. Fishing lines or velcro can be used to create a more secure attachment, but they may be more difficult to install.
When you’re ready to hang the mirror, start by cleaning the door with a damp cloth. This will help the adhesive strips or velcro adhere better. Next, measure the mirror and door to determine where you want to place the mirror. Once you’ve decided on the placement, apply the adhesive strips or velcro to the back of the mirror and door. Finally, press the mirror firmly in place and allow the adhesive to dry for 24 hours before using.
Now that you know how to hang a mirror on a door without screws, you can easily add one to any room in your home. With a little bit of planning and effort, you can create a stylish and functional space that you’ll enjoy for years to come.
How to Size and Position Your Wall Mirror?
When it comes to wall mirrors, size and placement matter just as much as style. The wrong mirror can make a room feel off-balance, while the right one can create the illusion of more space. Here’s how to pick the right wall mirror for your home. First, consider the size of the room and the amount of wall space you have available.
A small mirror in a large room will look lost, while a large mirror in a small room can overwhelm the space. Next, think about where you want to place the mirror. A wall mirror can be used to reflect light and create the illusion of more space, so placement is key. Hang your mirror at eye level or above a console table to make a statement.
Conclusion
Although it is not a difficult project to do, a few things should be taken into account for a successful outcome. First, remember to use a level when hanging your mirror for the best results, and be sure to enjoy using your new space-saving addition. Now that you know how to attach a mirror to a wardrobe door, it’s time to get started!
This simple project can be completed in just a few minutes. However, be sure to use the right hardware and have all of your tools ready before starting. We hope you enjoy this blog post and find it helpful. If you have any questions or comments, please let us know.


