The first thing you’ll need to do is measure the distance between where the rod will be mounted and where it will stop. This measurement should include any finials, brackets, or mounts that are being used.
Once you have this measurement, add about a quarter inch for extra room to cut the fabric. Next, take a strip of fabric that is wide enough to wrap around your curtain rod with about an inch leftover on each end. Fold up one edge so that it meets in the middle and pin together along the length of the fabric at both ends.
Then place these pins onto either side of your curtain rod at its center point and make sure they meet right in front of your mount or bracket before sewing them down. So, this article is for you. You will learn how to attach finials to curtain rods with just one simple trick!
Step to Follow on How to Attach Finials to Curtain Rods
Step One: Determine
First, determine the rod you want to add a finial to. This should be a rod that has both a curtain and a finial on it but may also include a decorative curtain hook or tieback system if you prefer not to make any changes to your curtains at all.
Now you should measure the circumference of the rod. Measure as close to the final as possible. If your rods have something like a metal hook at the top, follow those instructions because they’ll indicate where you can attach your finial. If you’re not certain about the circumference of your rod, follow these steps to find it.

First, measure the diameter of the rod at its widest point. Then measure how far apart that measurement is on either side. Finally, add those two numbers together. That’s the diameter of your rod, and that’s what you’ll use when learning how to attach finials to curtain rods.
Step Two: Gather Materials and Tools
You’ll need a rod finial, which can be purchased at almost any hardware store. It should fit the diameter of your rods exactly and have some pre-drilled hole or hook on it for mounting. If you don’t want to purchase one, you can make your own.
You’ll need a drill with the right size bit for the hardware store finial or one that’s sized appropriately if you choose to make your own. You’ll also need an adhesive of some kind – preferably something that can be painted, like nail polish, which comes in various colors.
If you’re using acrylic paint rather than nail polish, you’ll also need a small paintbrush and some water to clean the brush off with once you’ve finished your project. You’ll also need a ruler or tape measure, something that can mark the hole on your finial or finials where you’re going to drill into it.
Step Three: Drill the Hole
Measure and mark where you’re going to drill into your finial or, in the case of making your own, whatever material you’re using for the core. Use a ruler and a pencil with an eraser on them because they won’t leave marks that can show up later on when you’re painting.
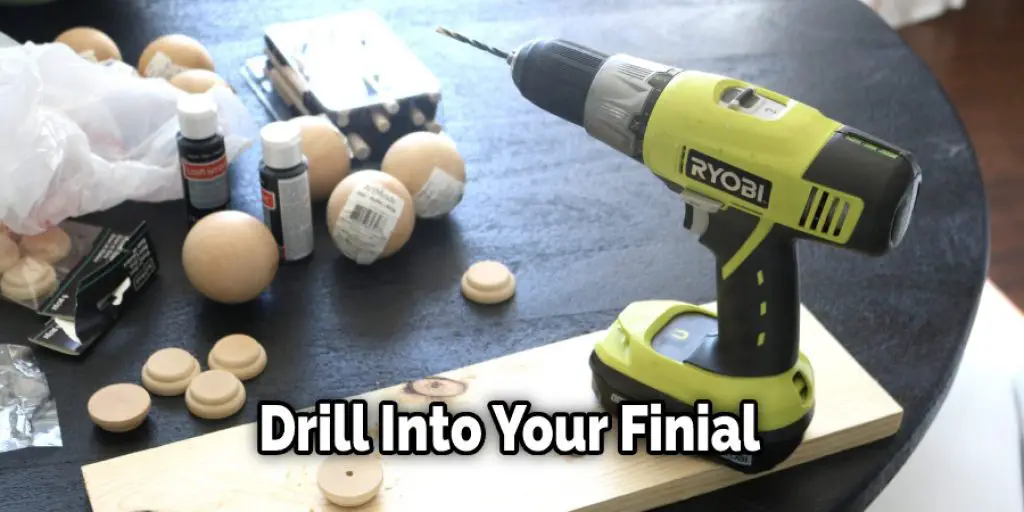
When measuring, consider that most curtains will be too wide to fit on a perfectly round rod. You can find how far apart the holes should be by simply adding up the circumference of the rod and multiplying it by two. Once you know where to drill, carefully and lightly mark those spots with your pencil or pen tip.
Now secure your finial, curtain hook, or tieback with pliers. First, push the wire casing together so that it’s pinched tight and won’t slip when you drill into it later. You can use your fingers or another set of pliers to do this. Next, secure the base, so it doesn’t move, either with a vise grip or by hand if there’s room.
Step Four: Screwng in Holes
For the final, drill into the hole that is already there or into the core material. If you’re using acrylic paint to fill each hole after drilling, make sure you drill slowly and carefully so as not to shatter your paint container. Likewise, if you’re crimping the wire casing on a tieback or finial with a hook, make sure you drill slowly and carefully so as not to let the tieback or finial slip around and be damaged.
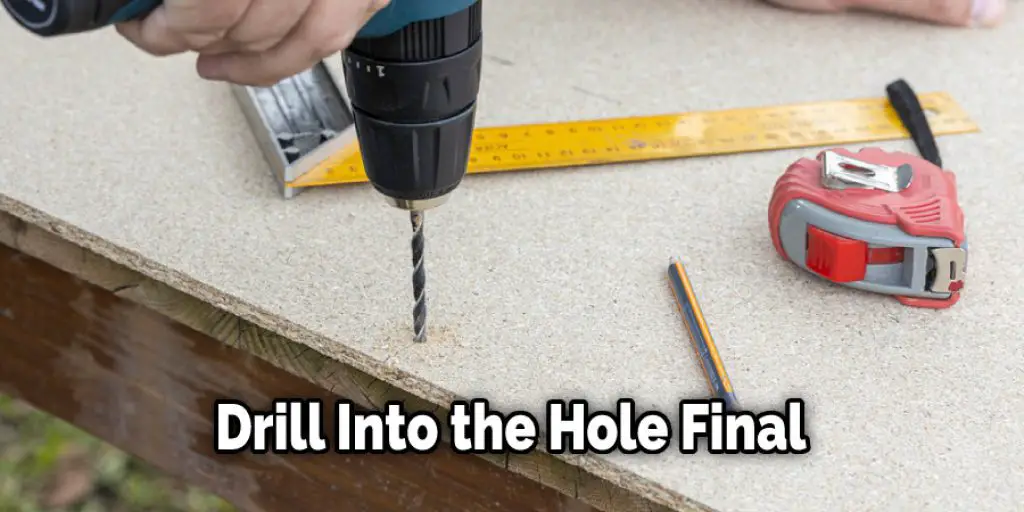
Also, keep in mind that the wood may split if your curtain rod is wooden and you’re drilling through it. If this happens, use a piece of sandpaper to smooth down the rough edges. Then, for a final, drill a hole straight into the rod until you reach the center of the long piece of wire casing on either side.
You can’t miss it because it should be very thick and easy to find. Drill here because this will allow you to fill up extra space with acrylic paint or nail polish after crimping in your finial. Don’t drill too deep, though, or you’ll damage the piece of wire casing that’s on the opposite side and won’t be able to crimp in your finial properly.
Step Five: Attaching the Finial
Once you’ve drilled into your finial or core material, put your finial onto the hole with pliers. If there’s no pre-drilled hole for it to stick into, stick something toothpick-sized into the center of it before putting the final on. Then paint or crimp through any extra space with your finials.
Without spaces to fill, you’ll need to push them closer together manually or use another material that can glue itself to the sides of the wire casing. This is why you must drill into the opposite side of where you’re placing your finial before crimping in place.
Conclusion
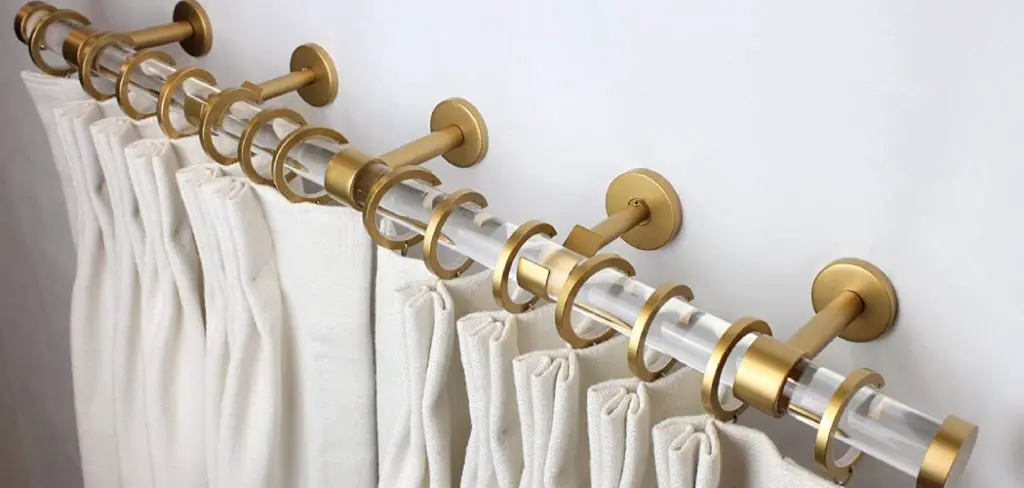
Finials are decorative pieces that can be added to the ends of curtain rods to make them look more attractive. They usually come in a variety of styles, including floral designs and sleek metallic finishes. The most common way finials are attached by sliding them over the top of the rod until they reach its end, then turning it to fit into place on one side or another.
You may also find some types with tiny screws at either end for easy installation if you have an extra screwdriver handy. Finally, the conclusion paragraph is informative and provides information on how to attach finials to curtain rods.


