A common problem for people with glass table tops is how to attach legs. Try this simple trick if you are looking for a way to attach table legs but don’t want the hassle of connecting them directly into the top itself. All it takes is a few pieces of scrap wood and some screws.
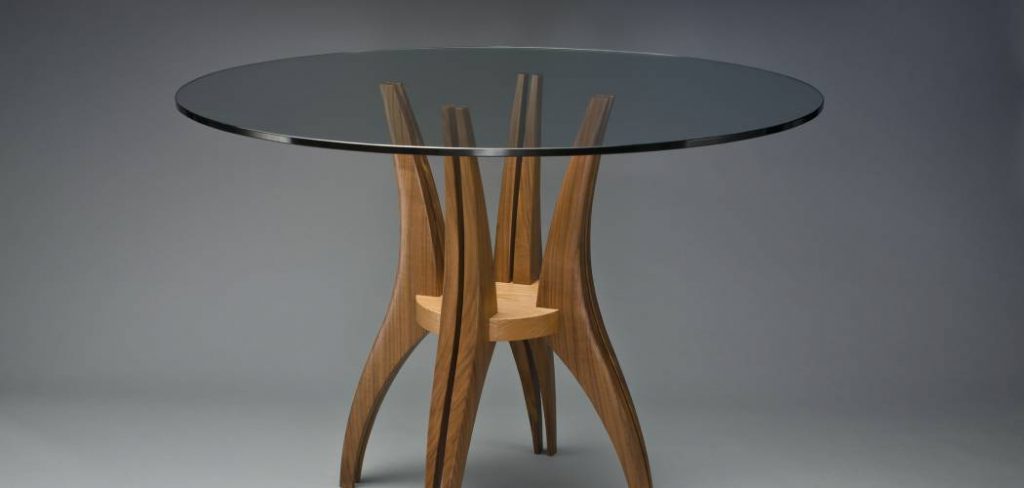
First, measure the desired height of your table. Then, mark out where each leg should go on your board. Drill holes that are big enough for your screws to fit through. Next, take one of the boards and screw it into each leg. Turn it over so that it becomes the surface of your table. In this blog post, we will go over how to attach legs to a glass table top.
6 Steps to Follow on How to Attach Legs to Glass Table Top
Step One: Drill Holes to the Glass
The first step is to drill holes into your glass for each leg. To do this, take a pencil and measure 1 inch in from either side of the bottom. Next, use a marker to draw circles around your four legs where you will want them drilled.

Now get your drill with a bit that’s slightly wider than the width of the screw. Put it in your drill press, or get ready to be patient and work it by hand, drilling through the center of each circle you just drew.
Step Two: Attach Brackets with Screws to Legs
In order to attach the brackets, you will need to take wing nuts and screw them onto four screws. The screw should be long enough to go through both the bracket and glass leg, but it shouldn’t protrude so far that it will scratch the floor.
Next, line up one side of a bracket to a circle on your glass where the leg will go. Screw each wing nut/screw combination in until tight. Once all four have been attached, screw in your legs.
Step Three: Screw Legs into Brackets
Now that you have attached the brackets to all four corners of your glass tabletop, it’s time to screw in the legs. Start with one leg and line it up with a corner bracket. There will be holes drilled into each corner of the bracket. Next, screw the leg into place using two screws for each bracket. Repeat this process with all four legs.
The height of your table legs may vary depending on the type of table you have. However, if you use adjustable table legs like we did for this project, you can simply adjust them to get the perfect height. As you’ll see in step six of this tutorial, each leg has a small screw at the bottom that allows you to adjust the leg height after it is attached.
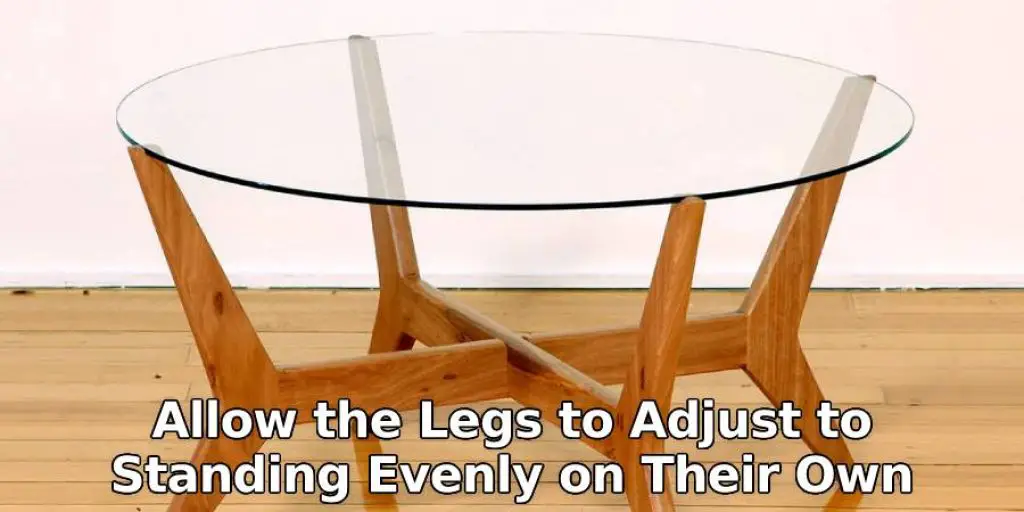
Step Four: Allow the Legs to Adjust
Now that you have attached all four legs and are standing up, it is time to allow the legs to adjust to standing evenly on their own. First of all, take a look at each leg and make sure the screws are tight enough. If not, tighten them with your screwdriver.
Next, take a look at the leg closest to you. Notice that there are two small screws at the bottom just above the rubber pad? Those allow you to adjust how high or low each leg stands, so turn them clockwise until they are tight. Then, repeat this process with all four legs.
Step Five: Make Any Adjustments
It is time to make any additional adjustments to your legs. First, you can turn the small screws on each leg at the bottom until they are even with one another. Next, turn clockwise to raise them up and counter-clockwise to lower them down. This ensures they are all at the same height.
If your shelves are uneven, it’s probably because one of the brackets is higher than the others. To fix this, find the bracket that’s higher than the others and turn the screw on that bracket.
Step Six: Make Your Table Stable
It’s time to make your table stable. To do this, take a look at each corner where the leg attaches to the bracket. There should be four screws that you can tighten with a screwdriver. Turn each screw clockwise until they are tight.

This will ensure your legs are secure, and your table will not wobble as it is used. Now that your table is standing up, you can double-check that its level. To do this, use a carpenter’s level to ensure all four legs are even with one another, and the entire tabletop has the same height. If not, give each leg or bracket screw a turn clockwise if needed.
Can Glass Be Glued to Wood?
The glue usually can’t attach glass to wood due to the dissimilar materials and their different coefficients of thermal expansion. Another job for bonding glass and wood is choosing a metal bracket or leg that attaches easily to both surfaces. The bracket or leg has adhesive foam strips that only partially penetrate into the countersunk screw holes.
These will permit you to reposition the glass tabletop slightly due to their grip better than rubber alone. Although not all models of brackets and legs are designed this way, it is worth checking before starting if possible. If not, you can use other methods, such as drilling pilot holes in the glass. Thanks for reading about how to attach legs to glass table top.
You Can Check It Out to: Clean Vintage Formica Table Top
Frequently Asked Question
What Do You Put Under a Glass on A Table?
Glass is the term used to describe a vessel that has an open top and a narrow mouth. The most common type of glassware is made from blown glass. In general, glasses are also known as drinking glasses or tumblers. The name tumbler comes from the Dutch word “trommel,” meaning “glasses.”
Can I Put a Glass Top on A Wood Table?
There are different types of glass tops that can be used on wood tables. There are tempered glass tops that are made from a special type of glass that is hardened at high temperatures and has the best quality. Tempered glass will not break or crack when it hits something like a tabletop, so you don’t need to worry about anything breaking. However, these tops may cost more than other options, such as plastic or ceramic tiles.
Another option would be laminate flooring made from layers of materials bonded together with resin, making it resistant to scratches and scuffs while also being relatively easy to clean. Laminate flooring is often available in many different colors and styles, so you can choose the one that suits your needs best.
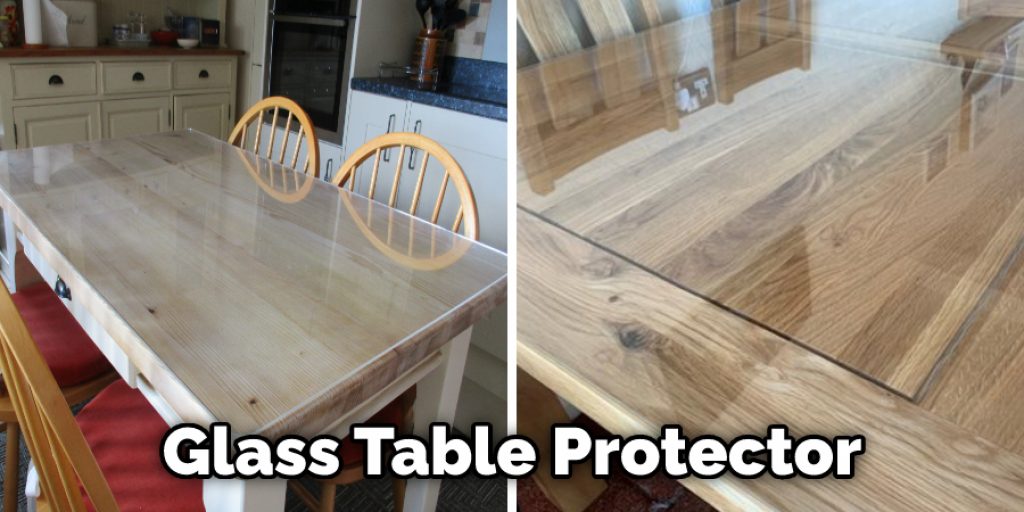
How Thick Should a Glass Table Protector Be?
A glass table protector should be as thick as needed to protect your table from everyday wear and tear. It can vary depending on how much traffic you will have in your home or business. For example, if you are at a party with a lot of people and food flying around, then it would be best to have a thicker glass table protector than if you just had friends over for dinner.
Do Glass Tables Scratch Easily?
No, they don’t scratch easily. Glass tables are made from tempered glass which is a special type of toughened glass that is less likely to break when hit or dropped.
Can a Glass Table Top Be Polished to Remove Scratches?
Yes, you can polish a glass tabletop to remove scratches. To polish the glass tabletop, use a soft cloth and a circular motion while rubbing the surface in small circles. Use the same technique with an old toothbrush or clean towel to remove any remaining dirt from the glass. Rinse your cloth and keep it damp before continuing to polish each area of the glass until all scratches are gone.
Conclusion
To attach legs to a glass tabletop, you will need two small pieces of wood cut at the same height as the leg. The width should be smaller than your table’s thickness, and they should have a hole bored through them near one end so that they can slip onto each side of the leg from underneath.
A drill or screwdriver is needed to bore this hole. Lay these boards on either side of the underside of one leg with their holes facing outwards and place some screws through those drilled holes into feeder holes bored along both sides where it meets up with its mate board below. While this article was mainly about how to attach legs to glass table top.
You may read also – How to remove glass table top from base.


