If you’re like most people, you love firing up the grill in the summertime. But if you don’t have a permanent outdoor grill setup, it can be a hassle to find a way to attach your propane tank to your portable grill.

We’ll show you how to attach propane tank to portable grill in this post. When you’re ready to cook up some food on your portable grill, the last thing you want to worry about is how to attach the propane tank. With these easy steps, you can have your grill up and running in no time! Keep reading for tips on how to make the process easy and stress-free.
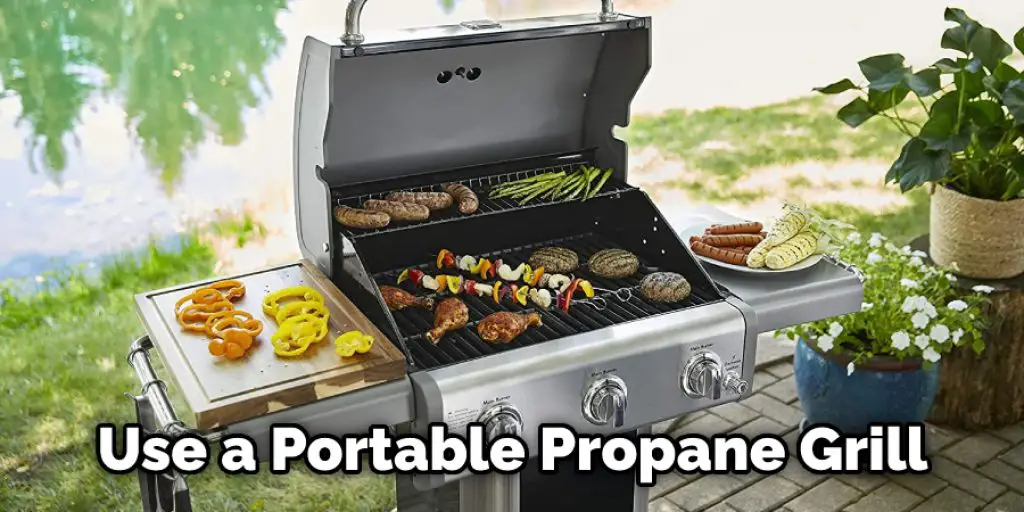
Benefits of Using Portable Propane Grill
Portability:
One of the best things about a portable propane grill is taking it with you wherever you go. So whether you’re camping in the woods, grilling at the beach, or cooking up a meal at a friend’s house, this grill is the perfect option for backyard BBQs and outdoor gatherings.
Ease of Use:
Another benefit of using a portable propane grill is that it’s easy to set up and use. First, you need a propane tank, which you can easily attach to the grill, and then you’re ready to start cooking. There’s no need for charcoal or any other fuel type, so it’s perfect for those who want a quick and easy grilling experience.
Versatility:
A portable propane grill is also very versatile. Of course, you can use it for cooking food, but many models also come with a built-in stovetop that you can use to heat water or cook other foods. This makes them a great option for camping or for use in places where you don’t have access to a regular kitchen.
Convenience:
One of the best things about a portable propane grill is that it’s so convenient. There’s no need to set up a charcoal grill or wait for the coals to heat up – with a propane grill, you can start cooking right away. And since there’s no mess or smoke from the grill, you don’t have to worry about cleaning up afterward.
Temperature Control:
A good thing about propane grills is that they come with a temperature control system, which means you can adjust the heat. This is perfect for those who want to cook food evenly or want more or less heat when grilling.
Durability:
Another benefit of using a portable propane grill is that they are often made with durable materials that can withstand wind and rain. So if you’re planning to grill outdoors, even in inclement weather, a portable propane grill is a good option.
Cost-Efficiency:
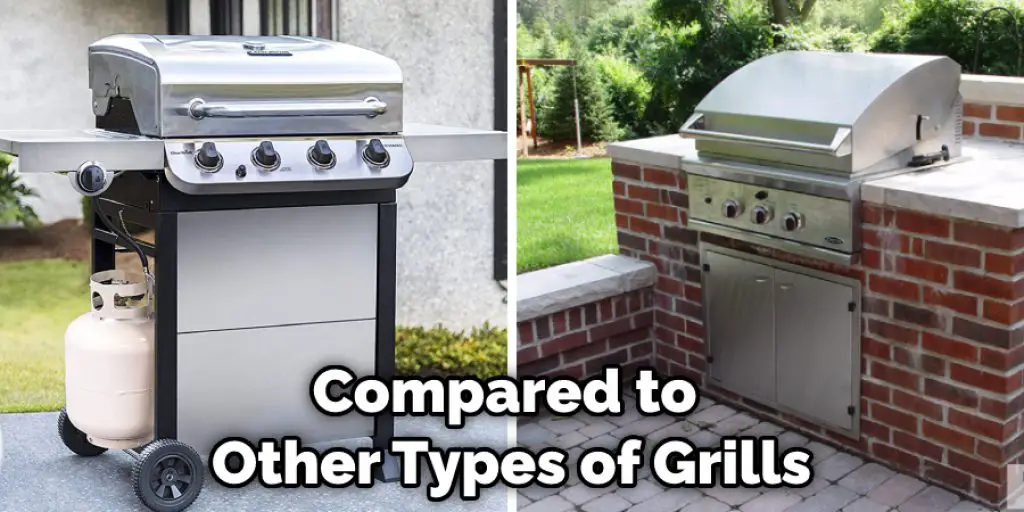
Compared to other types of grills, a portable propane grill is often more cost-effective in the long run. Not only do you not need to purchase charcoal or any other type of fuel, but propane tanks are relatively affordable and can last for several cooking sessions.
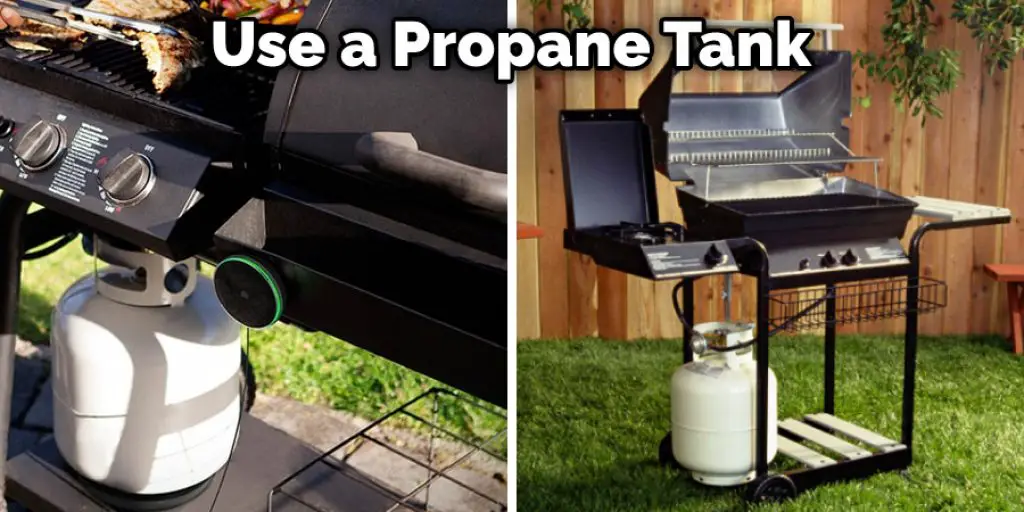
Things You’ll Need
- Propane tank
- Grill
- Adapter hose
- Wrench
- Screwdriver
How to Attach Propane Tank to Portable Grill: Step by Step Guide
Step 1: Find the Right Spot to Place Your Tank.
When you’re attaching a propane tank to a portable grill, it’s important to make sure that the tank is in a safe spot. You don’t want to put it near any flammable objects, and you should make sure that the area is well-ventilated.
Step 2: Get The Propane Tank Ready.
Before you can attach the tank to the grill, you’ll need to make sure that it’s ready for use. First, turn the valve on the tank until it’s in the “on” position. You should hear a hissing noise when the gas is turned on.
Step 3: Find the Adapter Hose.
The adapter hose is the piece that will connect the propane tank to the grill. It’s usually a short, thick piece of rubber or plastic with a male end that will fit over the propane tank and a female end that will fit into the grill. If you can’t find the adapter hose with your grill, you can buy one at most hardware stores.
Step 4: Connect the Adapter Hose.
Connect the adapter hose to the propane tank and the grill. Make sure that the hose is in the “off” position before you start to screw it in. If the hose is on when you start to screw it in, you could cause a gas leak.
Step 5: Tighten the Hose with a Wrench.
Once the hose is connected, use a wrench to tighten it. You don’t want the hose to be too loose, but you also don’t want to over-tighten it and damage the tank or the grill.
Step 6: Attach the Wrench.
Once the regulator is in place, attach the wrench to the nut on the propane tank. Turn the wrench counter-clockwise to loosen it.
Step 7: Turn on the Grill.
Now that the grill is assembled and the propane tank is attached, it’s time to turn on the grill. Make sure the control knob is set to high, then open the lid and light the grill with a long match or lighter. The grill will take a few minutes to heat up, so be patient.
Step 8: Perform The Gas Leak Test.
Once the grill is turned on, it’s a good idea to perform a gas leak test. To do this, light a match and hold it near the hose. If you see any sparks or flames, there’s a gas leak, and you should turn off the grill and call a professional.

Step 9: Set the Temperature.
Once the grill is lit, you can start to set the temperature. Most portable grills have a knob that you can turn to set the heat. Turn it to the setting you want, and wait a few minutes for the grill to heat up.
Step 10: Start cooking!
Now that your grill is set up, it’s time to start cooking. Put your food on the grate and wait a few minutes for it to cook. Enjoy your grilled food!
Now that you know how to attach propane tank to portable grill, you can enjoy a nice grilled meal without any hassle. Make sure to follow these steps for a safe and easy grilling experience. Happy cooking!
You Can Check It Out to Hook Up a Propane Tank to a Wall Heater
Safety Precautions and Warnings:
- Make sure that the area is well-ventilated when you’re attaching a propane tank to a portable grill.
- Don’t put the tank near any flammable objects.
- Make sure that the hose is in the “off” position before you start to screw it in.
- If the hose is on when you start to screw it in, you could cause a gas leak.
- Use a wrench to tighten the hose fitting.
- Don’t over-tighten the hose fitting; you could damage it and create a gas leak.
- Check for leaks before using the grill. You can do this by spraying soapy water on all fittings and then looking for bubbles.
- If you see any bubbles, turn off the grill and fix the leak.
Is It Possible to Put a Propane Tank in the Trunk of My Car and Use It as a Portable Grill?
While it is possible to put a propane tank in the trunk of your car and use it as a portable grill, it’s not recommended. If the tank falls over or leaks, it could create a dangerous situation. Instead, it’s better to use a portable grill that doesn’t require a propane tank.
If you must use a propane tank, make sure the grill is stable and plenty of ventilation. Never leave the grill unattended, and keep a fire extinguisher nearby. In addition, be aware of your surroundings – don’t use the grill in an enclosed space or near flammable materials.
Conclusion
Now that you know how to attach propane tank to portable grill, you can enjoy a cookout anywhere. Be sure to check the manufacturer’s instructions for your specific grill before starting your first cookout with it. By following these simple steps, you’ll be able to get cooking in no time.
Just make sure that you take all the necessary safety precautions when using any type of grill, and enjoy those backyard BBQs with your friends and family. And if you have any questions or comments, please feel free to share them with us in the comment section below. We hope you have a great summer full of delicious grilled food!


