Introduction
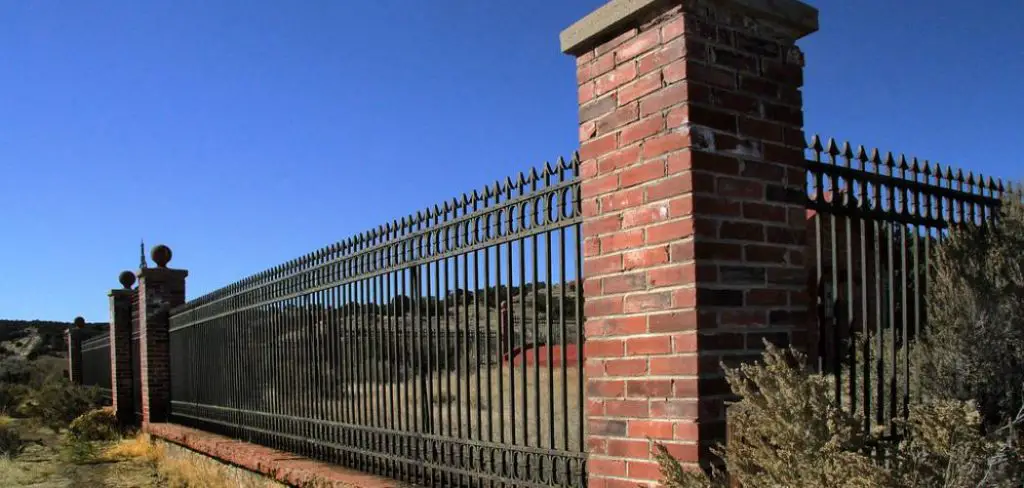
Fences are an essential part of the house, as it is used to secure your property and create boundaries. It can be made from any material, including wood, iron, and mid-rails. However, the most common type of fence seen is wooden fencing or corten steel fences used by people for decades now. In this article, I will discuss how to attach wood to existing wrought iron fence. So let us get started. The most common way to attach wood to an existing wrought iron fence is to use brackets. Brackets are easy to install and come in different sizes. They are also available in different shapes such as square, oval, or rectangular.
A Detailed Stepwise Guide on How to Attach Wood to Existing Wrought Iron Fence
Getting Started –
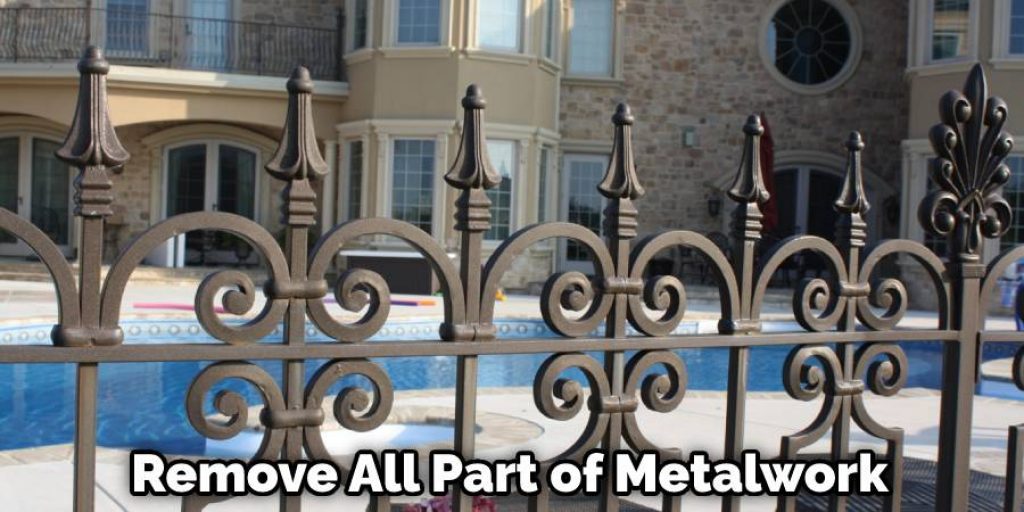
The first step towards attaching wood to the existing wrought iron fence is to determine how much wood you want. Make sure that this will not affect the structure of the wall in any way. If yes, then consider building a new one. Next, you have to remove all or some part of the existing metalwork for attaching wood, depending upon your requirements. Then attach the wood slats at regular intervals. Attach it securely so that the weight of the wood does not collapse the structure.
Preparation –
In order to install a wooden fence on top of an existing wrought iron fence, you will need to gather some tools and materials. This includes nails, screws, drills, etc. Make sure you have enough of these before starting the project. You may also need to remove or install old wrought iron fencing. If you are not sure how to do this, you may want to hire a professional.
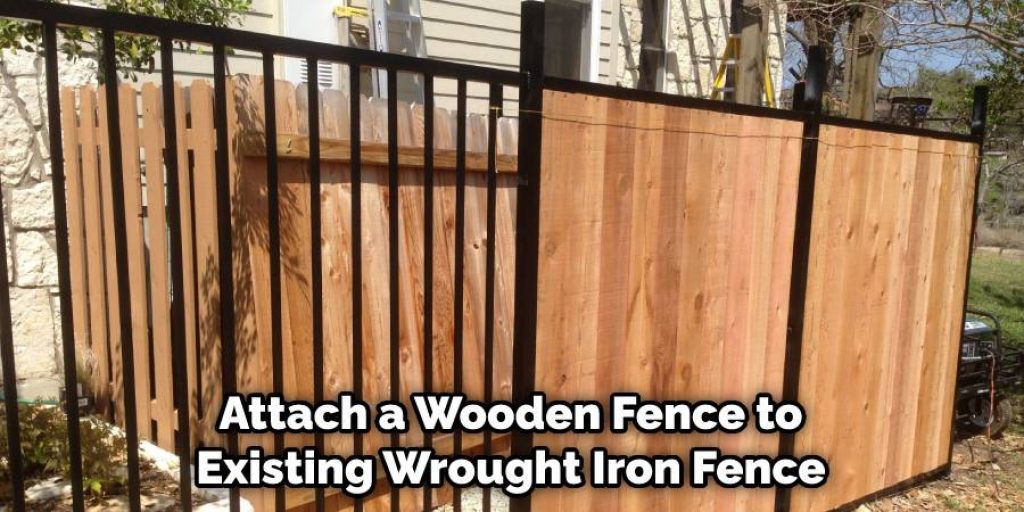
There are many advantages in hiring a professional to attach a wooden fence to an existing wrought iron fence. The first is that installation would be done much faster than if you do it yourself. The second is that these professionals have all the necessary tools and materials in proper quantity, which means no chances of running out halfway through the project.
The third is they help in resolving any problems (if any) during or after installing process. Removal – The next step towards attaching wood to the existing wrought iron fence is the removal of old wrought iron fencing if already installed. For this, use a saw with a metal cutting blade to remove the metal parts from the surface to remove the metal parts embedded in concrete; you will need a drill and masonry bit for drilling holes to insert the blade of the saw into it. Use a hacksaw for more delicate cuts if needed.
Installation –
Before you install wood slats on top of an existing wrought iron fence, make sure the fence is completely clean and free of any dirt, grime, or objects that could get in the way. Wash all the metal parts thoroughly with soap and water, and sprinkle baking soda on them to get rid of any dust particles. This will help the adhesive stick properly.
Application –
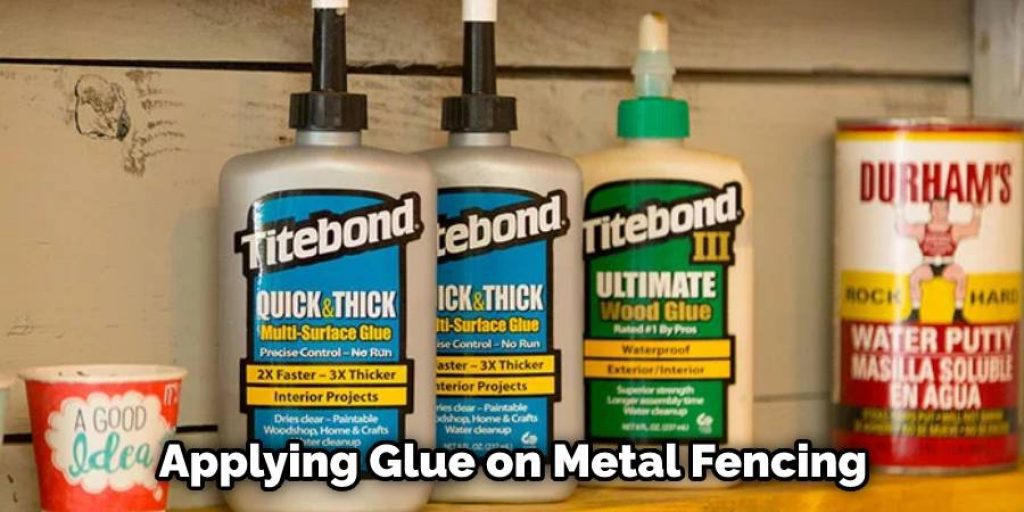
The next step is the application of wood adhesive/glue on both sides, i.e., the top side and the bottom side of the metal parts. Usually, these adhesives come in a tube-like container with a nozzle for applying glue on metal fencing. Ensure to use minimum quantity and not to apply too much so that adhesive oozes out when wood slats are attached over it. Also, make sure not to miss any corners or gaps and cover them adequately using glue.
After applying adhesive, fix wood slats over the existing wrought iron fence metal parts. Use nails provided by the manufacturer if wooden fencing is pre-assembled. If the wooden fence is just a collection of individual planks, then use galvanized screws for attaching wooden slats. The screw length should be longer than the thickness of the wooden slats. Fill in all gaps between the planks with sealant, in order to prevent moisture ingress into the fence. Attach finishing touches such as ornaments and other decorations.
Preferably, use screws than nails as they hold firmly but at the same time provide ease in the dismantling process when required. Also, apply wood glue on the top surface of existing wrought iron fencing before attaching wood to it so that wooden slats are stuck tightly with metal parts.
You can check it to Extend Vinyl Fence Height.
Final Verdict –
Here are some final tips for installing a wooden fence over an existing wrought iron fencing. The first is to take measurements before starting with the project. The second is not to apply too much adhesive, and just a thin film will suffice. The third is to cover all nooks and corners adequately by using the minimum quantity of adhesive.
Fourth is to make sure that installation takes place in dry weather conditions without any chance of rain or moisture affecting the process in any way. This prevents future gaps in between existing metal fencing and new wooden fencing because of expansion due to moisture content level in the air causing the fence to move away from the metal parts.
You can check it to Tighten a Fence With a Come Along.
What Are The Benefits of Adding Wood to Wrought Iron Fence?
- You can enhance the beauty of your home or business with wrought iron fencing and the addition of wood. If your wrought iron fence already has some wood sections, you can enhance its a beauty by adding more units to give it more depth and texture.
- Wrought iron fences are incredibly durable, but they can rust from exposure to weather conditions over time. Adding wood provides a secondary level of protection from moisture and makes the fence look good again. The added benefit is that you can choose from various maintenance-free woods such as cedar or redwood, which will not rot, unlike untreated pine, oak, etc., which need frequent repainting and upkeep.
- Wrought Iron fencing is very secure and robust, but you can further increase the security of your fence by adding wood to the top. This also gives you two levels of protection from our famous Tallahassee weather. The added benefit is that cedar and redwood are termite resistant, making them ideal for areas where this type of wood-destroying insect is prevalent.
- Wrought Iron Fences come in many styles, designs, and shapes, but one thing they all have in common is sharp edges. Adding wood will soften these edges to provide your loved ones with more excellent safety.
- If you live near the coast or another area where winds speeds are high during certain times of the year, adding wood will help support your fencing because it adds weight, something wrought iron doesn’t offer on its own. Also, cedar and redwood have a natural weather resistance to rot from the salty sea air near the ocean or from being exposed to powerful winds in other regions.
- Wrought iron fencing is known for its rustic beauty, but all metal fades and becomes eroded over time. This is particularly true of wrought iron fences because they are exposed to the elements more than wood fencing, which typically doesn’t experience decay at the same rate as wrought iron. Although you can use anti-rust treatment on your fence, adding wood will add another layer of protection while providing you with a beautiful enhancement to your existing wall.
You Can Check It Out to: Build a Wood Frame Stucco Fence
Conclusion
I hope you have obtained a clear conception of how to attach wood to existing wrought iron fence. Thank you, and have a good day!
You may also like – How to cover wrought iron railings


