A fence gate is a crucial part of your fencing system. It keeps unwanted guests out and your pets and plants in. But before you can do that, you need to brace your fence gate. This DIY article will show you how to brace a fence gate. Then, with a few simple steps, you can have a sturdy fence gate for years.
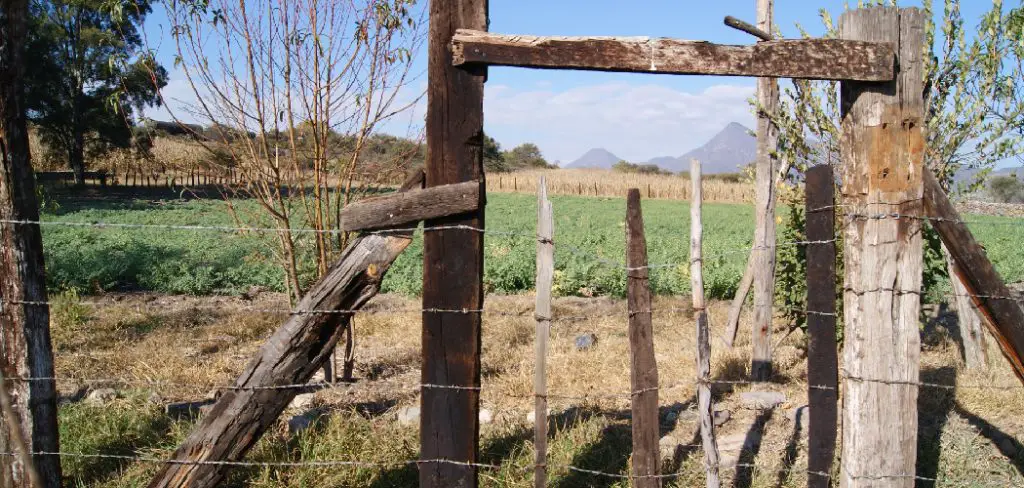
A fence is an essential part of your home security system. It protects your family and possessions from burglars and strangers. But a fence is only as strong as its weakest point, which is often the gate. If your fence gate is not braced correctly, it could be quickly forced open by an intruder. A well-built fence should have a solid foundation and durable materials. But even the best fence will crumble if the gate is not adequately supported.
Things You’ll Need
- Tape measure
- 4-foot level
- Carpenter’s pencil
- String line
- Posthole digger
- Shovel
- Tamp ing tool or tamper
- 8d galvanized nails or 3 1/2 -inch deck screws
- 12d galvanized nails or 4-inch deck screws
- Galvanized carriage bolts, washers, and nuts (1/2 -inch diameter) or lag bolts (1/2 -inch diameter) with washers
A Detailed Guide on How to Brace a Fence Gate
Step 1: Determine Gate Location
The first step is to determine the gate’s location. You’ll need to choose an area that is level and has enough room for the gate to open and close freely. If necessary, the opening should also be large enough to accommodate your vehicle.
Once you’ve determined the gate’s location, use stakes and string to mark the boundaries. This will help you visualize the shape of the gate before you start building it.
Step 2: Lay the Gate on a Flat Work Surface
Next, you’ll need to lay the gate on a flat work surface. This will help you ensure that it is level and square before building it.
If the gate is not already square, use a carpenter’s pencil to draw diagonal lines across the top and bottom of the gate. Then, use a 4-foot level to check for levelness. If the entrance is not level, use adjustable pliers to adjust the hinges until it is.
Step 3: Set a Piece of Lumber Across the Top of the Gate
Once the gate is level and square, you’ll need to set a piece of lumber across the top of the gate. This will serve as a brace and help keep the gate in place while you build it.
If using a wooden gate, use 8d galvanized nails or 3 1/2 -inch deck screws to attach the brace. Using a metal gate, use 12d galvanized nails or 4-inch deck screws. Ensure that the screws are long enough to penetrate through both the brace and the gate.
Step 4: Put the Brace Board Back Inside the Frame
Now that the posts are in place, it’s time to put the brace board back inside the frame. First, position the brace board to center in the opening and flush with the top of the posts. Then, use a few screws to secure it to the posts.
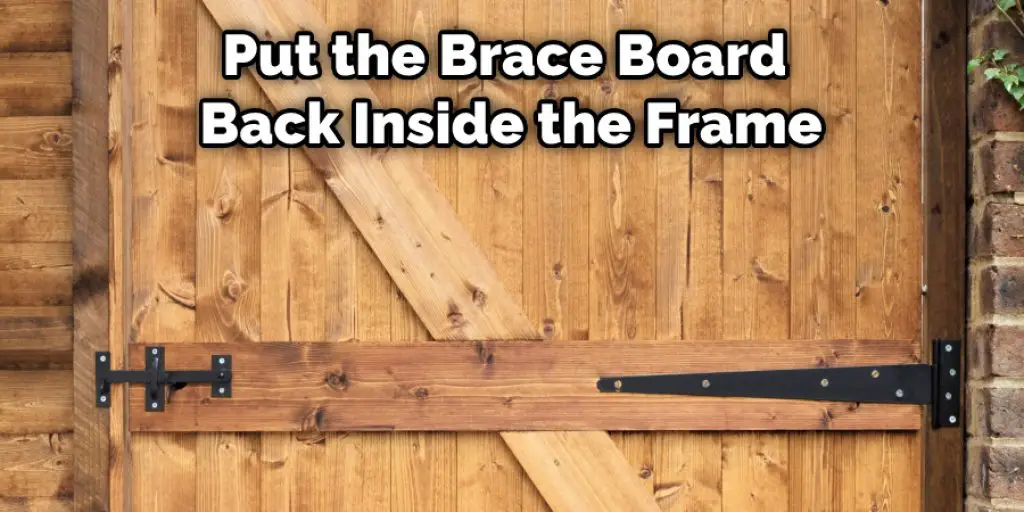
Ensure that the brace board is level before you screw it into place. If it’s not level, your gate will be lopsided and look bad. Once the brace board is in place, you can add a few more screws along the bottom of the frame to further secure it.
Step 5: Lay Another Piece of Lumber on Top of the Gate and Nail It in Place
Lay the second piece of lumber on top of the gate, parallel to the first. Make sure it is lined up evenly before nailing it in place. Next, use a drill or screwdriver to attach screws through the two pieces of lumber into the fence posts on either side of the gate. This will help keep the gate sturdy and in place. You may also want to use metal braces or brackets to secure the gate against shifting or wobbling.
Step 6: Place the Remaining Two Brace Pieces Inside the Frame
With the two end braces in place, you can now add the remaining two brace pieces to the inside of the frame. Make sure that these pieces are level with the others, and then use screws or nails to secure them into place. You may want to use a piece of wood or metal to help support the weight of the fence gate as you work.
Once all four braces are securely in place, your fence gate should be sturdy and resistant to movement. Test it out before adding any finishing touches, such as trim or paint, as you may need to make adjustments if it isn’t wholly level or square. With a bit of time and effort, you can have a beautifully braced fence gate that will last for years to come.
Step 7: Turn the Gate Over and Add Trim
Now that the gate is braced, you can turn it over and add the trim. This will help give the entrance a finished look and provide additional protection against the elements.
Use a miter saw or hand saw to cut trim pieces to size. Then, use a nail gun or screwdriver to attach them to the gate. Be sure to seal or paint the trim once it is in place to protect it from the elements further.
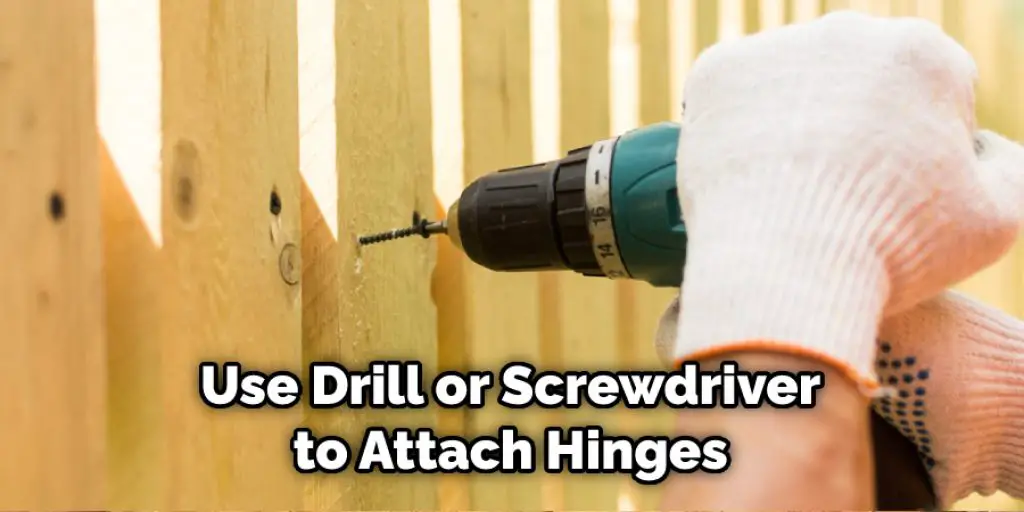
Step 8: Hang the Gate
With the trim in place, your gate is now ready to be hung. First, position the gate in the opening to be level and square. Then, use a drill or screwdriver to attach hinges to the top and bottom of the gate. Please make sure that the hinges are aligned adequately before connecting them.
Finally, use a screwdriver or drill to attach the latch to the gate. Test it out before adding any finishing touches, such as paint or sealant. With a bit of time and effort, you can have a beautiful and functional fence gate that will last for years to come.
Tips and Warnings
Tips:
- It is essential to make sure that the fence gate is level. This can be done by using a level or a laser level.
- Check that the posts are plumb and the cross members are level.
- Use 2×4 lumber or metal tubing for horizontal braces and attach them to the inside of the fence posts with screws or bolts.
- For added stability, you can use diagonal braces. These should be attached to both the posts and the cross members at an angle.
- If you live in an area with high winds, you may consider adding hurricane ties to your fence gate. These can be found at most hardware stores.
Warnings:
- Do not brace the fence gate too tightly, as this can cause the posts to bow.
- Ensure that the braces are properly secured and will not come loose in bad weather.
- Never stand or walk under a fence gate that is not adequately braced.
- Always use caution when working near a fence gate. There is a risk of injury if the gate falls on someone.
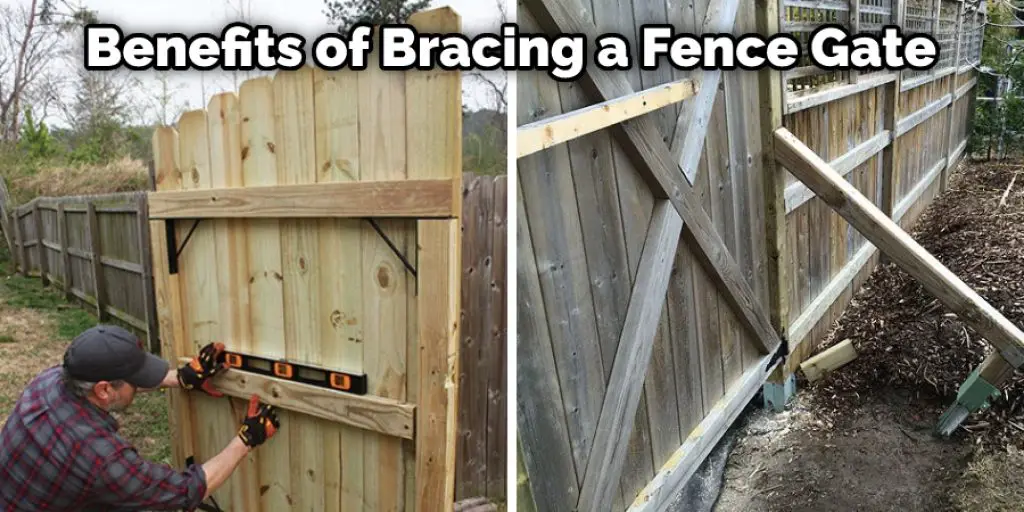
What Are the Benefits of Bracing a Fence Gate?
There are several benefits to bracing a fence gate. One of the most important benefits is that it can help to prevent the gate from sagging over time. Sagging gates are unsightly, but they can also be dangerous, as they may become difficult to open and close properly. Bracing the gate will also help keep it more stable in strong winds or when animals lean against it. Additionally, bracing can add strength and stability to an otherwise weak or flimsy gate.
Installing braces on a fence gate is a relatively simple process, and there are a few different ways that you can go about doing it. The most important thing is to ensure that the braces are installed securely to do their job correctly. With a few essential tools and some careful planning, you should be able to install braces on your fence gate in no time.
Conclusion
Always brace a fence gate! It is the best way to keep it sturdy and in good condition. Fence gates can be beneficial, but they need to be taken care of to function well. So make sure you follow these steps on how to brace a fence gate so that your fence gate stays strong for years to come.


