Concrete fence posts can be tough to break, but they can be done with the right tools and techniques. This article will show you how to break up concrete fence post. We will also provide tips on making the job easier and safer.
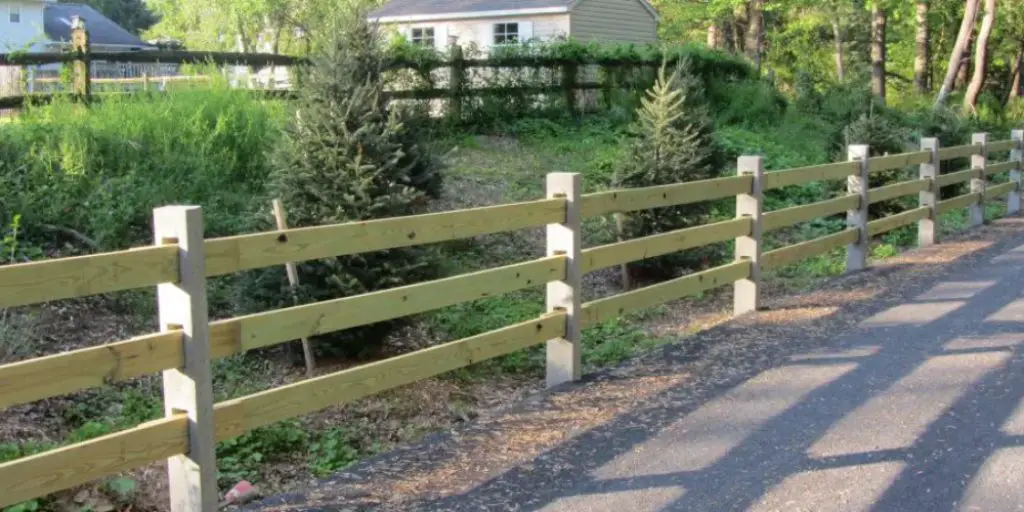
Fences are usually constructed with wood, chain link, or wrought iron, but some older fences may be made of poured concrete instead. You will know that you have a concrete fence post if it has smooth sides and the bottom was cut off at an angle. Concrete posts are used to support heavier gates than wooden ones. They also look more attractive than most other types of fencing materials.
Tools and Materials
- Pickaxe, or sledgehammer
- Concrete break tool
- Pry bar
- Shovel or spade
- Wheelbarrow and gloves (to use for mixing the new concrete)
- Water hose, with a nozzle that will also produce a jet of water
- Optional materials: gloves, knee pads, safety goggles, ear protection.
A Stepwise Guide on How to Break Up Concrete Fence Post
Step 1 : Preparation
Put on your gloves to prevent the possibility of getting cut or hurt by flying chips. It is also possible that you will inhale some dust particles if you don’t wear your safety goggles and ear protection, so make sure to wear them as well.

If available, use a wheelbarrow for mixing new concrete. Make sure to have a shovel or spade with it for this purpose. Have a water hose set up already. You might need it later on in the process.
Step 2 : Using a Sledgehammer or Pickaxe
You have two possible choices for this step. First, you can use a sledgehammer or pickaxe.
If you are using a sledgehammer, decide if the pry bar is needed. If so, place it on top of the fence post between the upper and lower railing, where you want your split to be located. Next, drive the upper half of the pry bar onto the barriers with your hammer until it creates enough space to fit in another piece of wood (a 2×4) within that gap.
Next, insert your 2 x 4 board and drive it back and forth at this location until there is no more resistance from the old fencing material (the chain link). Once you remove all force, turn the pry bar 90° and repeat.
After you remove all force, this time, use a sledgehammer to drive the pry bar inside the post entirely through its thickness. When it is almost detached, insert another piece of wood (a 2 x 4) into the gap and drive that back and forth at this location until you can obliterate your bar.
If You Choose to Use a Pickaxe Instead of a Sledgehammer, Follow These Steps :
Pry off enough fencing material to fit in your wooden wedge (the board for splitting concrete). If there’s no need for one, skip this step.
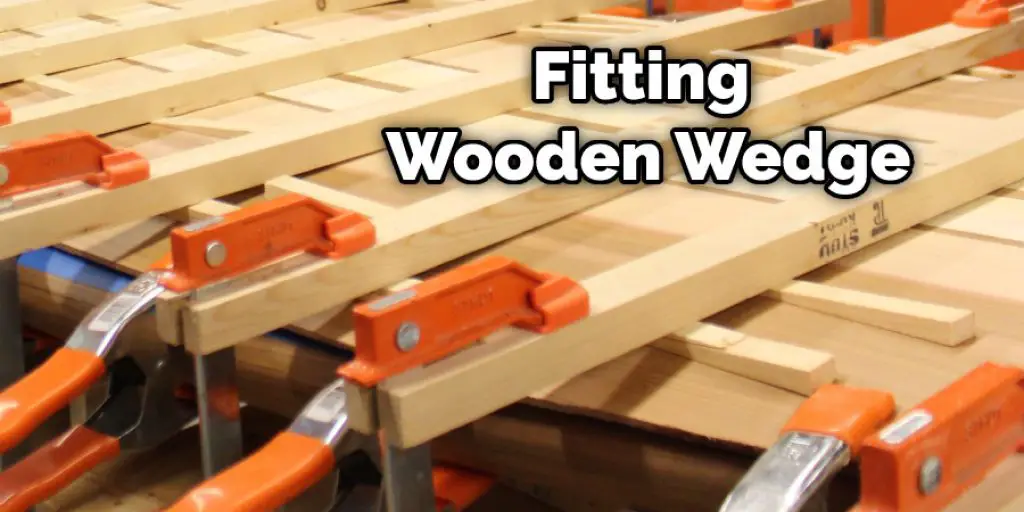
Use your wedged board on top of the fence post between the upper and lower railing where you want your split to be located. First, drive your wedge in with your pickaxe by swinging it overhand above the wedge and using the top of your swing’s arc for momentum.
This should create enough space to fit in another piece of wood (a 2×4). Next, insert another piece of wood (a 2 x 4), drive it back and forth at this location until there is no more resistance from the old fencing material, turn your wedge 90°, and repeat.
Once you remove all force, drive your wedge entirely through its thickness. When it is almost detached, insert another piece of wood (a 2 x 4) into the gap and push that back and forth at this location until you can obliterate your bar. This is a crucial step in how to break up concrete fence post.
Step 3 : Use Concrete Break Tool
A concrete break tool is used for splitting up old fencing material. It’s the tool with a small, V-like head that you can use to wedge underneath the fence post until it falls off or splits in half completely.
Ensure that your concrete break tool has been sharpened well enough to do its job. Place one end of the broken tool beneath the lower railing at the upper side of the central notch locations mentioned before.
Wedge it in by using a hammer or sledgehammer and strike it using that same hammer or sledgehammer until you place enough force onto the pry bar to split the old fencing material in half completely. Do this twice, so you have two wedges on each side of your pry bar. Work your way down the fence post, making sure to line up both wedges on either side of your pry bar.
Start placing your wedges underneath the lower railing, on opposite ends (same side), making sure to line them up with other wedges. It should look like an “X” or crosshairs. Once you have done this, use your sledgehammer to drive both of your wedges under the bottom railings until they make contact with each other.
Now remove excess fencing material (if any) using pliers and pull it downwards towards the ground to detach it completely from the top railing/railings.
Step 4 : Use Chemical Concrete Dissolver
A chemical concrete dissolver is used to dissolve the sides of an old fence post. This tool can be used for either wood or metal, but it’s recommended that you turn off the electricity at your home’s circuit breaker before doing this step if possible.

Once you have completed steps 1 through 3, this will be what remains of your fence post. It should look like a large stump with one flat side and one round side, which is softened using a chemical concrete dissolver tool. You’ll notice something similar to honey oozing from the bottom near the top railing once you contact it with your sledgehammer—that is how much fencing material has been removed during this process.
After you place the chemical concrete dissolver beneath your fence post’s round side and secure the pry bar beneath it using wedges, use a sledgehammer or hammer to drive the pry bar downwards. This is what will dissolve any metal-based fencing posts completely until they disintegrate into pieces.
When you drive your pry bar downwards with a sledgehammer or hammer, this will cause the chemical concrete dissolver to seep into the fence post and eat away at it until it is completely gone.
Step 5 : Remove Fence Post Base
Your old fence base should be what remains after all other pieces have been removed. Make sure that these are no longer attached to anything else. They should look like giant pieces of cement with a small, round hole at the top where your fence post used to be connected.
To remove your old fence base from the ground, use a concrete breaker and strike it until you overcome its resistance by breaking through its bottom-most layer into a few fragments or entirely by destroying large chunks of it. Repeat this step as necessary.
Step 6 : Finishing Up
All that is left now is to fill your hole with new concrete and let them dry before using them again for whatever purpose is needed. Fill it two-thirds full and tamp down firmly at the top and halfway on the sides and bottom using either a board or club-shaped piece of wood (a 2 x 4).
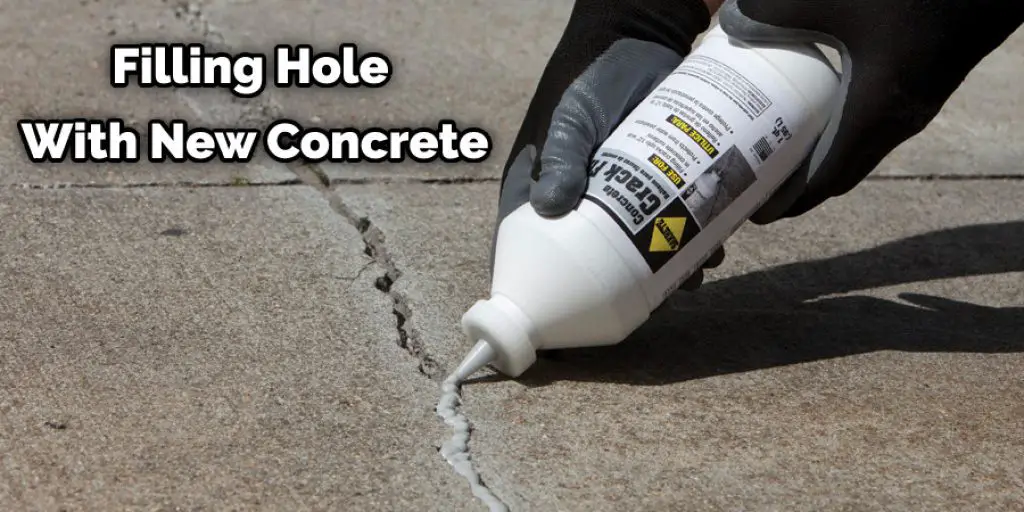
Pour water, then mix until moistened thoroughly but not sogged. Once the concrete has reached its maximum strength, fill it to the top and level it off with your board (repeat step 3). Let it sit for a few days before walking on the new concrete.
If you plan to drive over it immediately after placing concrete, make sure to use gravel instead of regular pavement underneath to prevent cracking because of heat accumulation. These steps will help in how to break up concrete fence post.
You can check it to Drill a Hole in a Fence Post
Precautions
- If some parts of the post had been buried underground, do not pull out the post immediately.
- Try to dig some soil and see if there is a wire inside. It might be a part of the electrical wiring of your property or some other properties’ wiring. It would be dangerous if you accidentally dug it up and got electrocuted. Dig them out carefully by hand if possible before pulling out the rest of the post.
- Do not break up concrete posts with hammers, pickaxes, or blunt tools. Too much vibration might cause cracks on the neighboring posts that are still in good condition. If you must use a hammer to break it, try using a steel ball-bearing instead of the metal head of the hammer to prevent damage to your neighbors’ posts.
- There is no need to haul away all broken pieces of a concrete post. However, if there are some large chunks left over after breaking them down with a pickaxe or sledgehammer, they can be placed back at the same spot where you got them from so you can save yourself time and money for hauling them away only to bring them back again.
Conclusion
We hope now you know how to break up concrete fence post. If you are looking to install a fence in front of your property, consider using shadow box fencing panels.
They provide privacy while still allowing light through the gaps between each panel for an open feel. You can also use them as decoration by painting them with bright colors to add life and interest to your yard!
You may read it also – How to Remove Aluminum Fence Post Set in Concrete


