The best way to build a balcony without posts is to use the spider web method. First, you will want to lay down plywood boards or planks of wood on top of one another. These should be about 2-3 feet apart, depending on your desired height for the railings and how many levels you are building up.
You can then attach more pieces of wood horizontally across these vertical pieces to create a grid that gives stability and support to your balcony. The last thing you need is railing material which you can buy online at most home improvement stores like Home Depot or Lowe’s.
Many home improvement stores sell postless balcony railing kits that will fit the spacing of the grid you have set up. In this blog post, we will go over how to build a balcony without posts.
Step to Follow on How to Build a Balcony Without Posts
Step One: Cut the Pieces
To build a balcony without posts, you will need to know how to cut angles and lengths for all of your planks. You will first need a standard measurement for length between the front and back railings.
This tutorial is 36 inches, so I have made my planks 36 inches long, but since each railing in a balcony is different, you will need to measure and cut your planks accordingly. Using a miter saw, cut the ends of each plank at 45-degree angles, so they fit together when placed across from one another.
This person is making a tutorial for a project that involves cutting wood at a 45 degree angle. They mention that the diagonal measurement for this project was 35 inches, so they wanted any other measurements to be close to that amount so everything would fit together tightly.
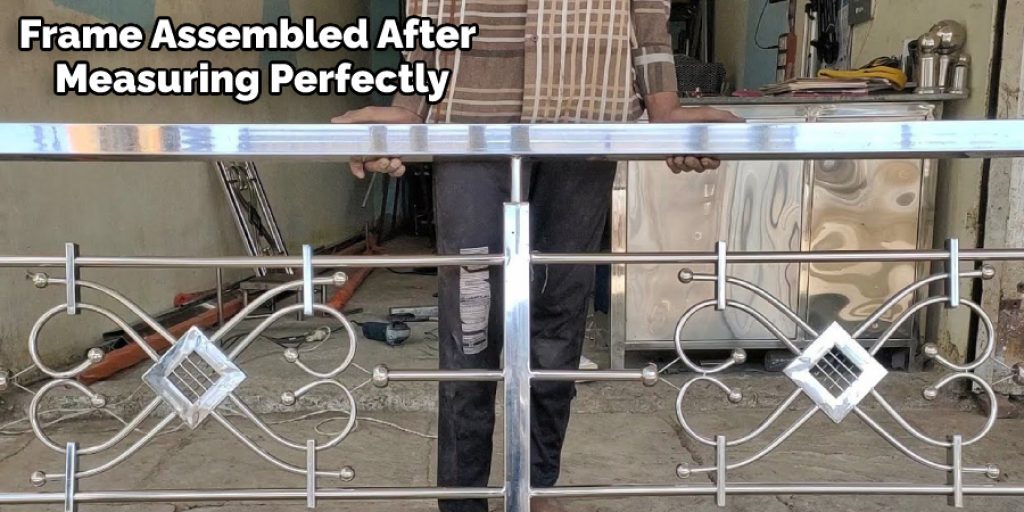
Step Two: Assemble the Frame
The cuts made in Step One will assemble the railing on top of the support beams by first connecting them with gorilla glue. Then screw a 3-1/2 inch finish nail into the side of the angle cut and the support beam for added security.
In addition, you will have to measure to see how far apart your railing pieces should be from each other across from one, so they fit together when placed on top of each other in a crisscross pattern.
Make sure to use the 3-1/2 inch finish nails for this part as well. Use two nails on each side of the railing piece’s front and back to secure it in place.
Step Three: Build the Supports
The only measurements for this part of the tutorial are made by connecting each support beam with three screws, lining them up evenly across from one another.
Since this project does not require posts or beams secured into the ground, this part of the tutorial is only made out of support beams, screws, and gorilla glue to keep all of the pieces in place.
You can add bottom support by placing one support beam inside of another and connecting them both with six screws at their ends. In addition, make sure your bottom pieces are all even with one another by measuring the distance from the front railing to the back railing.
Step Four: Attach Bottom Pieces
First, to attach your bottom support pieces, screw them together with a drill and 3-1/2 inch screws. Once they are all attached, place the middle of them on top of the center beam by using a level to ensure they are even from front to back.
Use a pencil to mark the bottom of the center beam where you will be placing your screws. Drill 3/8 inch holes into the bottom pieces below each line that marks where your screws will go. Once marked, move the center beam to a level surface and drill 3/8 inch screws up through the bottom pieces to secure them in place.
In order to build a balcony without posts, you need to first secure the screws tightly. Next, you will need to drill a screwdriver into each screw to make sure they are all secure. However, be careful not to over-tighten the screws, as this can cause the wood to crack.
You Can Check It Out to Keep Wasps Away From Apartment Balcony
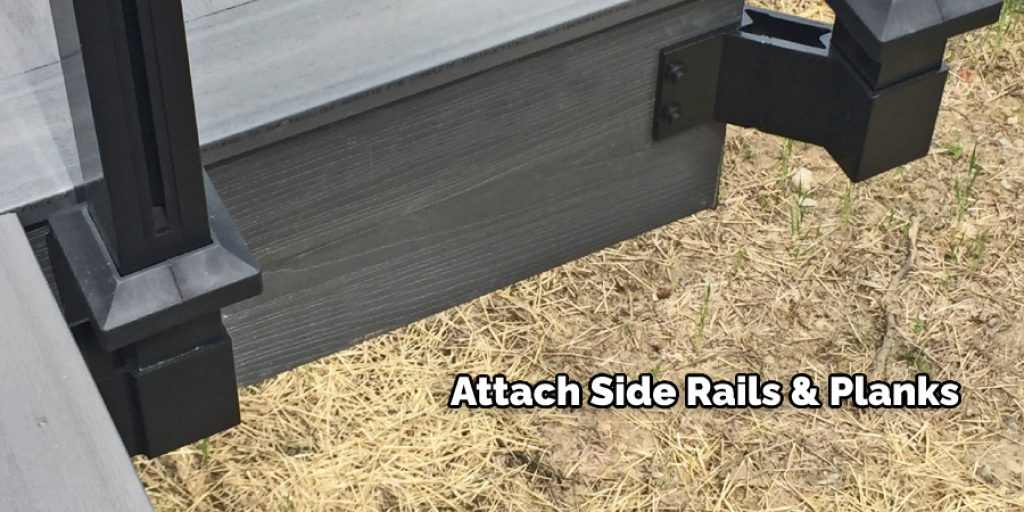
Step Five: Attach Side Rails & Planks
To attach your side rails and planks, first, connect them on the ground with gorilla glue. Next, place a large bead into each of the 45-degree angles on each end of each side rail and front or back railing piece.
Place the top supports you made in Step Three across from one another and connect them with screws. In addition, it is essential to place a bead of gorilla glue on top of the wood beams where they meet up with the side rails and front and back railings.
Once you have glued all of the pieces together, use a level to make sure each is even from front to back and left to right before securing them in place with three screws on each end. Make sure to drill 3/8 inch screws into each one and use a screwdriver to tighten them up after they are in place.
Step Six: Finish & Enjoy!
At this point, you can paint your new balcony if you want to give it a more personalized look. However, you can also leave the natural wood color if you prefer.
In addition, this tutorial can be used to build any other type of balcony or railing that does not require posts and is only secured into the ceiling. This means that balconies with multiple floors can also be built using these same instructions.
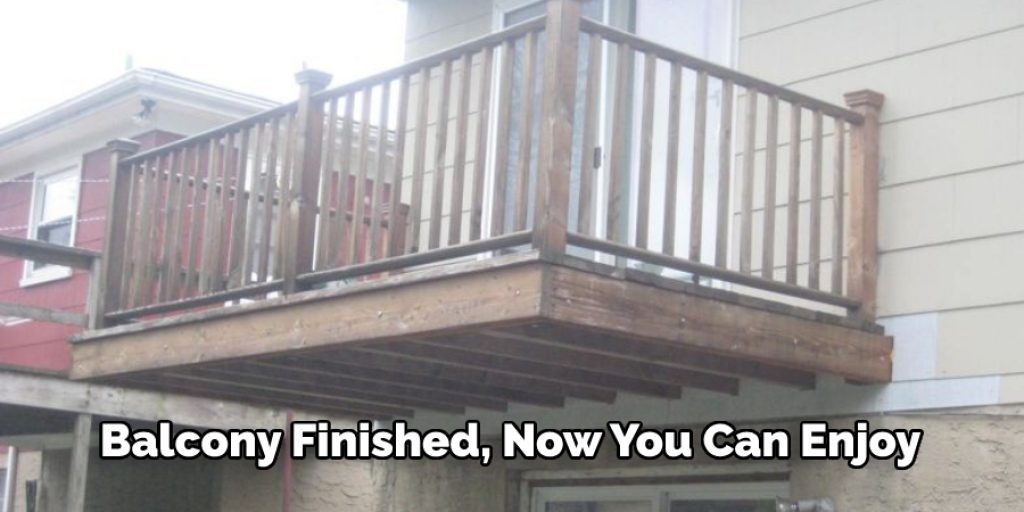
When finished, you will have a sturdy, secure balcony that you can place anything on top of that needs to go outside or use for decoration without worrying about it falling over or crashing down.
Frequently Asked Questions
Do Balconies Add Value?
Balconies are important because they can add value to the property in many ways. For example, balconies provide an additional living space and allow more natural light into a home. Additionally, balconies make it easier for people to take in the fresh air and reduce energy costs.
In addition, balconies are useful as exterior walls, which can be used for privacy or as a way to increase the amount of square footage of your property without building another room on the outside.
Do You Need Planning Permission for A Balcony?
A balcony is an outdoor area attached to a building, with at least one side open to the air. You need permission from the government to build a balcony, because people might use it as a place to rest or play.
The Following Are Some Conditions That Must Be Met for a Balcony to Be Allowed :
- The height of the building must not exceed three stories above ground level.
- The total floor area must not exceed 15 square meters in size (approximately 5 square feet).
- There must be no means of access from outside the building except through an external door on the first-floor landing leading directly onto the balcony itself.
Are Balcony Without Posts Safe?
There are some people who claim that balconies without posts are unsafe. However, these posts can be used to secure the balcony railing in place.
There is a possibility of balcony collapse due to heavy winds or any other strong force, but this is not a concern with proper installation and maintenance.
Conclusion
When it comes to the design and construction of balconies, one big challenge is staying within building codes while still providing a comfortable outdoor living space. However, with some careful planning, you can have your balcony built without posts so that it meets safety standards.
To learn more about this approach, check out our blog post on designing an open-air porch with no poles or railing here. In addition, the infomercial style of this article has shared information on how to build a balcony without posts.
Check it Out to learn to Use Roof Jacks


