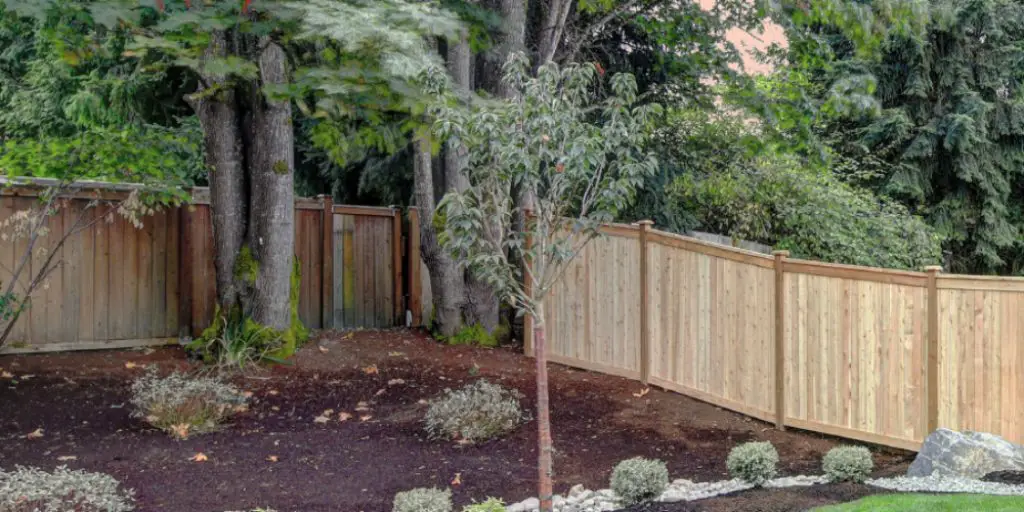
Many different factors can make building a fence on uneven ground difficult. For instance, the terrain may be too steep to dig post holes or rocky and rugged to move around in. The solution for this is to use poles instead of posts which will give you more flexibility when it comes time to place them.
It’s also essential that your posts are level, so they don’t lean one way or another, creating an unbalanced fenceline. When this happens, it can lead to a fence that lacks support from being slanted.
To properly level the poles, you will need a string line and a laser or transit, which can help you get an accurate read on how much work needs to be done and the best way to do it. So, this article is for you. You will learn how to build a fence on uneven ground with just one simple trick!
Step to Follow on How to Build a Fence on Uneven Ground
Step One: Determine
First, determine the height of the fence needed. This is very important because it will decide what materials to get and. Once that has been selected, choose an excellent source to get materials. For example, you might need to consult with your local lumber yard about the best wood/materials for your posts and rails.
If you have a slope in your yard, it is best to consult with a contractor or fence builder before starting the project. Fences that follow the ground contour are generally more expensive and complicated to build, but they will look much better in the end.
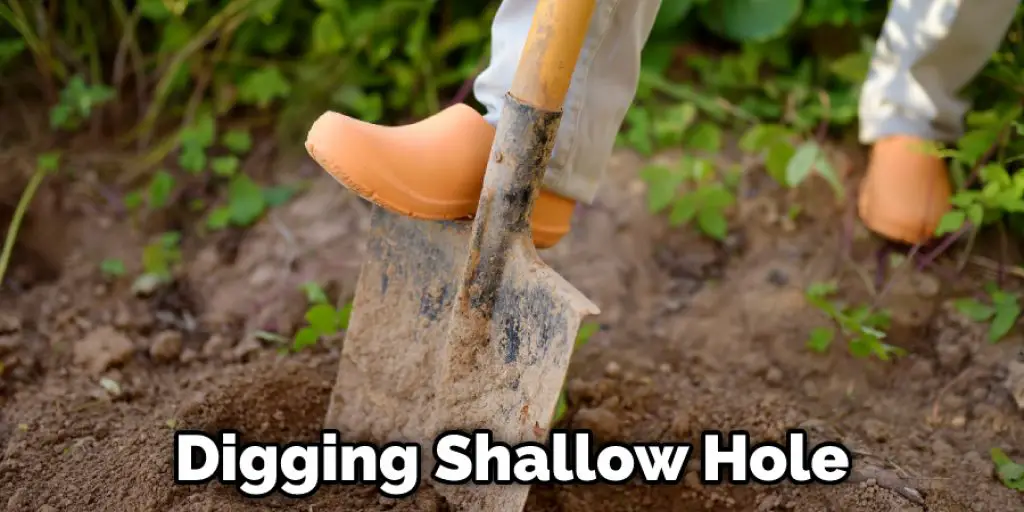
It is also essential to consider how deep the postholes need to be. If you have a smaller slope, just digging a shallow hole would suffice. However, if you have a more significant slope where one side is lower than another, then it might require deeper holes or building extra footers for additional support.
Step Two: Mark the Location
Once you decide on the height of the fence, then it is time to mark the location before building. Start by laying out all needed materials according to your fencing plan. Take into account any slopes in your yard and their locations, and they intersect with other level areas if there is like this.
It is better to use string or a garden hose to outline the fence location instead of stakes because the stakes may move over time. If you are using a hose or string, make sure that you keep it in place with bricks or something heavy enough and will not move.
If you have slanted ground, it will be necessary to dig along the slope line to follow the fence. If not, then there might be a slight bump that is unsightly and can mean that your fence needs to extend further down into the ground to maintain stability. Again, this will help in how to build a fence on uneven ground.
Step Three: Dig the Postholes
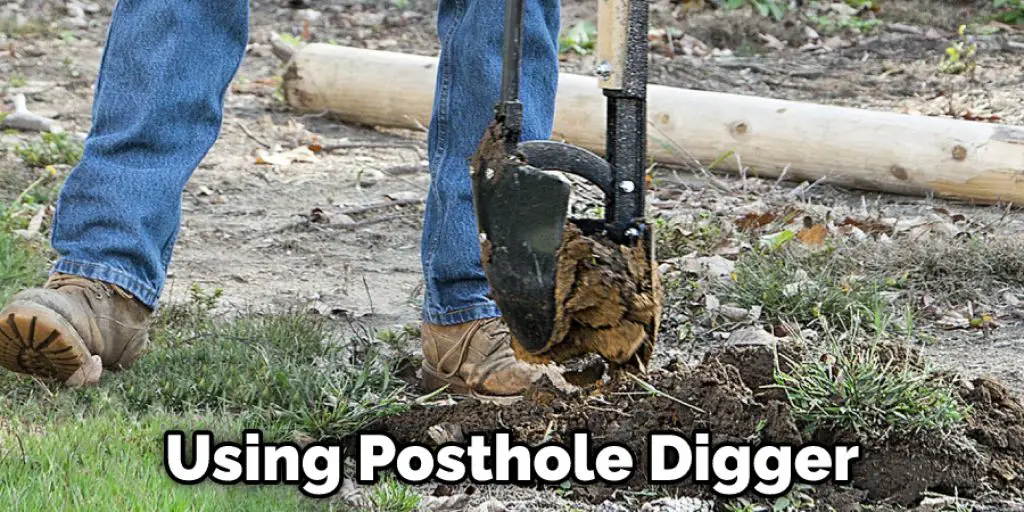
Once everything has been marked, it is now time to start digging. If you are lucky enough to have evenly sloping ground, post holes can be drilled using a shovel. However, if the ground is not level, it will be necessary to use a posthole digger that can be rented from most tool rental stores.
When digging the potholes, it is essential to make sure that they are deep enough so that the post will be fully buried. The hole should also be wide enough to insert and remove the post easily. If your fence follows the ground contour, then it might be necessary to dig triangular-shaped holes at the bottom of each post to provide extra support.
If the ground is not level, then digging postholes will be more difficult because you will need to stay on the high side of the slope. However, it is recommended if the ground is too hard or you cannot get through it with a shovel that you rent or buy an electric posthole digger.
Step Four: Insert the Piller
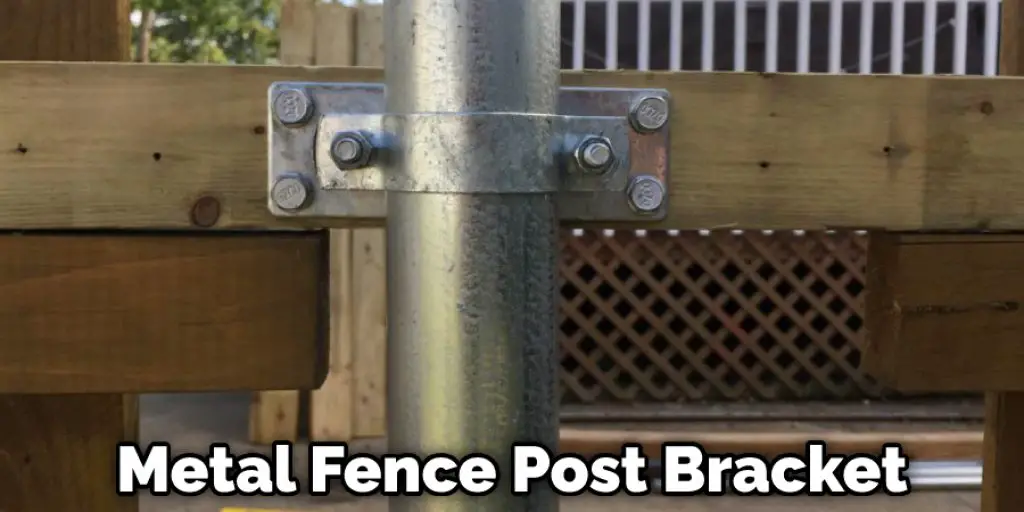
Before you can start putting the fence together, the posts need to be in place. This is usually done by either setting them in concrete or using a metal post bracket. If you choose to set the posts in concrete, it is important to remember that the hole needs to be filled with water first to set the concrete correctly.
Once the posts are in place, it is time to add the railing. If you have a pre-made railing kit, it is a simple process of screwing them into the posts. However, if you are making your railing, a few more steps need to be followed.
Make sure that the railing is level by using a spirit level and then attach it to the posts with either screws or nails. If you are using screws, make sure that they are long enough to go through the post and into the railing. These steps should help you learn how to build a fence on uneven ground.
Step Five: Add the Fence
Now that the posts are in place and the railing is attached, it is time to put up the fence. This can be done by either using screws or nails. If you are using screws, make sure that they are long enough to go through the post and into the fence.
Also, use a screw head that will not be visible from the outside once the fence is finished. If you are using nails, make sure that they are long enough to go through the post and into the fence. If you are putting the fence up on your own, it might be helpful to use a helper to make it easier.
It is also essential to make sure that the fence is level. One way to do this is by using a spirit level, but you can also use a piece of wood as a straight edge. Place it along the top of the fence and use it to measure any inconsistencies. If there are any bumps or dips, use a hammer to adjust the fence until it is level.
You can check it to Break Up Concrete Fence Post
Step Six: Add Protective Coating
Before adding a protective coating, make sure that the posts and railing are dry. A suitable type of protective coating to use is pressure-treated lumber which can be bought at most home improvement stores. Depending on the kind of lumber you choose, it might have a strong smell for a few days after being put up in the posts.
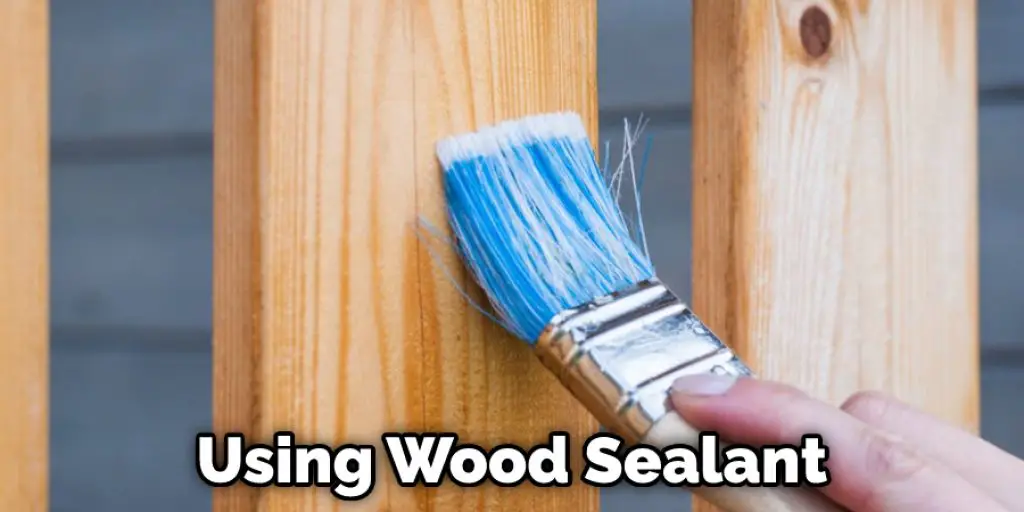
Another option is to use a wood sealant or paint. If you are using paint, it might be necessary to do two coats to get the desired color. Make sure that whichever coating you choose will suit your needs and will last long enough so that the fence does not need to be replaced for a while.
Now that the fence is up, it is essential to keep an eye on it and ensure it is properly maintained. This includes checking for damages, repairing broken boards, and repainting when necessary. This information will help you learn how to build a fence on uneven ground.
You can check it to Install Chain Link Fence on a Slope
Step Seven: Maintain the Fence
Over time, your fence will likely become damaged. There are some ways to repair the damage yourself, but you should also know when to call a contractor. For example, if one of the boards breaks or becomes loose, go ahead and replace it with a new piece of wood.
Replace any boards damaged by the elements, and then use a paintbrush or roller to apply a protective coating. It should not take more than an hour or two to repair the fence properly. If your board is warping, it can be fixed by letting it sit in the sun for a few hours.
If the damage is too bad to fix this way, you should call in a contractor. One sign that your fence is too damaged to repair yourself is in areas where the boards are entirely separated. Water damage, bug infestation, and rot can also be signs of severe damage.
You can check it to Fix Gap Under Fence Gate.
Conclusion
A fence is a great way to improve the look of your property, but it can be not easy if you don’t have level ground. You might think that because there are so many different types and styles of fencing available today, this would be an easy problem to solve.
But not all fences are created equal; some require more work than others when installing on uneven terrain. Here’s what you need to know about building a wall on uneven ground! The conclusion paragraph is informative and provides information on how to build a fence on uneven ground.
You can check it out also – How to Remove Stain From Wood Fence.


