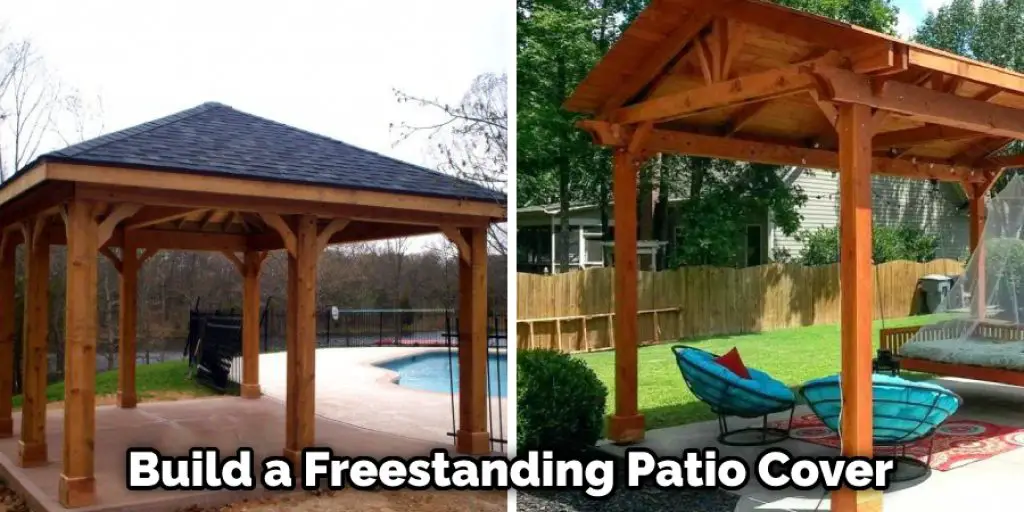
How to Build a Freestanding Patio Cover
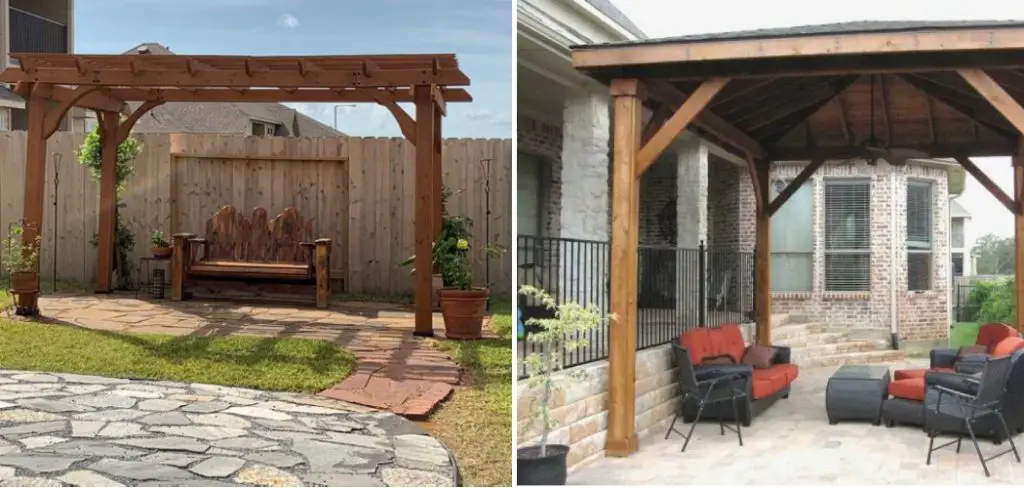
Having a freestanding patio cover is an excellent way to extend the life of your deck and add outdoor living space in your backyard. It’s also an easy way to make your deck more comfortable, especially in areas with hot or cold weather extremes.
There are many different types of materials available for building this type of cover, but it’s important to understand what each one offers before choosing which one will work best for you. Here are some things you should think about when making your decision.
The shape and size of the area where you want to build the cover will determine how much material you’ll need. You can find patio cover kits that include everything you need in one package, but remember to take the measurements for the size of your deck before buying them. First, you need to know how to build a freestanding patio cover.
10 Steps to Follow on How to Build a Freestanding Patio Cover
Step One: Determining the Location
The first step is to check your local building code. In most cases, you will need a permit for this project. Also, determine how far away from trees and power lines you should set up your structure. For example, you do not want to set up your patio cover too close to trees because they will likely get in the way of your outdoor time and will need to be cut back and trimmed regularly.
The best way to determine the location for your patio cover is to use a measuring tape and a level. You should choose a flat, level area that provides adequate room around it for foot traffic. You should also check for wiring or other obstructions. If you are uncertain, hire an electrician who can check to ensure there are no lines under the surface.
You might also want to determine which direction you would like your patio cover to face. For example, if you live in a hot climate, you may choose to set it up to shield the house from the afternoon sun. You should also measure how much room you have available for the dimensions of the patio cover.
Step Two: Deciding Frame Material
Next, you will need to determine the material you want to use to build your patio cover. For example, if you feel handy, you may choose to cut the wood yourself using a chop saw. However, many individuals prefer to buy their materials ready-cut.
If this is your choice, it is essential to determine which size you would like your patio cover to be. Additionally, you will need to check the strength of your material by checking if they are a grade or not. If you choose to cut your wood yourself, avoid power equipment if possible.
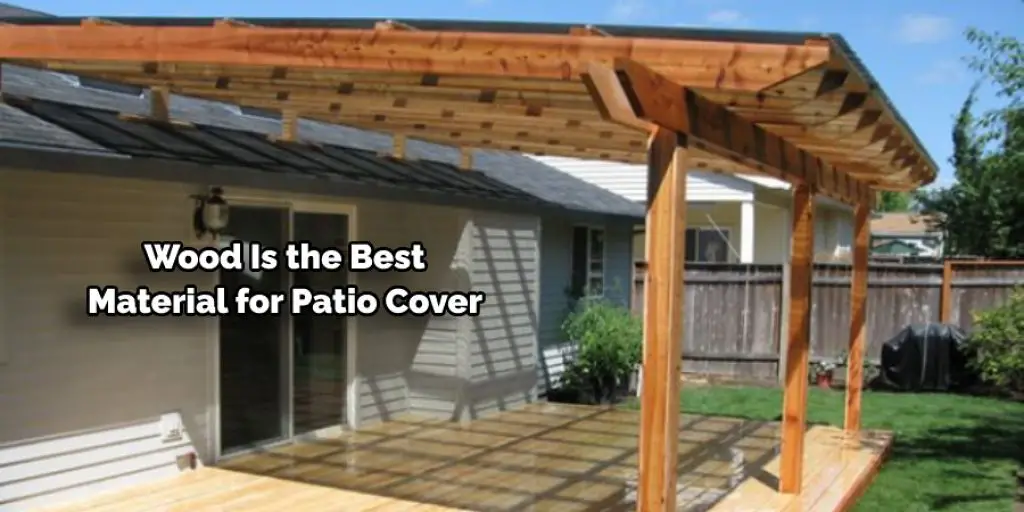
It is better to work with hand tools to correct mistakes more quickly than using power equipment. While it takes longer, you will have more control over your project. You may also want to look into cedar or pressure-treated wood. The latter is perfect for outdoor projects because it tends to hold up well in humid climates.
Step Three: Assembly Areas
Next, you should determine which assembly areas are best for your patio cover. For example, you may wish to have it attached to the house, or you may want to connect it using wood beams. Once this is decided, mark off these areas to find easier to find when you begin assembling.
You can also use markers or paint to make it easier to see which areas will need to be cut. This is especially important if you have a large patio cover and one person will assemble it. You should also decide which type of screws or nails you would like to secure your patio cover.
An electric drill is an excellent tool for this, as it can quickly drive screws through your material without stripping it. Also, this will help avoid splitting the wood so that you can use fewer nails and screws to secure the material. If you want to find out more about how to build a freestanding patio cover, keep reading.
Step Four: Assembling Frame
The next step is actually to begin assembling your patio cover structure. For example, you will want to attach any beams or posts that will support the floor of your patio cover. You will also need to decide where you wish to place additional supports such as joists and rafters.
Linking beams together is important for stability and durability, so you should use four-way metal connectors to do this. Alternatively, if the beams are designed with pre-drilled holes, you can attach them using screws.
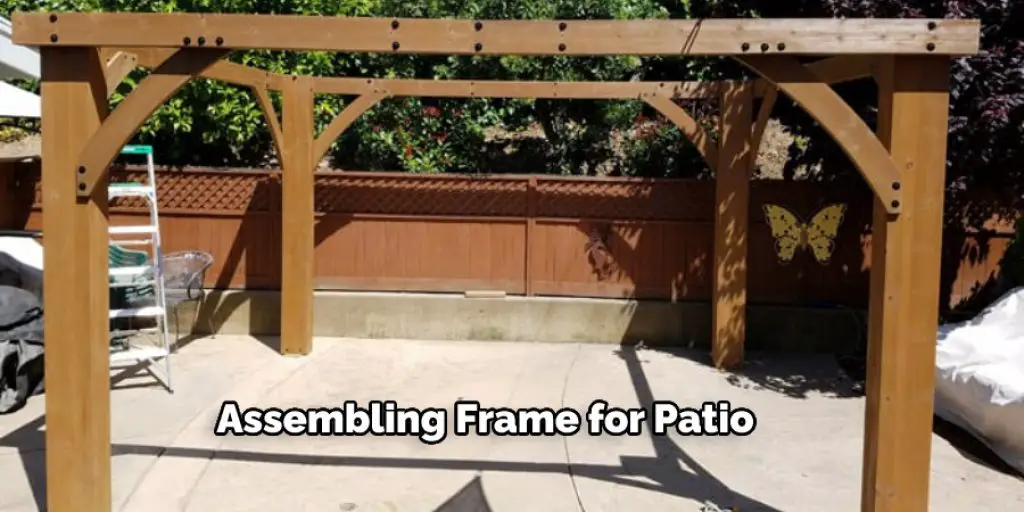
This will make it easier to disassemble and reattach sections of your structure if necessary in the future. Once this is done, you can begin assembling the frame’s perimeter using treated posts. They should be placed in the ground using a post-hole digger or an auger.
Step Five: Adding Floor Panels
Next, you will need to add the floor panels of your patio cover structure. This material is generally made from plywood and can be attached to the beams with nails or screws. You should make sure it is sturdy and level, as this area will carry the most weight and will typically be the most used part of your patio.
If you choose to use boards instead, they should be attached using screws to handle the weight and pressure from daily use. It is good to connect them perpendicularly so that their load is spread out more evenly over beams and posts across its surface.
Once your floor is completed, you can attach your roof or covering. Generally, this area will be made of tongue and groove pine boards which are easily attached using nails or screws. While it is possible to buy pre-cut coverings for your patio, this may not be cost-effective unless you purchase a large amount of material. However, this will help in how to build a freestanding patio cover.
Step Six: Attaching the Roof
Once your cover is built, you will need to attach it to your home or other structure. You can do this by connecting beams perpendicularly across the sides of your patio cover. These beams should be secured using two-way joist hangers.
Make sure that they are on level surfaces for maximum durability and stability, as this is where your roof will be bearing the most pressure. Next, you should attach rafters along the beams. If possible, it is good to place them every two feet apart for added strength and rigidity.
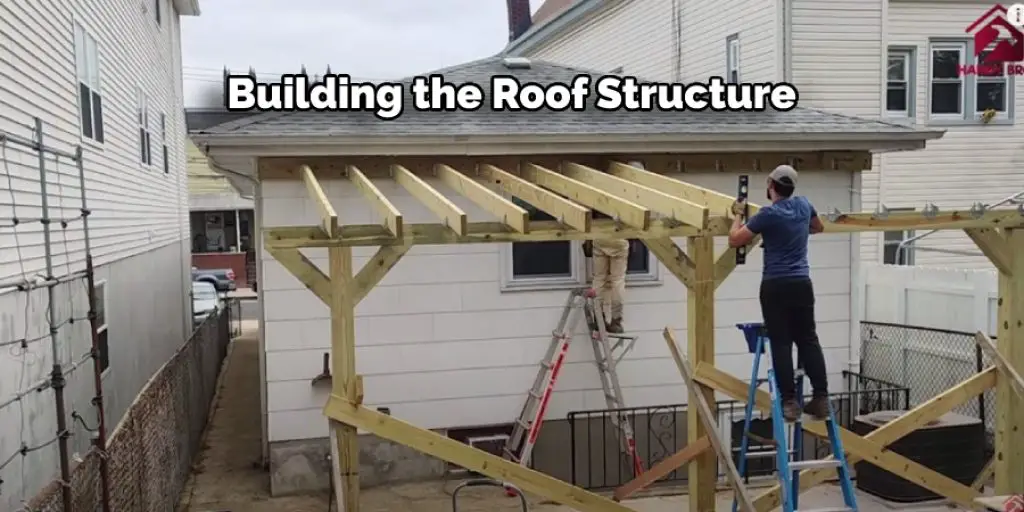
You may also need to attach joists perpendicularly along the rafters. This is generally done on 8-foot centers, with each one being supported by two beams underneath it. Additional supports can be added at this time if necessary or desired by using joist hangers or doubling up existing supports.
Step Seven: Finishing Touches
After your frame is built, you will need to attach additional braces for stability. These should be placed every 2-3 feet apart and perpendicular to your patio cover structure’s outer beams or posts. While this may seem overkill, it’s better safe than sorry when it comes to maintaining safety.
You can also include cleats on the bottom of the frame to prevent moisture from seeping in. These can be attached using nails or screws, depending on the material you are working with. If they are made of wood, you can also use waterproof glue to attach them for added protection against rain or snow accumulating inside your patio cover structure.
After this is done, you should thoroughly inspect your structure before adding additional weight or materials. This will ensure that everything is attached correctly and safe for use. If you find anything out of the ordinary, such as cracked wood or poorly connected beams, mark them and immediately contact a professional to correct these problems.
Step Eight: Maintain Your Structure
After your patio cover is built, you must maintain it properly to ensure safety and longevity. In addition, you should inspect the structure twice a year to look for signs of wear or damage. This can be done by checking beams, posts, joints, nails, screws, bolts, and other hardware pieces to ensure they are still attached and firmly in place.
If any pieces have been loosened over time, it is a good idea to tighten them up or replace them entirely before they cause a larger problem with your structure. You should also regularly inspect the roof of your patio cover to make sure that it is still durable and intact.
Look for any dents, cracks, or other signs of damage that could indicate a larger problem. If anything seems out of place, contact a professional as soon as possible to prevent further problems from occurring with your patio cover. Thanks for reading about how to build a freestanding patio cover.
Frequently Asked Questions
What Material Do You Need to Build a Patio Cover?
When it comes to patio covers, you will need a material that is both waterproof and durable. Typically, vinyl or polyester are the best options because they are resistant to water damage and sunlight degradation. However, if you want an extra layer of protection, you can opt for a treated fabric such as PVC or acrylic. In addition to being weather-resistant and stain-proof, these materials also have ultraviolet light filters that help to prevent the formation of cancer cells in the sun exposure area.
Ultimately, it’s important to choose a material that is right for your specific needs and requirements. By doing so, you’ll be able not only to protect your deck from harsh weather conditions but also to keep your furniture dry during bad rainfalls or snowstorms.
Do I Need Building Plans for a Patio Roof?
Patio roofs can be a great addition to your home – if you’re aware of the necessary safety precautions. That being said, most people don’t take the time to properly plan and design their patio roofs before they start construction. This can lead to problems down the road, such as water infiltration and structural failure.
Here are a few things to keep in mind when planning your patio roof:
1. Always consult an engineer – Whether you’re designing or installing your patio roof, always consult an engineer. They will be able to help you determine the weight and load capacity of your roofing materials, as well as recommend the most appropriate type of roof for your specific needs.
2. Plan for drainage – Make sure that your patio roof is designed with proper drainage in mind. This will prevent water from infiltrating your home and causing damage.
3. Design for sustainable materials – Choosing sustainable materials for your patio roof is important not only for the environment but also for your safety. You don’t want damage or failure due to unstable materials!
4. Use weatherproofing products – Weatherproofing products can help protect your patio roof against wind and rain damage. This is especially important if you live in an area that experiences heavy rainfall or windstorms regularly.
Can I Build a Patio Without Digging?
Digging a patio is definitely an option, but it may not be the best one for you. When building your patio, consider digging down below grade to create a level foundation and build on that instead of requiring ground-level excavation. This will save you time and energy and make the whole process much easier. Plus, keeping your patio elevated will protect it from water damage in cases of heavy rains or severe thunderstorms.
You can also choose to construct your patio using modular panels that are easy to assemble and move as necessary. And if aesthetics are important to you, there are many attractive options available that do not require any soil preparation at all!
Can I Lay Pavers Directly on Grass?
It depends on the type of pavers you are using and the grass you are laying them on. Generally, if the pavers are made from a material that is compatible with soil, such as cement and mortar, then you can lay them directly on the grass. However, if the pavers are made from a different material, such as concrete or asphalt, then they will not be able to absorb water or hold up under heavy traffic. In these cases, you may need to seal the surface of the pavers with a coating or sealant before laying them down.
Conclusion
With the right research, time, and patience, you can have a free-standing patio cover that will provide years of enjoyment. Whether it’s for your family or entertaining guests on weekends, incorporating this type of structure into your outdoor living space is an excellent choice.
If you are interested in learning more about building a freestanding patio cover or would like to get help with designing one just for you, then contact us today! Our team has over 20 years of experience creating patios that exceed client expectations. We hope you enjoyed this article on how to build a freestanding patio cover.
Check it out to learn- How to Keep Squirrels Off Patio Screen


