This article will walk you through the process of building a Kiva fireplace and teach you about fire and smoke safety. You’ll learn how to create your outdoor natural gas or wood-burning fireplace that can be used as an alternative heat source, as well as for entertainment purposes.
This project is not only simple, but it’s also inexpensive and environmentally friendly! There are many benefits to this type of project, such as improved air quality, improved home security, improved ambiance, better fuel efficiency lowering heating costs, and more! So, this article is for you. You will learn how to build a kiva fireplace with just one simple trick!
Materials You Are Needed
- Cinder blocks
- Wood for a door
- Heavy-duty hinges
- Flathead screws and screwdriver
- Claw hammer
- Level
- Coping saw or jigsaw
Steps to follow on How to Build a Kiva Fireplace
Step One: Measure the Space
You should measure the space you want to fill with a fireplace and the holes in your floor or roof before buying materials. You will probably need more than one piece of plywood, so you should cut each one to the right size before you start.
Step Two: Prepare the Foundation
If you are building your fireplace on a dirt floor, dig out an area for the fire pit. The pit should be deep and wide enough so that there are at least six inches of clearance between the top of the pit and the top of the rim. Line this pit with pieces of broken roofing tiles, which can prevent the fire from spreading and catch a lot of the ash.
Step Three: Prepare for a Breeze
Before laying down any tile or stucco, create some shade over the area with a canopy of large pieces of plywood. The boards should be long enough to hang about 12 inches past either side of the pit, so you’ll need two boards per side. Secure these pieces to the posts that will support the fireplace, then fasten them at the top and bottom with screws or nails.
Step Four: Lay Down Tile & Stucco
Use roofing tiles to create a border for your fire pit. Start by laying down tiles around the outside of the pit, and make sure they extend around the edges of the plywood canopy. When you’re done with that, lay additional pieces on top of each other to create a solid border along the pit’s rim.
Step Five: Cover With Crushed Stone or Gravel
Pour crushed stone or gravel into the fire pit until it is about two inches thick. Fill in any seams with additional gravel pieces, and ensure this layer covers the tiles completely to create a barrier against embers and ash.
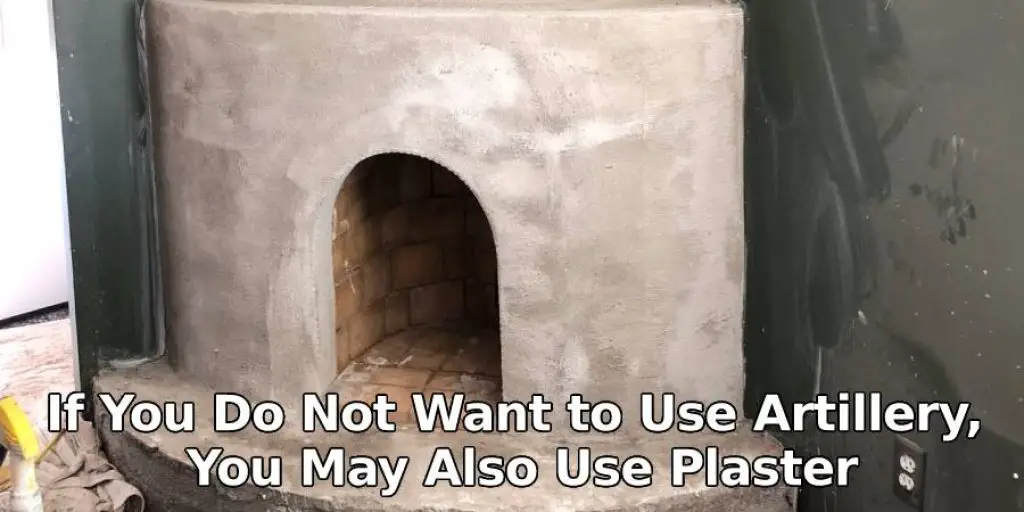
Step Six: Make It Pretty
Cover the stones and tiles with a thin coat of mortar (not stucco) for an attractive appearance when finished. If you do not want to use artillery, you may also use plaster.
Step Seven: Fill the Area Under the Fireplace With Dirt
Fill any space below where your roof tiles extend past the edge of your tiles with dirt or sand. This will prevent embers from flying out of the fireplace and starting a fire where they land.
Step Eight: Build Pockets for Logs
To keep logs in place while they burn, drill holes into each side of your fireplace. Then, crisscross the logs with steel rebar to hold them steady. This is identical to how you would build a log rack for an outdoor fireplace.
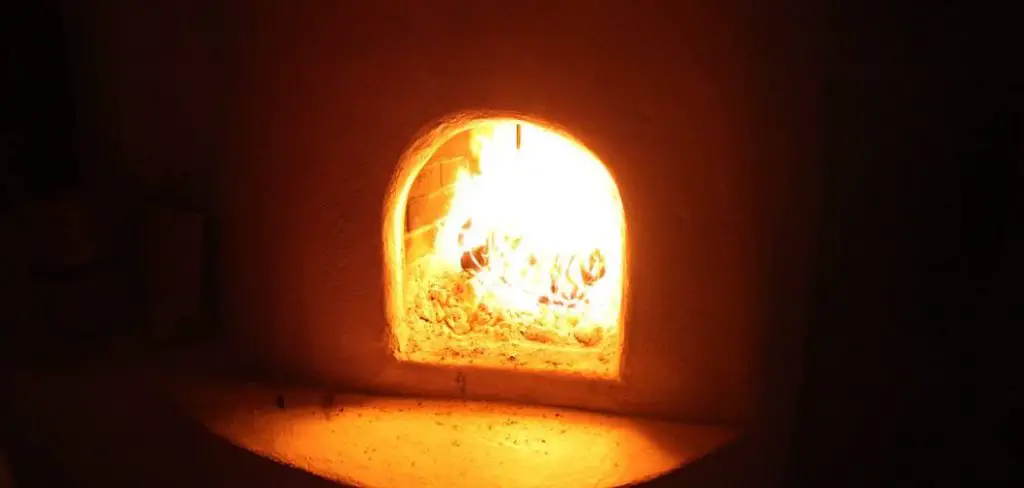
Step Nine: Make Fire!
Light up your tiled fireplace. For fuel, use branches, twigs, and other kinds of small-diameter wood; do not burn anything that produces sparks or burning embers (like pine needles). If the logs are too long to fit inside conveniently, cut them into smaller pieces with an ax before lighting.
You can check it to Put Out a Gas Grill Fire
Step Ten: Enjoy Your Kiva Fireplace!
After the fire has died down, you can remove any remnants of the steel rebar to prevent injury. Next, use a shovel to clean out the fireplace when needed. For this, you’ll need about 5 pounds of ash shovelful by shovelful.
Make sure to wear protective gear when handling ashes or embers from your fireplace, and wait a few hours before cleaning so that some heat is still present. This will help in how to build a kiva fireplace.
You Can Check It Out to Remove a Floating Mantel
Are Kiva Fireplaces Efficient?
Answer that question; let’s start by reviewing what a Kiva is and how it works. A kiva is essentially an underground home with a hole in the ceiling (the “skylight”). Every time you add fuel, the fire gets hotter, and sound travels better through the air.
Once you stop adding fuel (and open up any closed doors to release smoke), the fire cools down, and both sound and heat travel worse through the air. This is why kiva fires die out slowly: they’re burning hot for a long time after fuel stops getting added.
Conversely, if you have a huge fire burning for hours at high intensity, then you’ll burn through all the fuel available in that area. Once there are no more twigs to feed the flames, the fire will die out very quickly because there is nothing around it to keep it hot.
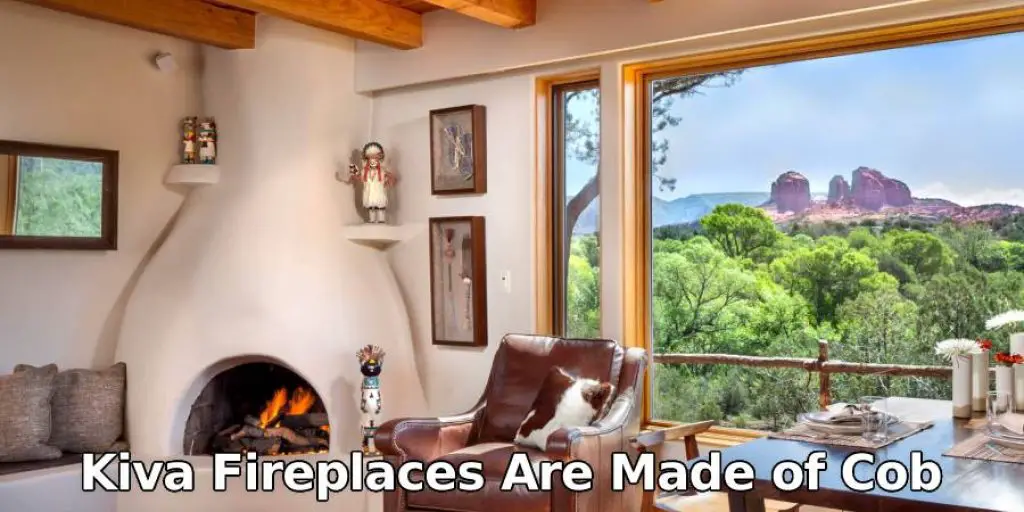
What Are Kiva Fireplaces Made of?
Kiva fireplaces are made of cob. A mixture of sand, clay, water, and straw, cob is usually applied to building walls in one layer about 6 inches thick. Making cob is an inexact science. It takes practice to get the ratio right so that the mix is neither too wet nor too dry.
It’s best done with a group of people; usually, a small army is called for, especially if it’s building with a cob instead of an adobe. Yurts are structures made from compressed layers of hand-packed material similar to adobe but less common in the United States.
Frequently Asked Question
Are Kiva Fireplaces Efficient?
Kiva fireplaces are not only efficient, but also have a very low fuel consumption rate. They consume around 1/10th of the energy that other fireplaces do, making them a great choice for those looking to save on energy costs.
They are so efficient because Kiva Fireplaces uses heat pumps to create their heat rather than gas or electricity. Heat pumps use air or water to move heat, which means that these types of fireplaces don’t need any fuel to operate like gas or electric fireplaces do.
How Do I Know if My Fireplace Has Zero Clearance?
Fireplace clearance is a term used to describe the distance from the back of the firebox to the front of the opening. To determine if your fireplace has zero clearance, you will need to measure it and compare it with this chart: The measurements in this chart are based on 28″ deep fireboxes.
What Is a Kiva Style Fireplace?
A Kiva Style Fireplace is a decorative piece designed to mimic the fireplaces found in South American homes.
The most notable feature of this fireplace is its distinctive shape, which allows it to be used as an end table or coffee table. It also has heaters on both sides, so you can use them for warming up your living room during wintertime.
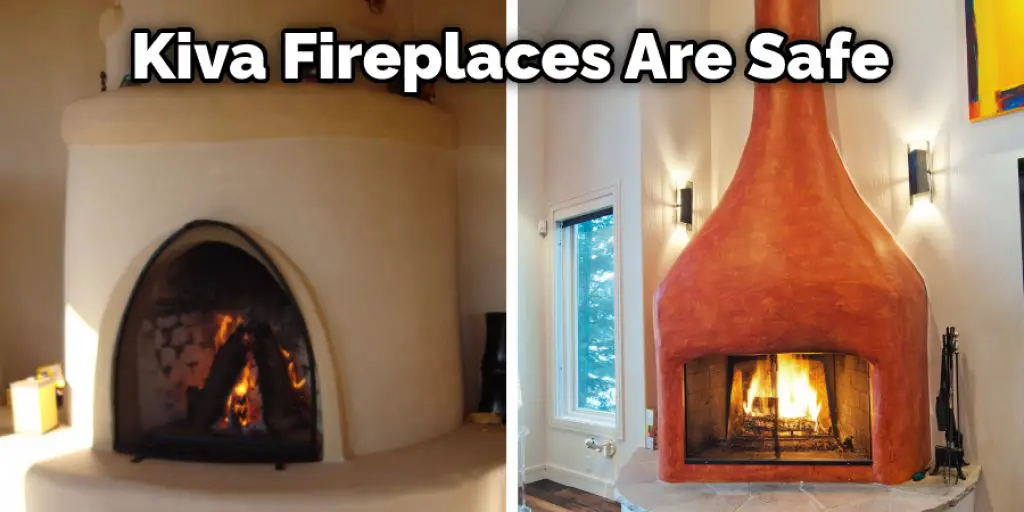
Are Kiva Fireplaces Safe?
The Kiva fireplaces are safe and don’t emit any carbon monoxide. They also offer the best of both worlds: clean-burning, low-emission, but also an aesthetic that matches most home decor styles.
The fireplace is a great addition to your home because it provides you with added comfort in the form of heat during the winter months and cool air during the summer months.
Conclusion
Building a Kiva fireplace is an investment in your family and home. It will provide you with the warmth of a fire, ambiance for gatherings and add value to your property if you decide to sell it one day.
And that’s not all – when you buy from us, we give back by lending money to people worldwide who need loans so they can start their businesses too! The conclusion paragraph should be a list of how to build a kiva fireplace in different situations.
Check it out – How to Raise a Fireplace Off the Floor .


