Building a mobile wood-fired pizza oven can be done on the cheap. This blog post will guide how to make one, including the materials needed and where you might get them. Remember that this is not an exact science; you are building something out of founding materials, so your results may vary!
The main ingredient for this project is free pallets. You can find these by asking around or scouring Craigslist. Pallet boards are also good to have on hand before starting the build because they’re not always easy to come by when working with pallets.
The other basics required are plumbing pipes, usually galvanize, screws, nails, fire bricks, and mortar mix for laying brickwork surfaces-which can be purchased at any hardware store. Finally, you need to know how to build a mobile wood fired pizza oven.
8 Steps to Follow on How to Build a Mobile Wood Fired Pizza Oven
Step One: Draw the Floor
Start by drawing your floor on a sheet of plywood. The floor should be as large as you can manage to fit through your doors and with enough clearance that you won’t hit your head. Next, measure the distance from one side of your oven to the other, then divide by two and transfer those measurements onto an oblong piece of plywood.
Step Two: Cut and Add Rim for Floor
Cut out your floor, leaving a half-inch or so extra around the perimeter. When you attach the rim to the base, it should overhang on all sides. The rim will give your floor added strength and help direct hot air into your oven chamber. Once your rim is attached, nail on all four sides of the plywood floor.
Step Three: Create Elevated Hearth
Next, you’ll want to elevate your hearth, so it’s sitting about 6″ off the ground. This way, air will be able to pass under and around your oven freely. You can use bricks or rocks to set your hearth on if you don’t want to go through the hassle of building a frame. I’d recommend creating two triangular structures that will meet in the middle and be screwed together.
Step Four: Attach Hearth Frame
Attach your hearth frame by drilling screws through it into your elevated plywood hearth. If you’re using bricks or rocks instead of a structure, just lay them on top of the plywood and screw the hearth down over it. Make sure your hearth fits tightly over the edge of your floor.
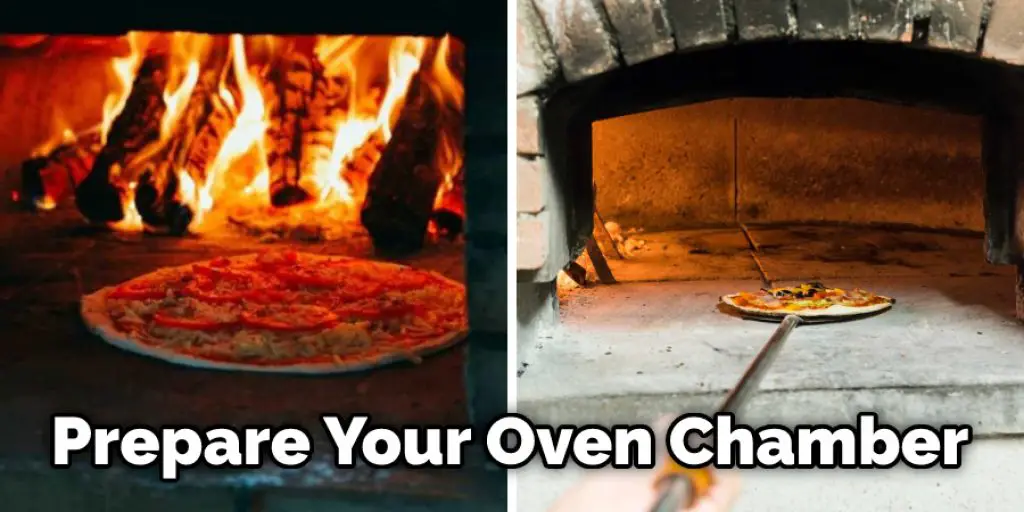
Step Five: Prepare Oven Chamber
To prepare your oven chamber, you’ll first need to check that its level. If it isn’t, use shims; you can even use loose bricks for this under one side until it is. Once the oven chamber is level, add a few inches of sand on the bottom and smooth it out with a trowel. You’ll want to make sure the sand is spread evenly enough that your oven can sit level on top of it but not so thick that you lose too much heat.
Step Six: Prep Hearth for Oven Chamber
To create a smooth surface for our mobile pizza oven, we’re going to cover the hearth with stainless steel sheeting, also called cookware lids; these are the ones I used. Once you’ve laid out your sheeting, drill some holes along the edges to allow airflow. If you need more clearance on one side for an opening or door, make sure to cut some of it away first.
I needed enough room to add a bottom-mounted thermocouple on this particular hearth, so I added an extension piece of stainless steel sheeting on one side for access. I used three screws to attach each piece, but you could use rivets or even fabricate some hinge system if you know.
Step Seven: Finish Oven Chamber
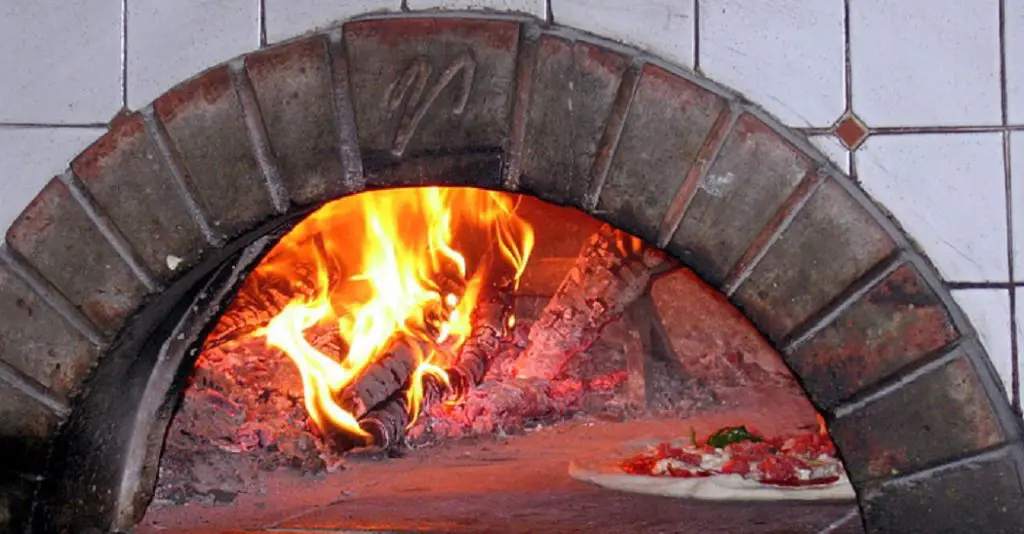
Once your oven chamber is finished, you’re almost ready to lay a fire! First, you’ll want to line the floor of your oven chamber with a sheet of firebrick. This brick will protect the steel from high temperature and direct flame contact. You can use regular red bricks here, too, but they won’t last as long.
Before you finalize the build, go ahead and try out your oven to make sure it works. Sit inside of it, light some tinder, lay down a few more giant sticks, then sit back and enjoy!
Step Eight: Prepare Insulation
Before you lay down your insulation, check to see any gaps or holes around the floor of your oven chamber. If not, go ahead and lay down a layer of cinders on top of your firebrick about 1″ thick. Make sure it goes all the way up to the edge so no heat can escape. Once your cinders are down, it’s time to add the insulation itself!
You can use anything for insulation, really old rags, hay, straw, etc. I used the Cotton insulation I got from Homedepot. It comes in a roll, so it was easy enough to staple around the inside of my oven chamber. I drew a line along the edge of the insulation and doubled it over to have an air gap. This will help in how to build a mobile wood fired pizza oven.
What Is Wood Best for Wood Fired Pizza?
The type of wood you use is pretty important for cooking with a wood-fired oven. Different types of woods provide different characteristics; some are better suited to making pizzas, while others are more suited to longer cooking times at lower temperatures.
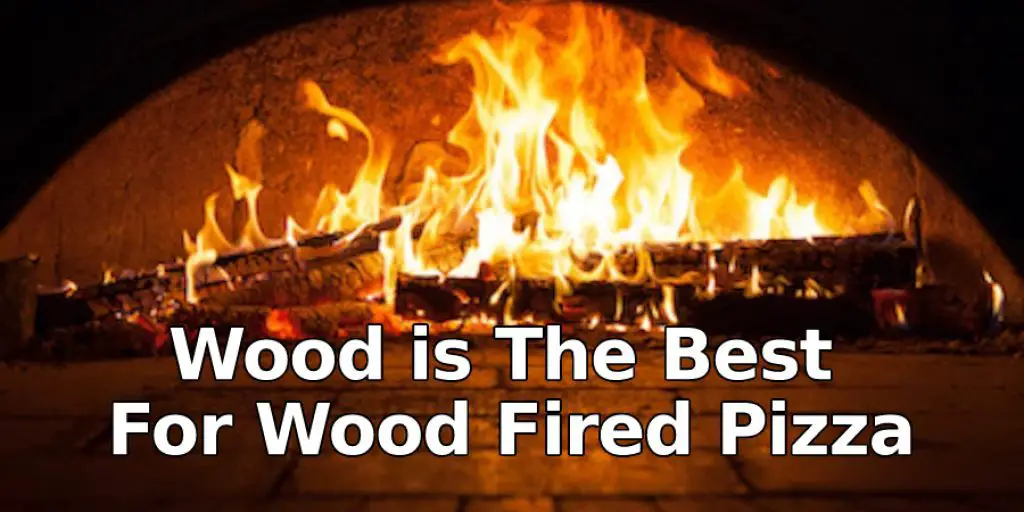
Pizza is best cooked over fruit woods like apple or cherry. These produce a nice subtle smoke flavor with medium-high heat. They are great for a little char on a pizza crust and cooking the pizzas in a relatively short amount of time. If you can find it, use ash. It’s hard to come by, but when burned down to coals produces the most intense heat possible from wood.
Frequently Asked Questions
What Is the Best Material to Make a Pizza Oven?
A pizza oven is a type of oven that is used for cooking pizzas and other types of bread. The heat source in the pizza oven is usually wood, coal, or gas burning from the top.
Do You Need Special Wood for Pizza Oven?
Pizza ovens need to be made of clay or concrete because they are heated by fire. It is not necessary to use special wood for a pizza oven because the heat source is fire and not electricity.
What Kind of Concrete Do You Use for a Pizza Oven?
Concrete for a pizza oven can be made from various types of cement, aggregate, and water. It is important to use a mix that has the proper amount of each ingredient so that it will provide the best results.
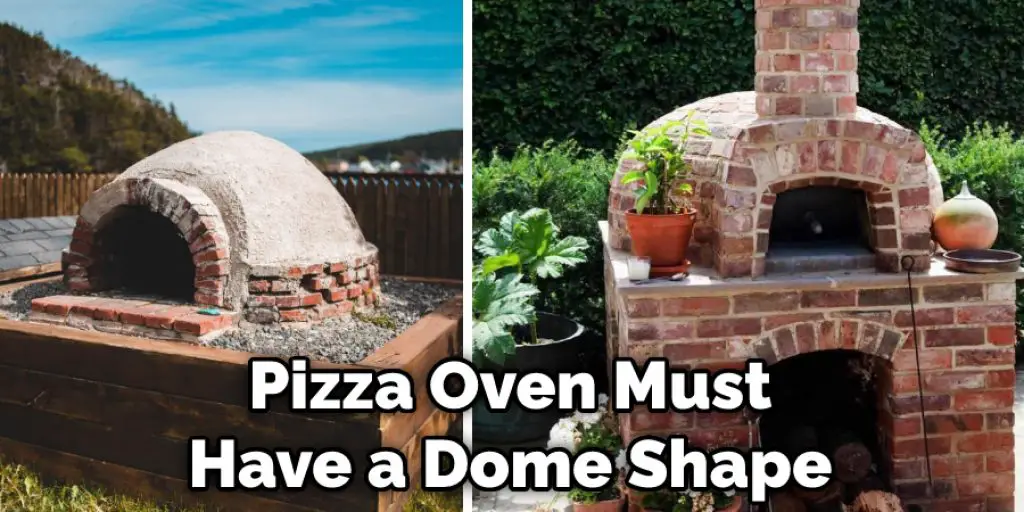
Does a Pizza Oven Have to Be a Dome?
Yes, a pizza oven has to be dome-shaped. This is because the domed shape allows heat to circulate and cook the pizza evenly. The oven also gets hot quickly, which helps speed up cooking time and prevents the burning of the crust.
A pizza oven must have a dome shape because it allows heat to circulate more easily in order for it to cook evenly without burning or scorching your pizza dough. A typical dome-shaped pizza oven has three different levels: the top, middle, and bottom. The top level is where you place your dough before placing it on the toppings and sauce. The middle level holds all of your ingredients as they cook (e.g., dough, sauce, cheese). The bottom level is where you place your finished product so that it can rest before being removed from the oven for serving or storage.
Conclusion
I hope this blog has been informative and inspiring to start building your own mobile wood-fired pizza oven. There are so many options available, but we have provided a list of some materials that can be used if you need additional help with the design process.
If you would like more information on other types of ovens or how to use them specifically in certain settings, please reach out! We’d love to hear from our readers and answer any questions they may have about cooking outdoors. Happy Building! At this point, you should feel confident that you know how to build a mobile wood fired pizza oven.
Related Article – Brick Oven vs Wood Fired Pizza | Who Is the Delicious Pizzas Maker?


