I live on a property that has an unlevel ground. The fence line runs along the top of a hill and then down to the lake at its bottom. This means that as you walk from one side of my yard to the other, the ground is either going uphill or downhill, a much steeper grade than I want for my fence line. There are a few ways to level out a sloped yard, but the most common is to build a retaining wall.
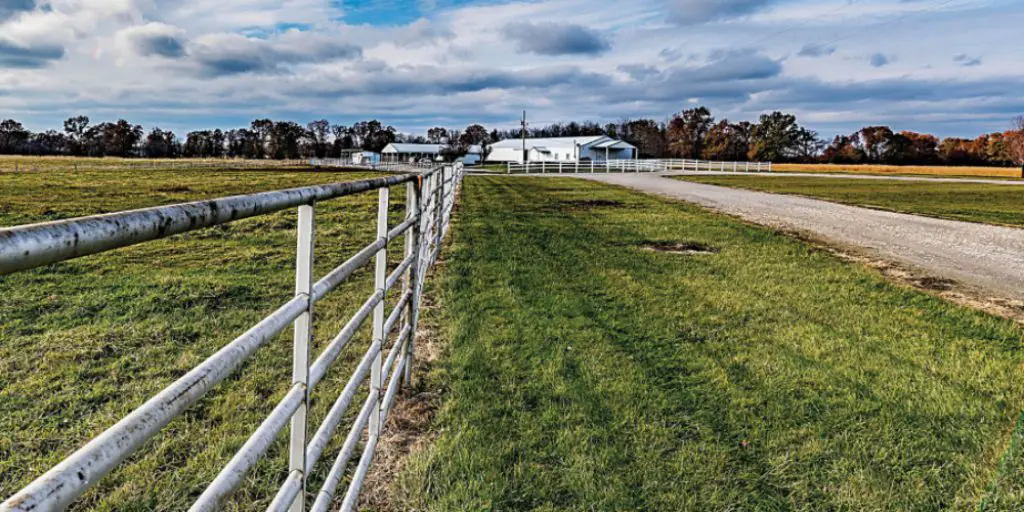
An unlevel fence line is that it’s difficult or impossible to dig proper, straight postholes. The fence line will pull away from your string line if you use it to guide the posthole excavations, causing the posts to lean like a drunken sailor. So, this article is for you. You will learn how to build a pipe fence on unlevel ground with just one simple trick! Building a pipe fence is not difficult. In fact, anyone with basic carpentry skills can do it. The most important thing is to get the posts level so that the fence doesn’t lean.
Step to Follow on How to Build a Pipe Fence on Unlevel Ground
Step One: Determine
First, one must determine what style of wooden fence they want to install. If the fence is going around a garden, then a picket or split rail fence will serve nicely. However, if it will serve as a barrier between neighbors, something more sturdy may be needed.
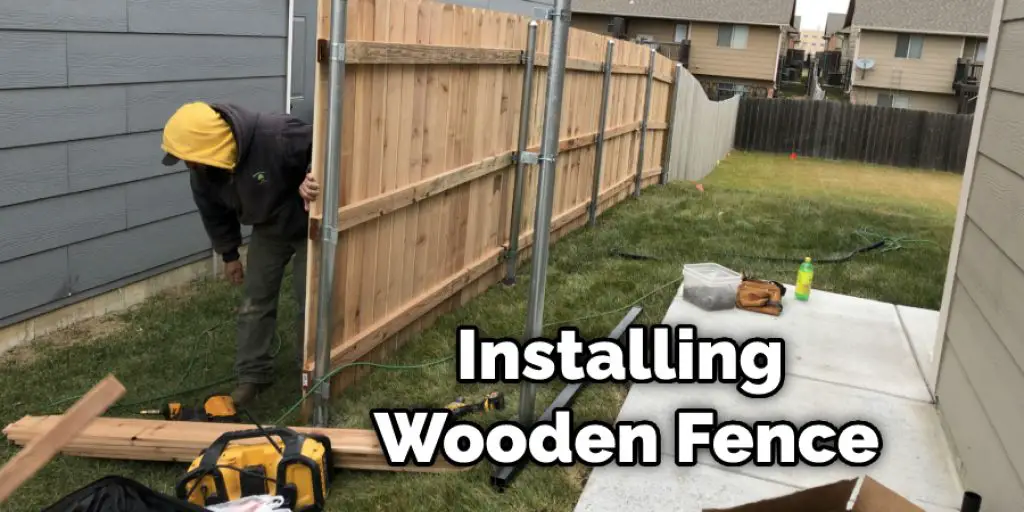
In this case, the pipes should be spaced farther apart and be made from metal. Pipes can be used in many different ways. For example, they can be made into a fence, clothesline, and an easily movable wall or partition. It all depends on what you want out of your pipe structure. If you are looking for a home improvement idea that is both inexpensive and easy to install, consider installing a new ceiling fan. Ceiling fans come in a variety of different sizes and can add an elegant touch to any room.
The pipes need to be put together properly so they will not fall once installed. This means placing them together tightly and making sure the pipes are as stable as possible. The ground can be made level, but it is easier to rest the fence on a small slope not to be challenging to maintain.
Step Two: Prepare the Area
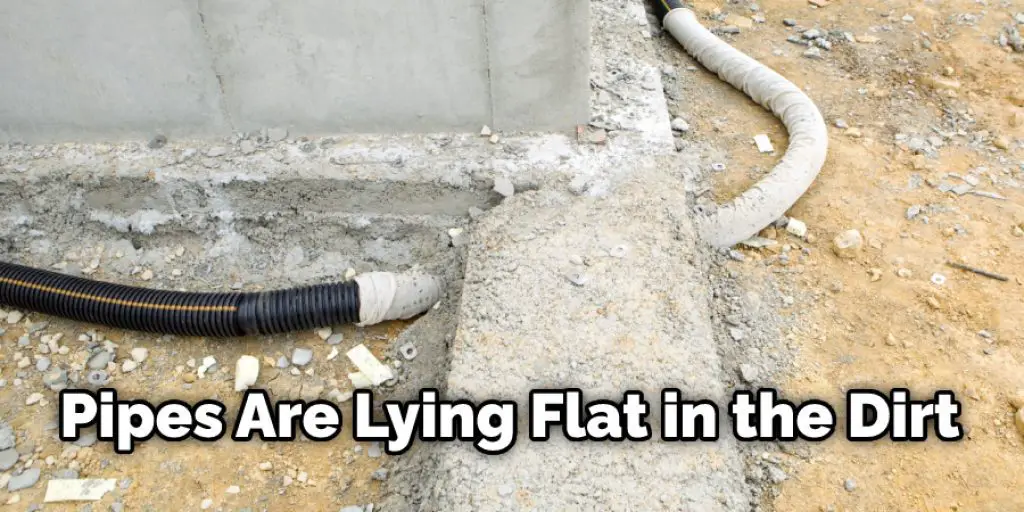
Once you have decided on a plan and determined how high and wide you want your fence to be, you will need to prepare the ground. Rollback any sod that is there and place it in sections of plywood before starting construction. If your pipes are lying flat in the dirt, make sure there are no rocks or boulders where you do not want them. Also remove any tree stumps or large roots from the area. It is best to do this with a friend so that you can mark the location of each pipe while digging the holes and placing the posts.
Ensure your ground is soft and free of any debris that may undermine the pipes, such as old fence posts or pieces of metal from a previous structure. If your ground is concrete, you will need to make sure the pipes are set in place firmly before starting construction. Dig a trench deep enough for the pipes to fit comfortably inside.
If you choose to set your fence on a small slope, keep the bicycle tire idea in mind if your land is not entirely even. You will need at least two or three inches of a downward slope for the water and dirt inside the tires to drain appropriately.
Step Three: Cut Your Pipes
You will need to cut your pipes into the desired lengths before you begin. If you are putting a fence up, five or six feet is more than enough for them to look good and still allow people enough room to get through. You can choose different pipe diameters if you want a tighter or looser fit on the ends.
Depending on how high you want the fence, you may want to consider adding more than five feet of pipe on each side. This will give it a unique look and make it easy to access if you tend to plant your garden or build your fences around an already existing area rather than clearing out all the ground first.
You will also need to consider what you are going to use for caps. They can be purchased or made from other materials if you wish. However, using old fence posts will look better with the wooded type of pipes, while you will want to stick with steel, brass, or galvanized caps if the pipes are going to be outside and exposed to the elements.
Step Four: Assemble Your Pipes
You can use various things to connect your pipes, depending on how you choose to build your fence. For example, you could use wire or wire mesh for a makeshift fence. However, if you are using the pipe fence to divide neighbors, make sure it is sturdy enough not to fall in high winds and strong enough to stop small children from squeezing through.
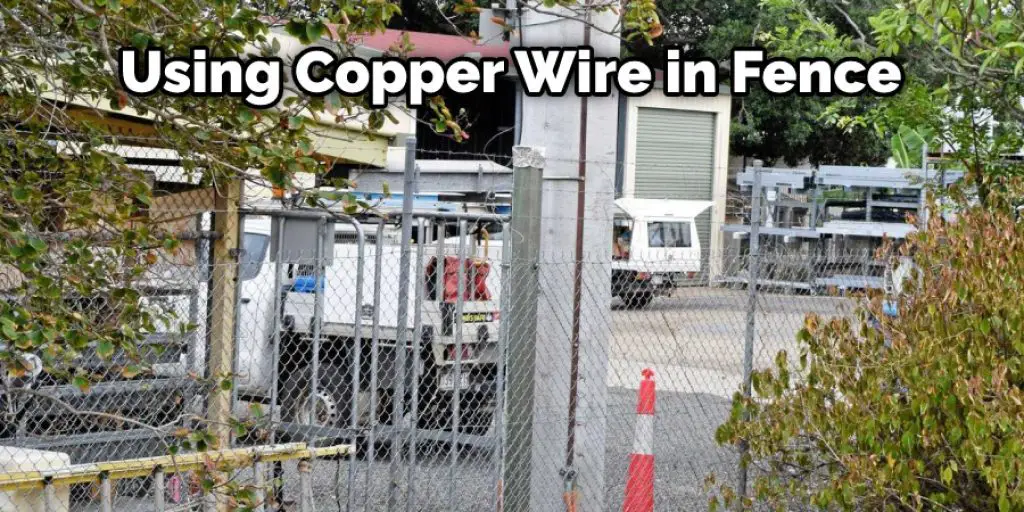
You can also use iron or copper wire for a fence with more decorative appeal. Placing the wire on the ends of each pipe will create a tight fit that will keep your pipes in place and looking nice. You may need to make some adjustments if you are using different types of metal and what they are connected to.
The caps for this type of pipe should be glued in place firmly or crimped on tightly with a pair of pliers, depending on the overall design. They need to stay attached and not come off during high winds or construction work in the area. All of this information will help you learn how to build a pipe fence on unlevel ground.
You can check It Out to Build a Pipe Fence Cattle
Step Five: Stain or Paint Your Pipes
Once your pipe wall is up and you are happy with it, you can choose to leave it as is or stain or paint it. Painting the wooded pipes will protect them from rot if they are exposed to moisture regularly. Staining will provide the same protection while adding an attractive color to the fence.
To attach your caps, you will need a sturdy adhesive like epoxy or an industrial-strength glue that will hold them in place and not come loose over time. You can also use screws for this task; however, make sure they are not rusting as this may compromise the fence’s stability and safety.
You can check it to Remove Sink Drain Pipe Coming Out of Wall.
Frequently Asked Questions
What is a Kickboard on a Fence?
Kickboards on a fence are a great way to keep your kids entertained while you’re working in your yard or garden. They provide an easy and safe surface for them to play on, and they can also help you work out when the weather is hot outside.
To set up this type of playground, simply attach two kickboards to a sturdy wooden fence with screws or nails. Be sure that the boards are at least four feet off the ground so that children cannot reach any dangerous items like power lines or trees. Then, make sure there is enough space between the boards and the fence so that kids have plenty of room to run around without getting too close to either side of the boardwalk.
What Can I Put at the Bottom of a Fence to Keep Animals Out?
Some common options include stones, bricks, or boards. Just be sure that the item is large enough to prevent animals from getting through, and make sure it’s easy to clean if necessary.
What is an L Footer?
An L Footer is a type of header that is most commonly used on websites to add more color and visibility in the lower third of the page. It typically contains an image or graphic, along with text or other information that provides additional insights about the company or website.
An L Footer can be very effective when utilized correctly, as it draws attention to your content while also providing valuable branding assets. Additionally, an L Footer can help to convey a sense of organization and sophistication to your site. When executed properly, it can create a strong visual identity for your business.
To create an effective L Footer for your website, start by brainstorming ideas for what you would like to include.
Should a Fence Be Level or Follow the Ground?
When it comes to fences, many people believe that they should be level or follow the ground. However, this is not always the case. Leveling a fence can cause damage to your property and may also increase your risk of burglary. Fences that are too low can also allow animals into your yard, which can lead to pest problems and other nuisance behaviors.
Fencing that follows the ground is more secure because it’s difficult for anyone to scale or break through it. It will also keep out any animals or pests who might try to enter your property on an unauthorized basis.
Conclusion
Building a pipe fence on an uneven surface is not as difficult as it might seem. All you need to do is measure the height of your posts and cut lengths of pipe that are long enough to reach from one end post, across the ground, and up to the other end post.
Each piping length must be the same, so we recommend using a measuring tape or yardstick for accuracy. Finally, the conclusion paragraph is informative and provides information on how to build a pipe fence on unlevel ground.
Check it out also – How to Unfreeze Pipes in Apartment.


