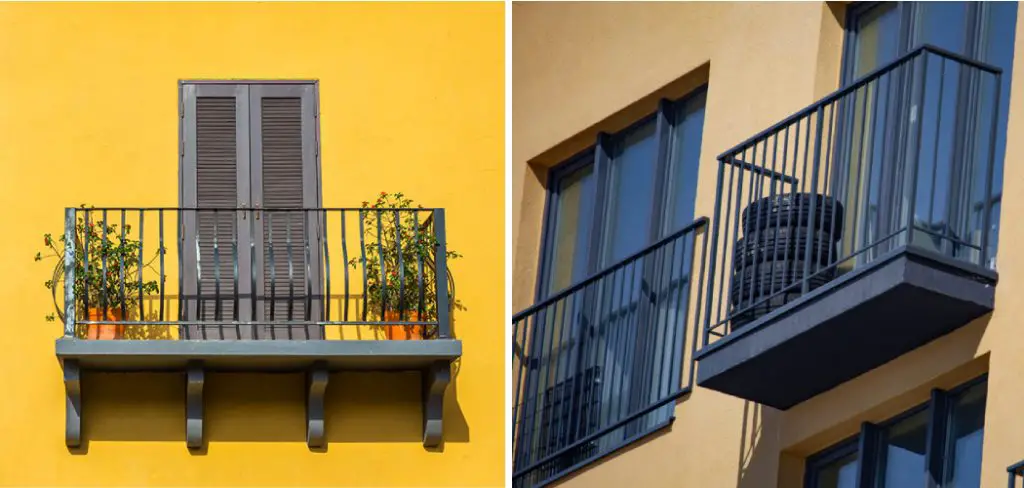
A suspended balcony is a popular choice for homeowners who want to increase the usable space of their homes. Suspended balconies are not attached to any other part of your house so that they can be installed anywhere you like.
This guide will show you how to plan and build your own suspended balcony by following simple steps. The first thing you’ll need is some knowledge on what materials are available, as well as an understanding of the building process required to install one in your yard or garden.
We hope this article helps! However, if you’re looking for more information on how to build a suspended balcony, please read our blog post.
Step to Follow on How to Build a Suspended Balcony
Step One: Create a Plan
Before beginning the construction of any structure, it is important to sketch out how you envision this structure taking shape. Though we can use existing building plans and layouts for inspiration, we need to remember that we are not recreating another design exactly but instead creating something new and exciting, which means each project needs its original plan.
This plan should be created in a way that enables you to easily see what will be built when, how it is to be put together, which materials are needed, and where these materials are located. However, your plan does not have to be overly complicated or technical; the fewer details included in this stage of planning, the better.
Step Two: Mix Cement
When working with concrete, there is one golden rule: always wear safety goggles and gloves. Concrete can be very dangerous if it comes into contact with your eyes or skin, as the powder that covers it before it’s mixed with water is acidic and corrosive.
Before mixing the cement and sand, make sure you have enough water nearby to use in the mixture. Then, move that water into a large enough container for all of the dry materials plus room left over for mixing; most people use 5-gallon buckets.
Step Three: Add the Water
The next step is to add water, but not too much. The right consistency should be like creamy peanut butter. If the mixture appears too dry, carefully add more water one tablespoon at a time until you get the right consistency.
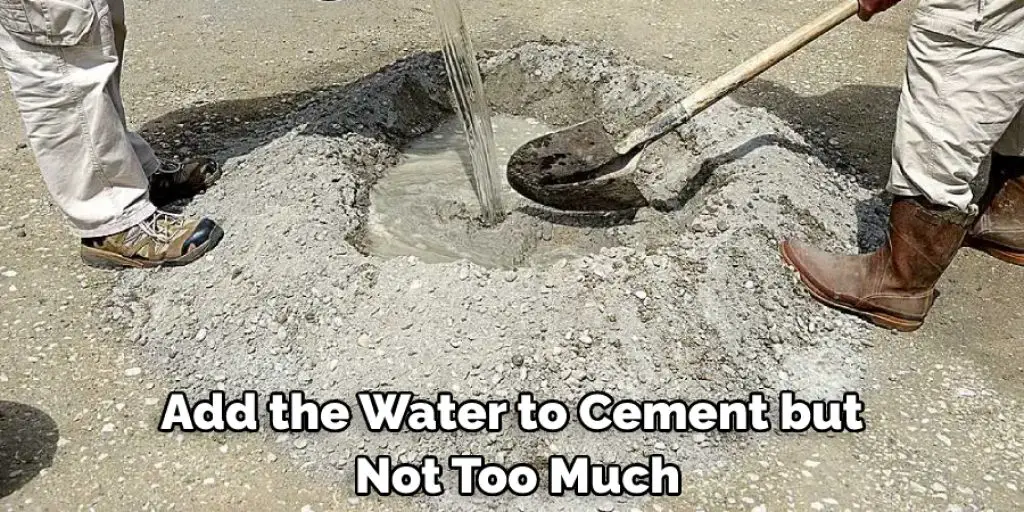
If it seems too wet or runny, slowly add more dry material in small amounts until you’re satisfied with the mix. Then, use the hoe to mix all of the materials until it is thoroughly combined.
Step Four: Pour the Concrete
Pour your concrete into the footing forms that you previously set up. Spread it across the surface before smoothing out any bumps. Then, use a ruler to make sure that all of your corners are straight and even.
Once this is done, use the level to check one last time for any uneven spots or lumps. Concrete can be very unforgiving, so it’s crucial to take the time needed at this step to ensure a smooth finished surface.
Step Five: Smooth Out the Surface
For your balcony to have a professional appearance and a safe and sturdy footing, you must take care while smoothing out the surface. Please make sure there are no bumps and lumps in the concrete, as these may cause it to crack under pressure or weight later on.

To do this, use a trowel that is made explicitly for smoothing outpoured cement or sand. Then begin by dragging the edge of the trowel across an area at a 45-degree angle. Drag the trowel across the surface of your balcony to achieve a smooth texture.
Step Six: Let the Balcony Dry
Now that everything is smoothed out, you can let it dry. This typically takes around 24 hours, but leaving your balcony to dry for the entire 48-hour period after pouring and letting it sit overnight will give your structure a much better texture and strength.
Keep in mind that this will be an essential step in determining whether or not your construction project has gone wrong, as concrete is a finicky material to work with. If you rush this step, take shortcuts, or fail to prepare the materials needed for the mixture properly, then you will have a finished product that is not safe or sturdy.
Step Six: Add Reinforcing Bars
Once the surface has dried for at least 24 hours, you can add reinforcing bars. These are typically made out of steel and strengthen your structure by providing a mesh that helps connect all individual forms.
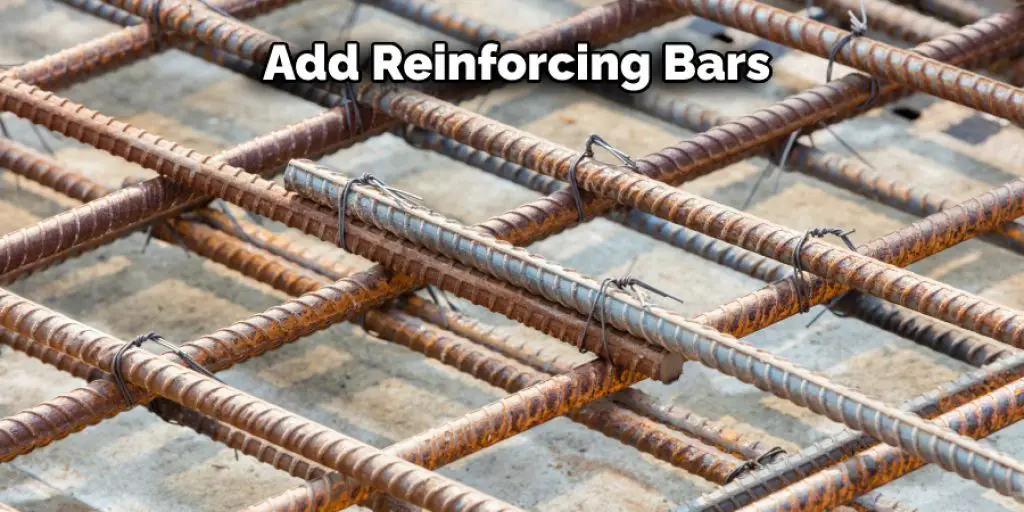
To do this, place them inside of the form on top of your balcony floor. These bars will connect to the other bars that are placed at equal distances from each other, making it easy for you to create a surface that is as straight as an arrow. This will help in how to build a suspended balcony.
Step Seven: Pour In the Second Layer
Once your first layer has dried and you have added reinforcing bars, it is time to pour in the second layer of concrete. Doing this is a lot like doing the first one, but there are a few things that you have to be extra careful.
First, make sure that the water and dry material mixture has been added slowly to avoid any excess amounts of water from spilling onto the floor or out of the bucket. Then, after you have poured all of it in, use the hoe again to mix everything.
Frequently Asked Questions
Can You Build Your Own Suspended Balcony?
Building your own suspended balcony is possible, but it is not easy. You need a skilled team of professionals and the right materials to make this happen.
The first step would be deciding on the design you want for your balcony. This could be based on where you are building or what materials you have available.
Then, after deciding on the design, it is time to start buying materials such as timber beams, steel angles, bolts and washers, stainless steel tubing, etc. These are all important components that will help make your project come together easily and efficiently.
Lastly, it is time to call in professionals like architects and structural engineers who can help you with planning out the construction process so that everything comes together nicely at the end of the day.
Are Suspended Balcony Safe?
Yes, they are safe. The safety of a suspended balcony is only ensured if the cables used for suspending it are strong enough to hold its weight. If the suspension system does not have the capacity to support its weight, then it will collapse and fall from the building.
It is important that when you purchase a suspended balcony, you choose one that has been made with strong materials such as steel and reinforced concrete.
Does a Suspended Balcony Add Value to A Property?
A suspended balcony is a type of balcony that hangs from the ceiling. It’s designed to be suspended high enough to provide views but low enough for occupants to walk underneath it. It can also provide extra space in an apartment or home by taking up less floor space than a regular balcony.
Is It Hard to Build a Suspended Balcony?
It is not that hard to build a suspended balcony. The first thing you need to do is find the perfect spot for your balcony. You need to make sure that it is high enough and also that it has a good amount of sunlight.
The next step would be finding the right material for your building, and then you have to determine how much space you will need for installing the necessary parts of your project.
How Much Does a Suspended Balcony?
A suspended balcony is a type of deck or patio that hangs from the ceiling and is not supported by posts. It offers a safe, comfortable place to enjoy the outdoors with friends and family.
Conclusion
If you want to build a suspended balcony, there are some essential things to keep in mind. First, suspended balconies can be beautiful additions to your home and provide an extra living space for guests or family members.
To do this successfully, follow these guidelines when calculating the size of the beams needed, installing floor joists at least 6 inches below where they will sit on top of the foundation walls, securing all connections with appropriate hardware rated for loads up to 10 pounds per square inch.
It’s not hard building a suspended balcony, but it does require following certain rules. These rules are to keep everything stable. The conclusion paragraph is informative and provides information on how to build a suspended balcony.
you can also check it out: How to Repair Floor Joists With Water Damage


