How to Build a Water Heater Closet
If you have ever wished you had extra storage space. Maybe you have a lot of stuff and don’t know where to put it all. If that’s the case, you should consider building a water heater closet. It’s a great way to add much-needed storage space to your home without taking up too much room. Plus, it can be customized to fit your specific needs and tastes. In this article, we’ll discuss how to build a water heater closet. Follow these simple steps, and you’ll be on your way to having a water heater closet of your own!
Many homeowners don’t know where to put their water heater. It’s a critical appliance, but it can be an eyesore. Building a closet around your water heater is a great way to hide it from view and add extra storage space to your home. It is important to note that you will need some basic carpentry skills to build a water heater closet. If you don’t feel confident in your abilities, you can always hire a professional to do it for you.
What Is a Water Heater Closet?
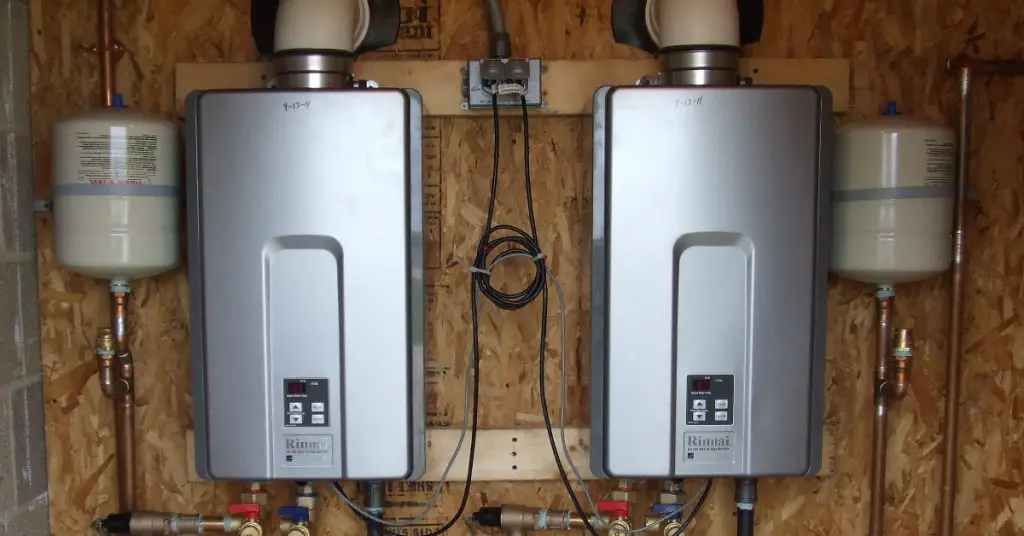
A water heater closet is an enclosed space that houses a water heater. The closet protects the water heater from the elements and helps to maintain a consistent temperature, which is essential for proper operation. Many homes have a water heater closet located in the basement or garage.
This location is typically chosen because it is out of the way, and there is less risk of damage if the water heater should leak. However, water heater closets can also be located in other home parts, such as a laundry room or utility closet. Regardless of where it is located, a water heater closet must be properly ventilated to prevent the build-up of dangerous gases.
Tools and Materials:
- Tape measure
- Plywood (enough to line the walls of your closet)
- Caulk gun
- Cordless drill
- 1/2 inch diameter hole saw
- High-temperature caulk
- Water heater installation kit (available at most hardware stores)
- Water heater blankets (optional)
A Step by Step Guide on How to Build a Water Heater Closet
Step 1. Determine What Size Closet You Need
Before you begin building your water heater closet, you’ll need to determine what size space you have to work with. This will ensure that you purchase the correct amount of materials and that your new closet will be large enough to house your water heater comfortably.

Measure the width, depth, and height of the area where you’ll be building your closet. Once you have these measurements, add 1/2 inch to each size to allow for expansion.
For example, if your water heater is 30 inches wide, 20 inches deep, and 50 inches tall, you’ll need to build a closet that’s 31 inches wide, 21 inches deep, and 51 inches tall.
Step 2. Purchase the Materials
Once you know the dimensions of your new water heater closet, it’s time to purchase the materials. You’ll need enough plywood to line the walls of your cabinet, high-temperature caulk, a water heater installation kit, and water heater blankets (optional).
Step 3. Prepare the Area
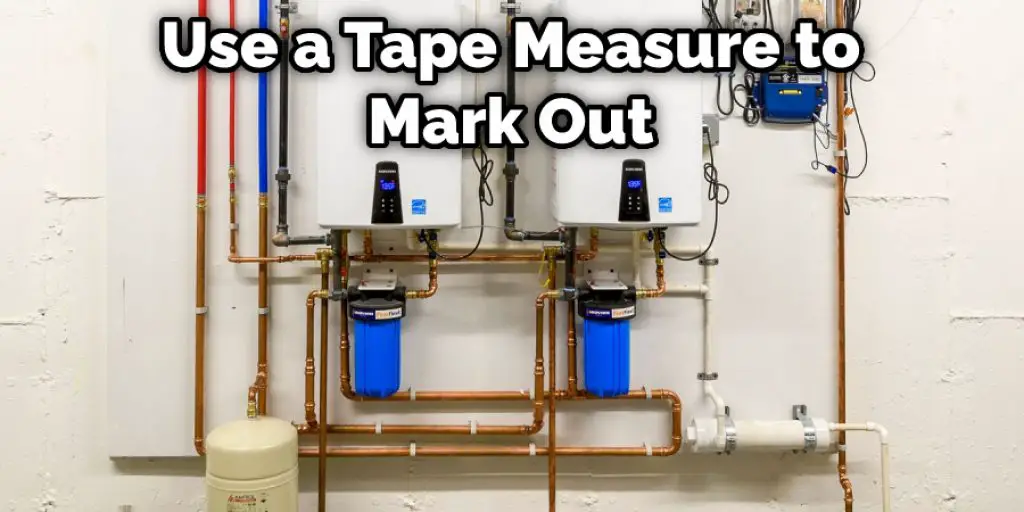
Before you begin building your closet, you’ll need to prepare the area. First, remove any obstacles that might get in the way, such as furniture or other items. Then, use a tape measure to mark out the dimensions of your closet on the floor. This will help ensure that your closet is built correctly.
Step 4. Cut the Plywood
Now it’s time to cut the plywood for your closet. First, use a saw to cut the pieces to size. If you’re not comfortable using a saw, you can have the plywood cut to size at your local hardware store.
Step 5. Attach the Plywood
Once the plywood is cut to size, attaching it to the wall is time. Start by applying a bead of caulk around the perimeter of your space. Then, press the plywood and use a cordless drill to screw it into the wall.
Step 6. Cut a Hole for the Water Heater
Once the plywood is in place, you’ll need to cut a hole for your water heater. Use a 1/2 inch diameter hole saw to cut a hole in the center of one of the plywood panels.
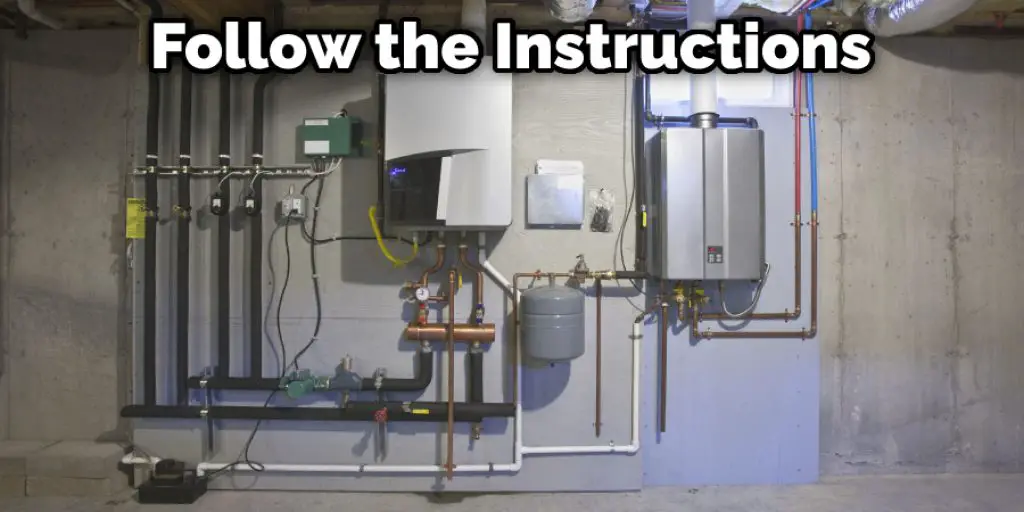
Step 7. Install the Water Heater
Now it’s time to install your water heater. Follow the instructions that came with your water heater installation kit. Once your water heater is in place, use high-temperature caulk to seal around the edges of the hole you cut in Step 6.
Step 8. Add Water Heater Blankets (Optional)
If you live in a cold climate, you might consider adding water heater blankets to your new closet. Water heater blankets help keep the water in your tank warm, saving you money on your energy bill.
Step 9. Inspect Your Work
Once you’ve finished building your water heater closet, take a step back and inspect your work. Ensure that the closet is sturdy and that there are no gaps or holes that could allow heat to escape.
If everything looks good, congratulations! You’ve successfully built a water heater closet.
You Can Check It Out to Move Baseboard Heater
Tips and Warnings:
Tips:
If you’re planning on building a water heater closet, you should keep a few things in mind to ensure the project is successful. Here are a few tips:
- Make sure the space is large enough to accommodate the water heater and all its components. This includes the gas or electric lines and any ventilation requirements.
- Plan for adequate ventilation. The water heater will produce heat and fumes, so it’s essential to have good airflow in the closet to prevent those from building up and causing problems.
- Choose durable materials that can stand up to heat and moisture. Water heaters can be heavy, so make sure the shelves or other supports can handle the weight.
- Follow all local building codes when constructing the closet. This will ensure it meets all safety requirements.
Warnings:
- Be sure to turn off the gas or electricity to the water heater before starting any work on the closet.
- Don’t forget to vent the water heater properly. This is essential for safety and for preventing problems down the road.
- Make sure the materials you use can handle the heat and moisture produced by the water heater. If not, it could cause severe damage.
What are the Benefits of Building a Water Heater Closet?
There are many benefits to building a water heater closet, including:
- Improved Energy Efficiency: By keeping your water heater closet well-insulated, you can improve its energy efficiency and reduce your energy bills.
- Reduced Noise: By enclosing your water heater in a closet, you can significantly reduce its noise.
- Safety: By keeping your water heater in a closet, you can help prevent accidental fires and minimize the risk of scalding accidents.
- Better Aesthetics: A well-designed water heater closet can be an attractive addition to your home.
- Protection From Weather and Pests: Keeping your water heater in a closet can help protect it from the elements and pests.
- Extended Lifespan of the Unit: By correctly maintaining your water heater and protecting it from the elements, you can help extend its lifespan.
Building a water heater closet is a relatively simple project that can be completed in a weekend. With just a few tools and some basic knowledge of carpentry, you can build a sturdy, reliable closet that will keep your water heater running smoothly for years to come.
Conclusion:
Building a water heater closet is not as difficult as it may seem. By following the steps we have outlined in this article, you should be able to complete the project in a weekend. Be sure to take your time and use quality materials, and you will end up with a finished product that will last for many years. We hope you find this article on how to build a water heater closet helpful.


