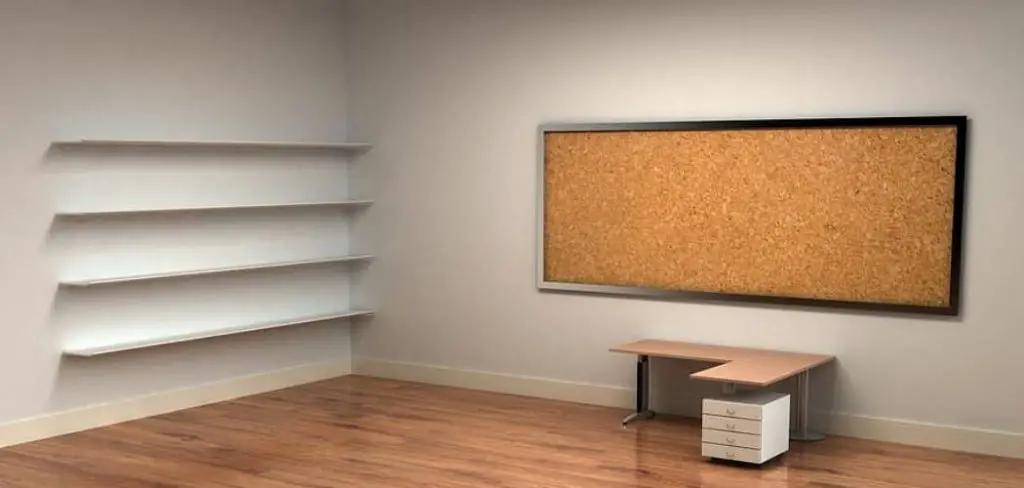
How to Build an Interior Wall in a Mobile Home
Some people might not know the proper steps to take when building an interior wall in their mobile home. The first step is usually to decide how tall you want the wall. You can measure this by using a level or a straight edge and make sure that it’s at least 5 feet tall, though sometimes it will be necessary for you to go higher if your ceiling height is low. The next step is to determine how thick you want the wall to be.
Next, you’ll need some lumber and other materials like screws and drywall screws appropriate for building inside a manufactured home. Finally, you’ll want to find someone who knows what they’re doing to help you with the installation. In this article, we’ll explore how to build an interior wall in a mobile home. How to Build an Interior Wall in a Mobile Home Building an interior wall in a mobile home is similar to building one in a site-built home. However, there are a few key differences.
Step to Follow on How to Build an Interior Wall in a Mobile Home
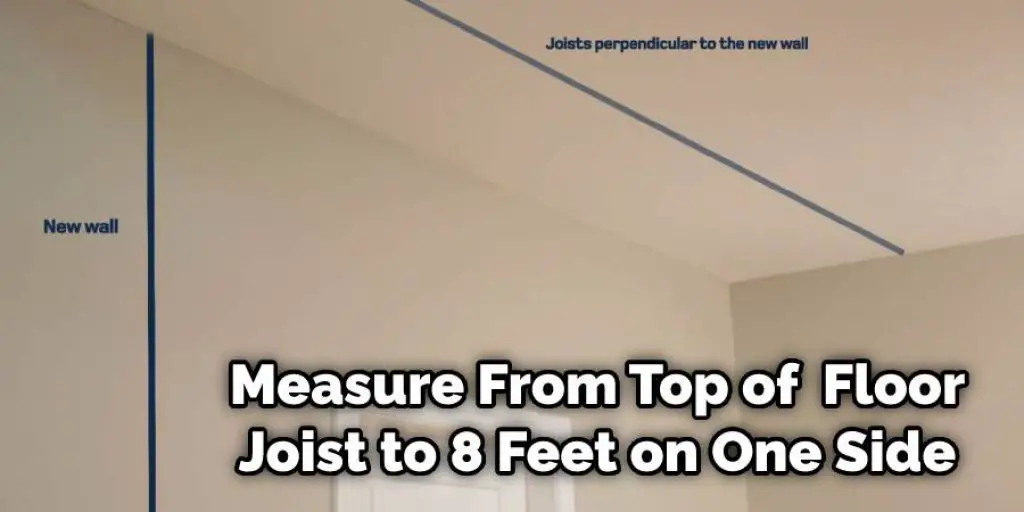
Step One: Determine the wall’s location.
First, an interior wall will be built in a mobile home. To determine the wall’s location, measure from the top of the floor joist to 8 feet on one side and mark it with a chalk line. Then, from that chalk line, measures 10 inches down and then draw another line across for the other side of the wall.
Also, determine how high the wall will rise concerning the floor joist. The best measurement for this is using a piece of 2×4, sliding it up over the wall, and adjusting the height until it meets 1/2 way between where you started and finished. That is the height of the wall. Now, cut your headers. This will be two 2×4’s cut to size. You will use one 2×4 for each end of the wall. Once the 2×4 is cut, nail the header into place.
Step Two: Installing the Top Plate
First, measure 10 inches in from each end of the chalk line that is 8 feet long, and then take your 2x4s and install them into the marks. Use a level to make sure they are straight up and down before you nail them in. Next, cut two studs at least 6-feet long. Install these studs with their tops flush with the 2x4s.
Slide them over the top plate until they come 1/2 way between where you started and finished. These studs will be used as support for the wall, so these pieces need to be strong. Nail both of these studs in with 16d nails. There should be a stud on either side of the chalk line. Repeat this process to add more studs along the length of the wall.
Step Three: Installing the bottom plate
Now, measure 10 inches in from each end of the chalk line that is 8 feet long. Mark these lines on the opposite end of where you already made marks with your level. Place a stud against the wall wherever it needs to be placed according to its location, and then nail it in place.
The last thing in this section is to measure the end of the wall against the floor joist. Once you know where it needs to go, slide it into place and nail it in with 16d nails.
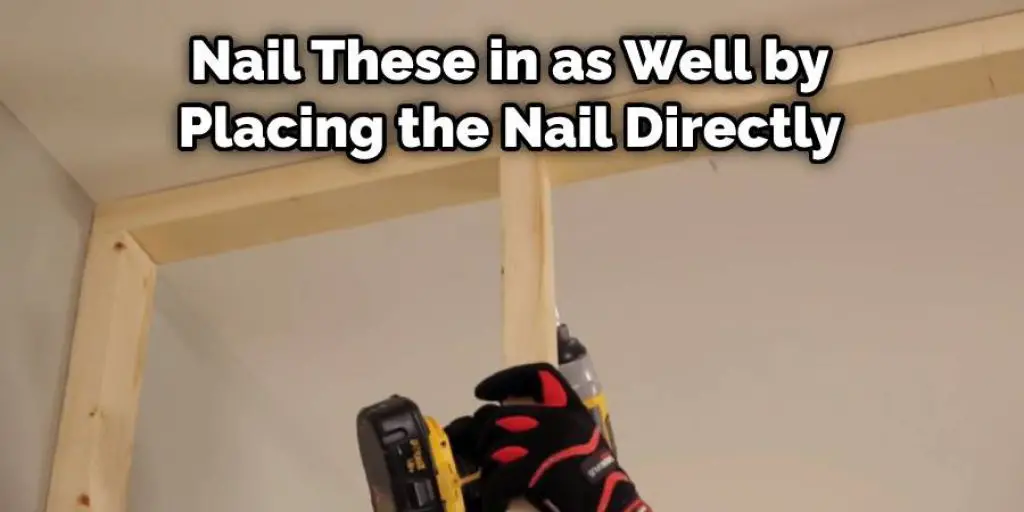
Step Four: Installing the studs
Now, slide any leftover eight ft. 2x4s into place and line them up with a chalk line you made before. Nail these in as well by placing the nail directly below the top of where your bottom plate ended. The first stud should be right under your chalk line for your top plate’s location.
After you’ve installed all of these studs, measure the height at which you want your wall to be. This measurement should go between where you already marked your level and where the bottom plate ends. Mark this point and then cut a 2×4 that long.
Step Five: Prepare for the next row.
Now, measure the height of the studs you’ve already installed. This measurement should be between your bottom plate ends and where it is to go in the row above. After you have that number, slide a 2×4 over until it meets 1/2 way between where your wall needs to end and begin.
Then, line it up to the chalk lines you made before and nail it in. Installing studs will continue in this way until your wall is finished. Be sure that you have a level at all times when doing this project so that your walls can stay straight and sturdy. That’s how to build an interior wall in a mobile home.
Step Six: Cover the wall.
The last step is to place drywall over your interior wall. Then, you can install any baseboard or crown molding, if desired. If so, measure how high it will go with a level and then cut it at that height. Next, place it into position and attach nails to hold in place until the glue dries.
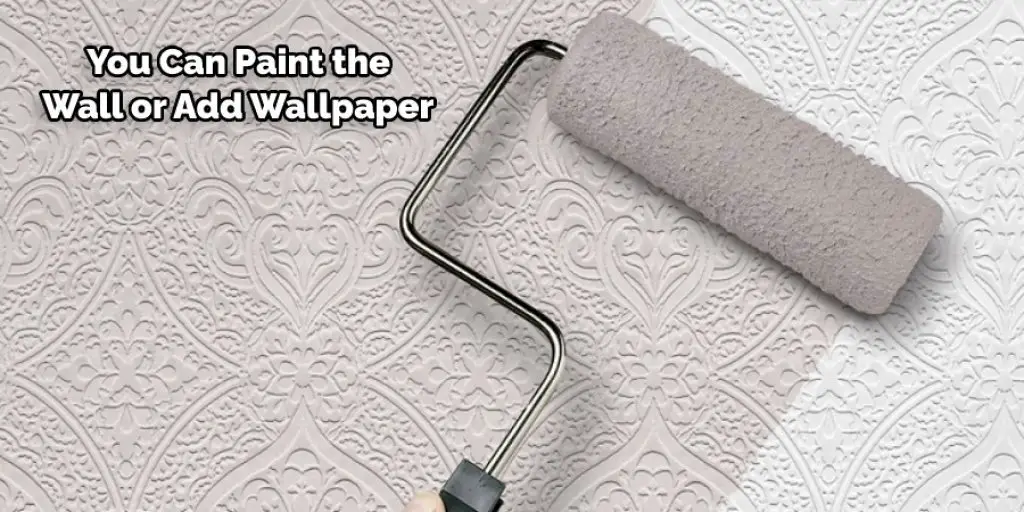
Then, you can paint the wall or add wallpaper to it if you want to. That’s how easy it is to build a wall in a mobile home. And that’s all there is to it! Installing drywall over an interior wall in a mobile home is simple and only requires the materials for this project, plus some tools.
Step Seven: Finishing up
Now, cover your wood studs with drywall using the steps you used to do so on your exterior wall. Then, attach molding or baseboard around the bottom of the wall. Finally, cut the pieces to fit the space and nail them into place until they’re secure. Now you have an interior wall in your mobile home that adds character and practicality to your space.
That’s how you build an interior wall in a mobile home. It’s simple and won’t take more than a few days to do, even if you’re doing it by yourself. It might be helpful to have some help lifting the drywall into place, though. I hope you found this helpful article.
Frequently Asked Questions
Can You Replace Interior Walls in A Mobile Home?
No, you cannot replace interior walls in a mobile home. The reason why is because the materials that make up a mobile home are different from those of an interior wall.
For example, the framing and foundation of a mobile home are made out of metal or wood while interior walls are made out of drywall.
Can You Frame a Mobile Home Wall?
Yes, you can frame a mobile home wall. The cost will depend on the size of the wall and how many walls are needed to be framed. The process of framing a mobile home wall is quite simple.
Can I Put Drywall in A Mobile Home?
Yes, you can put drywall in a mobile home. The only problem is that it will not be easy because of the space limitations and the fact that there are no studs to support the drywall.
What Size Drywall Is Used in Mobile Homes?
It is a good idea to have the correct measurements before purchasing drywall. The size of drywall used in mobile homes is 24 inches x 48 inches, and the thickness of the drywall is 1/2 inch.
What Kind of Drywall Do You Use for A Mobile Home?
The type of drywall that is most commonly used for mobile homes is called sheetrock. It Comes in a Few Different Types : Standard Sheetrock, Corrugated Sheetrock, and Flexible Sheetrock.
Flexible Sheetrock : Flexible sheetrock is made from expanded polystyrene foam with a paper backing and weighs about 18 pounds per cubic foot. This type of drywall is the lightest option because it’s so thin but also has a shorter lifespan than other types.
Standard Sheetrock : Standard sheetrock can be installed directly over plaster or gypsum board. This type of drywall weighs between 20-25 pounds per cubic foot and can withstand heat up to 140 degrees Fahrenheit without cracking or falling apart.
Corrugated Sheetrock : Corrugated sheetrock can last up to 50 years and weigh between 25-30 pounds per cubic foot but isn’t recommended for installing over plaster or gypsum board due to its weight.
Conclusion
If you are building an interior wall in a mobile home, it is essential to make sure that the structure of the new wall matches the existing walls. The width and height should be measured exactly to have no gaps or openings between them.
It’s also helpful to use conduits for wires if any electrical outlets on either side are connected through this space. Finally, the conclusion paragraph is informative and provides information on how to build an interior wall in a mobile home.
You may also like – How to repair floor joists with water damage.


