The Japanese Roof structure is a prevalent architectural style. It’s often seen in the form of pagodas, temples, and traditional houses. The Roof design typically has an asymmetrical shape, with one side being much taller than the other. It can be built using different materials such as wood, earth, or stone. Some are even made from plants like bamboo or reeds! This type of architecture can be found in a number of different countries across Asia. In China, it’s known as the pagoda. In Japan, it’s called the tsurigumi.
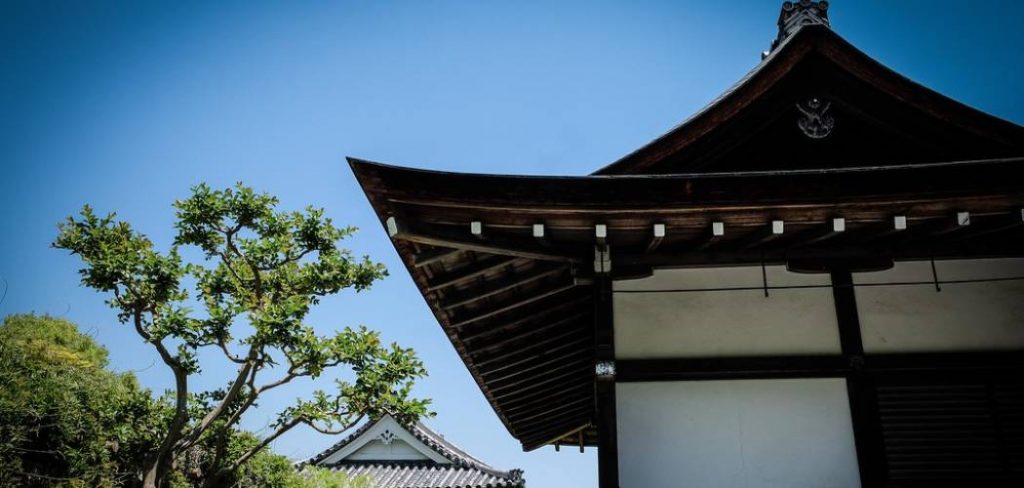
The Japanese Roof was traditionally used to keep out heavy rain, strong winds and other natural disasters, but now it’s only used for decorating Japanese buildings that don’t have any practical use anymore. This blog post will help you learn how to build Japanese Roof! Building Japanese Roof is not difficult, but it requires some materials and tools that you might not have.
Materials You Need
- A roof.
- Usuzukuri.
- Ahabaki.
- Kamewari shingles.
- A roof deck.
- Housoku.
- Furring strips.
Step by Step Guide on How to Build Japanese Roof
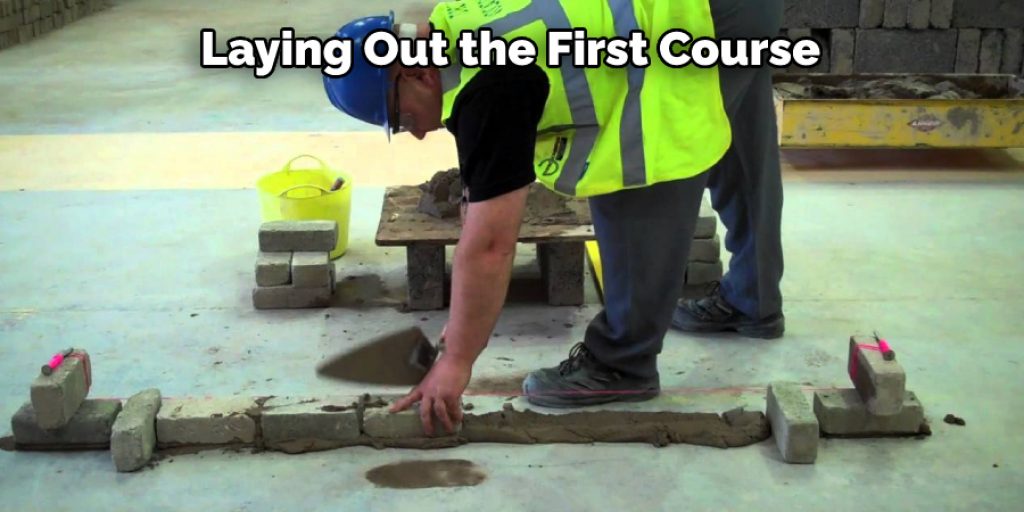
Step One: Laying out the First Course
In order to lay out a course of tiles, you will need two laths laid across the rafters with a gap between them. Each lath should be laid at right angles to each other and spaced the same as the width of your tiles. At this point, it is very firmly recommended you make a template for the tiles before you lay them out. This is so you can use your template to lay the tiles out in a consistent way.
This will help ensure that the tiles are evenly laid and that they will be correctly aligned when it comes time to place your ridge block. Remember, with a gabled roof. Every other course will have an overhang with half its width on one rafter and half on the other. So, for the first course, measure out on both rafters where you want your tiles to sit. The first course will be the full length of your rafters.
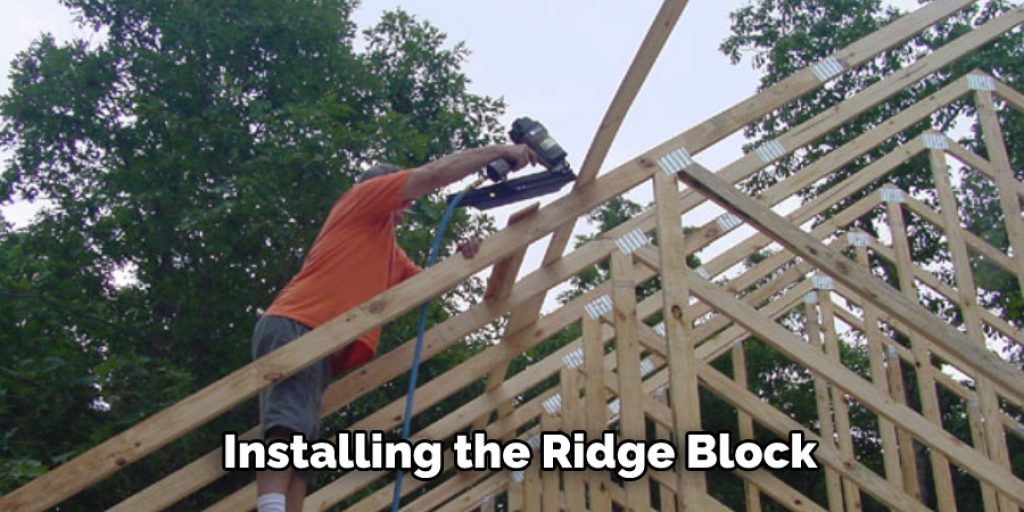
Step Two: Installing the Ridge Block
Now that your laths are laid out, it is time to check the level of the ridge block you intend to use. First, use a bubble level on each one to ensure they are both at right angles to the peaked roof surface and completely straight. If they are not, you will need to shim them until they are. When you are satisfied that they are level, nail the ridge block into place. Next, you will need to place your sheathing boards in position and nail them into place. As with the laths, make sure that each board is straight, level, and plumb.
Nailing the ridge block will require some experimentation on your part, but it must be substantial and secure so as not to move under pressure. The best way to check this is to use tiles for shingles. If you can pull them up without too much effort, you haven’t nailed the ridge block securely enough.
Step Three: Installing Tiles
Laying tiles is simplest if you have four people. Two people should be responsible for spreading the first tile on each rafter, while the other two are responsible for centering and securing them into place. You will need to use about half as many nails as you think you might need at first.
Give everything a firm tug to make sure it is firmly nailed down. It is also vital that you check the level of the tiles before every course to ensure that they slope down from the ridge block to the eaves. Because you have a template, this should be very easy to do.
Step Four: Laying Tiles on Intermediate Rafters
Tiles laid on intermediate rafters work precisely the same way as they do on the larger ones. The only difference will be in how far apart they are set. The distance between each course should be the same as the thickness of your tiles, so if they are 5cm thick, you should have 8cm separating each course.
The first course should be set so that the outside edges are flush with the outside edges of your tiles on the larger rafters. The second course should then sit in between these tiles, and so on until you have a complete roof. This will help in how to build Japanese Roof.
Step Five: Laying Tiles at Eaves
Tiles should be laid at the eaves level before any other courses are set. They should only be nailed down once all other studies have been set and tested to ensure that they were set correctly. These tiles should be no more than 5cm thick, as they are going on very close to the ground and need to handle a great deal of pressure from snow or rain runoff.
Install your eaves tiles in the same way that you did on the larger rafters. You will need an even number of each tile for each course, with the last two being laid at right angles to each other. This is not only decorative but also serves to strengthen the Roof.
You Can Check It Out to Remove Clip Lock Roofing
Step Six: Interlocking the Courses
As you set each course on your Roof, you will need to interlock them. This is done by holding two tiles diagonally and nailing them down simultaneously on opposite sides of the first nail. The second nail should be about 2cm away from the first one.
You will want to use four nails for each tile. The first two nails should be as close together as possible, and the other two should be at right angles. This creates a very strong hold that is resistant to both rot and weather damage.
Step Seven: Finishing Touches
The last steps involve creating your border tiles and cutting holes for your vents or skylights. It is best to wait until the peaked Roof has been tested for strength before you cut your vents, as they are challenging to replace once damaged by weather or rot.
The only other touch you may need to add is ridge bumpers that sit on top of your ridge blocks and prevent water from seeping under them into your house. These can be bought from your local tile store; they are pre-cut and need to be hammered into place over the ridge block. If you want to find out more about how to build Japanese Roof, keep reading.

Step Eight: Laying Down a Toilet and Water Drain
These two pieces do not need tiles to be laid on them and can rest on the ground. However, a drainage channel should be dug out first, covered with boards that are nailed down into place. This channel needs to slope gently towards your home’s foundation to ensure that it doesn’t collect water.
The toilet should also be sloped towards this foundation, but very gently and in a way that allows the water to drain out and away from your home. For example: If your house is west-facing, it may pick up more sun than other areas in the morning or afternoon. This would make the area around the toilet warmer and more likely to attract water.
You Can Check It Out to Raise a Roof on a Garage
Why Are Japanese Roofs Curved?
Curved roofs are typical in Japan, but there is no single reason. One might think that the Roof gets its curve from the steepness of the slope, but this is not always so. The most important consideration is not how much snow falls in a given region or how heavy it is; rather, it is whether earthquakes occur and how they affect the area.
The shape and height of a roof depend largely on seismic activity in its vicinity. Another reason for adopting this kind of architecture is the abundance of wood. In Japan, trees were initially cut to build temples and shrines, but these wooden pieces were later used as building materials.
Frequently Asked Question
What Are Japanese Roof Made Of?
Japanese roof is a type of tiled roofing. It has been in use for centuries and was developed by Japanese architecture in the 10th century.
There are many benefits of Japanese roof:
- It saves money because it requires less maintenance than other types of roofs like slate or tile.
- The tiles are resistant to fire, hail, and wind damage.
- It does not require any paint or sealant for protection against weather elements and stains from water and pollution.
- There is no need to remove old shingles before replacing them with new ones because there is no sloped surface on which nails can be placed.

Why Are Japanese Roofs Curved?
Japanese roofs are designed to reflect sunlight. The roof is curved in order to direct the sun’s rays towards the center of the building, where they can be absorbed by a photovoltaic cell and converted into electricity.
What Wood Do Japanese Use?
Japanese people primarily use bamboo, oak, and cedar. Bamboo is considered the most important of these three because it is flexible and lightweight but strong enough to withstand high winds. Cedar was traditionally used for its scent-preserving properties. Oakwood has been used since ancient times in Japan as a material for building houses, fences, boats, etc.
Why Do Houses in Japan only Last 30 Years?
It is estimated that the average life span of a Japanese house is about 30 years. There are many reasons for this, but one of the main ones is the lack of strict building codes and standards in Japan.
There are two major reasons why houses don’t last long in Japan:
- Houses are not built to be durable
- And they have no interest in investing in maintenance or repairs over time.
The first reason stems from Japan’s rapid industrialization during World War II, which saw an influx of low-quality construction materials into homes as a result of a shortage. This lead to rapid deterioration and damage to properties over time because there was no requirement for structural integrity or durability.

Japan also has an aversion to maintaining their property over time due to cultural attitudes regarding land ownership, leading them to believe that if they invest money into repairing or maintaining their property it will devalue them as individuals and will make it harder for them to sell their home down the line when they decide on moving away from their current location.
Conclusion
If you want to build your Japanese Roof, we recommend speaking with a professional and understanding the different materials. An excellent place to start is by looking at what other people have done for their homes and even asking them how they did it!
You can also learn more about this type of architecture on our blog so that you can gain an understanding of everything involved in building one. We hope this information has been helpful as many people are interested in learning how these roofs work because they’re such beautiful pieces of artistry.
When combined with traditional Japanese décor styles like shoji screens or tatami mats, these buildings become something very special indeed. After reading this blog, you should know how to build Japanese Roof.
You may read also – How to build a ridge beam roof.


