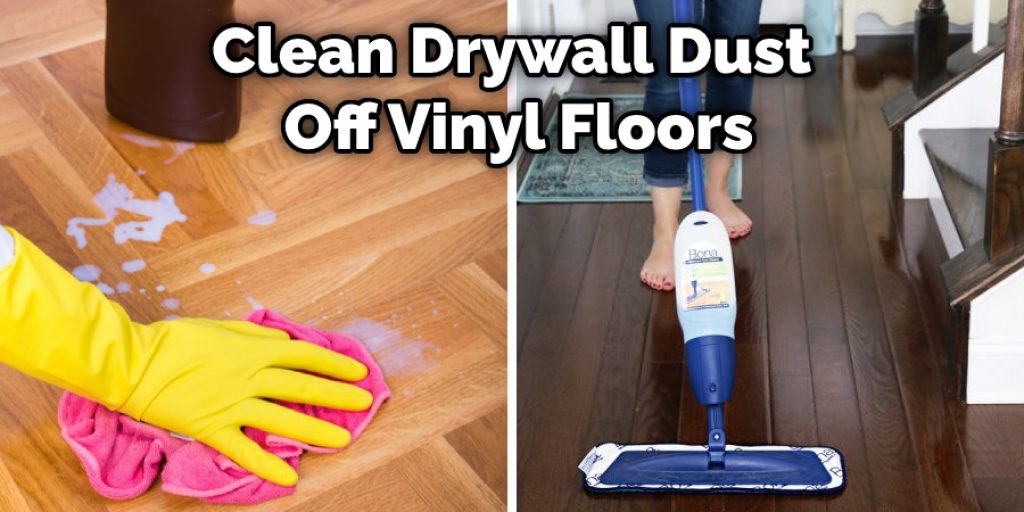
Drywall dust can be a real pain to clean up, especially if it gets on your vinyl floors. Luckily, you can do a few things to make the cleaning process a lot easier. This blog post will tell you how to clean drywall dust off vinyl floors using a few simple steps. Keep reading for more information! First, you’ll want to vacuum up as much of the drywall dust as possible.
Why Should You Clean Drywall Dust Off Vinyl Floors?
Drywall dust is made up of small pieces of gypsum that can be easily inhaled. If you have vinyl floors, it’s important to clean up any drywall dust present. Otherwise, it can get trapped in the crevices of the flooring and be difficult to remove. In addition, drywall dust can cause health problems if it’s breathed in. To clean up drywall dust, start by sweeping or vacuuming the floor. Then, use a damp mop to remove any remaining dust. Be sure to rinse the mop frequently to avoid spreading the dust around.
Symptoms include coughing, wheezing, and shortness of breath. It can also irritate the eyes, nose, and throat. In addition, if you have young children or pets, they could also ingest the drywall dust. To avoid these problems, it’s best to clean drywall dust off vinyl floors as soon as possible. The best way to do this is with a broom and dustpan. First, sweep up the bulk of the dust with the broom. Then, use the dustpan to scoop up any dust that is left behind. Next, you can either vacuum or damp mop the floor to remove the last traces of dust.
Things You’ll Need
- Broom
- Dustpan
- Vacuum cleaner with a hose attachment
- Mop
- Bucket of hot water
- Cleaning solution (optional)
- White vinegar (optional)
How to Clean Drywall Dust Off Vinyl Floors Step by Step Guide
Step 1: Try the Vacuum First
The best way to clean drywall dust off vinyl floors is to try using your vacuum cleaner first. If there is a lot of dust, you may need to use the attachments to get into the cracks and crevices. Be sure to empty the vacuum cleaner bag or canister when you’re finished.
Step 2: Wipe Up the Dust With a Clean Cloth
Once you have removed all of the bigger pieces of debris, it is time to start wiping up the dust. For this step, you will need a clean cloth. Wipe the floor in small circles, getting into all of the nooks and crannies. Once you have wiped up the dust, take a look at your cloth. If it is not completely clean, throw it away and get a new one.
If there is still some dust left on the floor after you finish wiping it up, you can use a vacuum cleaner again to suck it up. Just make sure the attachment is appropriate for vinyl floors, or you may scratch them. Use a protected item like socks or towels to stay away from scratches when vacuuming the floor. You can also use a mop and water to wash your vinyl floors. Start by adding some soap to a bucket of warm water.
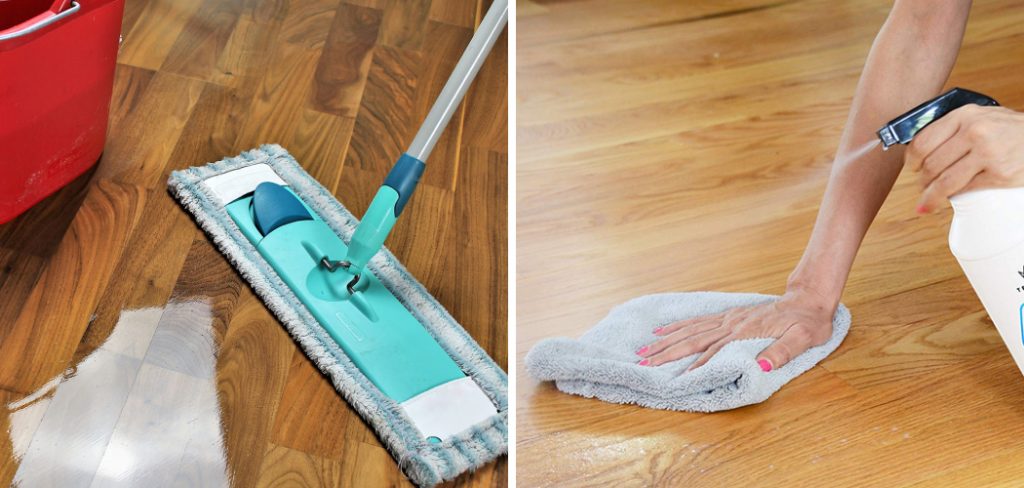
Step 3: Mop Up the Rest of the Dust
Now that the bulk of the dust has been removed, it’s time to clean up the remaining residue. Use a damp mop to wipe away any remaining dust and debris. Be sure to wring out the mop as much as possible so that it’s not soaking wet. You don’t want to create more mess than you’re already dealing with!
This step may take a little time, but it’s important to get all the dust and dirt off the floor, so it doesn’t scratch the surface. Once you’re done, give the floor a final sweep to ensure there’s nothing left behind.
Step 4: Do the Scrape
Once you’ve completed the vacuuming and sweeping, it’s time to do some scraping. Get a putty knife or metal spatula and scrape off any remaining dust or debris. Be careful not to damage the vinyl flooring in the process.
It’s important to clean up any drywall dust as soon as possible before it can cause any further damage or discoloration. Vinyl flooring is a fairly durable surface, but it’s still susceptible to staining and discoloration if not cleaned up quickly.
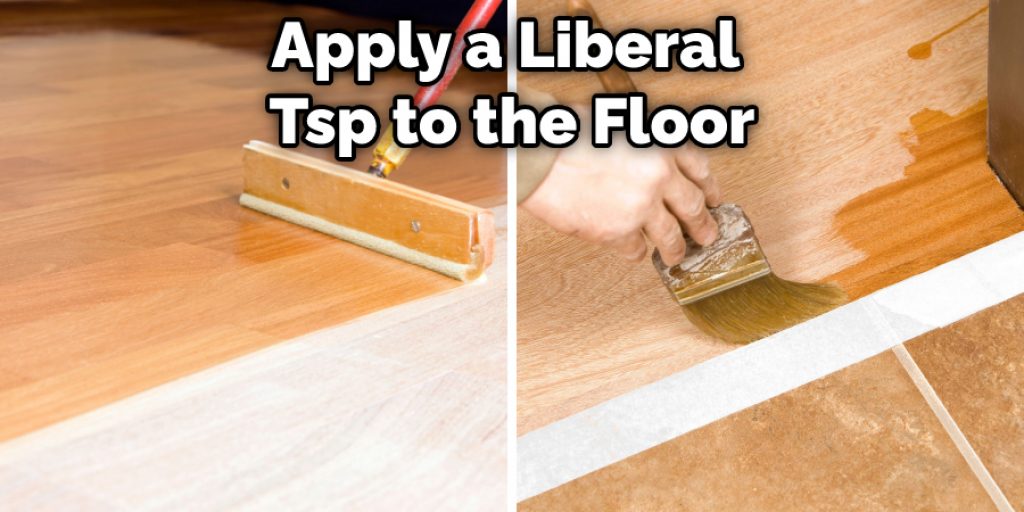
Step 5: Apply TSP (trisodium phosphate)
Use a sponge or mop to apply a liberal TSP to the floor. Leave it for 5-10 minutes, then rinse thoroughly with clean water. Make sure to wear goggles and gloves when using TSP. Repeat steps 2-4 as needed to remove all drywall dust from the vinyl floor.
You Can Check It Out to Dispose of Drywall With Black Mold
Step 6: Apply a Vinegar Solution
Once you have removed as much drywall dust as possible, it is time to clean the floor. A vinegar solution will do the trick. Mix one cup of vinegar with two cups of water in a spray bottle. Spray the solution on the floor and wipe it up with a cloth or mop. The vinegar will help remove any remaining dust and disinfect the floor.
If you have any stubborn spots or areas where the dust seems to be sticking, you can use a little bit of elbow grease to scrub them clean. Be sure to rinse the floor with water afterward to remove any vinegar residue.
Step 7: Managing the Mess
The clean-up process for drywall dust is not difficult, but it can be time-consuming. Make sure to follow the proper safety precautions to avoid potential health risks.
Once you have finished cleaning up the mess, take some preventative steps to minimize the amount of dust accumulated in the future.
Now that you know how to clean drywall dust off vinyl floors, you can take the necessary steps to ensure that your flooring stays clean and damage-free. First, vacuum and sweep the floor regularly, and mop it with a vinegar solution at least once a week. If there is a lot of dust buildup, you may need to do it more often.
You Can Check It Out to Paint Over Wallpaper Border
How to Clean Drywall Mud Off Concrete Floor?
Drywall mud may be necessary for patching holes in your walls, but it can be a pain to clean up afterward. If you’re dealing with drywall mud on your concrete floor, the good news is that it’s not too difficult to remove.
Start by sweeping up any loose debris, then wet the area with a hose or a bucket of water. Next, apply a generous amount of laundry detergent to the affected area and scrub with a broom or brush.
If the mud is still not coming up, you can try using a power washer on a low setting. Once you’ve removed all the drywall mud, rinse the area thoroughly with water. With a bit of elbow grease, your concrete floor looks as good as new!
How to Clean Plaster Dust Off Laminate Floors?
When you renovate a room with plaster walls, the resulting dust can be challenging to clean up. Likewise, if you have laminate floors, you’ll want to take extra care to avoid damaging them. The good news is that there are a few simple steps you can follow to get rid of plaster dust without harming your floors.
First, sweep or vacuum the floor to remove any loose dust. Next, dampen a mop in a solution of warm water and vinegar, and use it to scrub the floor gently. Finally, rinse the floor with clean water and dry it with a soft towel. You can ensure that your laminate floors will stay looking new for years to come by taking these steps.
Frequently Asked Question
Is It Ok to Vacuum Drywall Dust?
There is some debate on whether or not it is safe to vacuum up drywall dust. Some people say that you can cause the dust to become airborne and inhaled, which can be dangerous. Others say that it is safe to vacuum up the dust as long as you take precautions, such as wearing masks. It is probably best not to vacuum up the dust to be on the safe side.
What Is the Best Way to Clean up Drywall Dust?
Dealing with drywall dust can be frustrating, but there are a few ways to make the process easier. The best way to clean up drywall dust is to use a wet/dry filter vacuum cleaner. If you don’t have a wet/dry vacuum, you can use a regular vacuum cleaner and a bucket of water.

Conclusion
While this is not the only way to clean drywall dust off vinyl floors, it is a tried and true method to help your floors look new again. If you have any questions or concerns about this process, please reach out to us for more information. Thanks for reading our post about how to clean drywall dust off vinyl floors.


