Traeger grills are known for their flavor-infused food, but sometimes the grease trap on the grill can start to fill up with gunk. This can cause unpleasant smells and even fires. Luckily, it’s not difficult to clean the grease trap on a Traeger grill. This article will show you how to clean the grease trap on a Traeger grill quickly and easily.

If you own a Traeger grill, then you know that it’s essential to keep the grease trap clean. Failing to do so can cause damage to your grill and make it difficult to use.
What Is the Grease Trap on the Traeger Grill??
A grease trap is a container for the cooking grease vaporizes during excess fat drip through it. It prevents excess cooking grease from accumulating on your grill, which can cause fires.
An overflowing grease tray can cause smoking and flare-ups due to excess heat from the drippings. When you cook fatty foods such as bacon or sausages, there will be lots of dripping troughs left behind in your Traeger pellet grill’s grease trap. The value of space is not high enough, so if you don’t empty it at least once a month, dangerous problems may start around your Traeger Grill.
The grease trap is a must-have accessory to use your Traeger Grill properly. How often you empty it will depend on the amount of cooking you do and how much grease you produce from cooking. For example, if you cook bacon, then once a month may not be enough.
Tools and Materials
- A bucket
- Gloves
- Long tongs
- Chemistry brush
- Spray bottle filled with water and dish soap (2 teaspoons)
A Step by Step Guide on How to Clean the Grease Trap on a Traeger Grill
Step 1: Determine
The first step of cleaning the Grease Trap on a Traeger Grill is figuring out how to remove the grease trap from your grill. This may be different depending on what kind of model of Traeger you have. Next, ensure you have the proper tools and materials needed to complete the process (listed above).

Step 2: Open it Up and Pull it Apart
Once you have figured out how to remove the grease trap from your Traeger, take a look at it and see if there’s a way to pull it apart. Sometimes, the best way to clean is by taking it apart. Make sure you are wearing gloves for this part.
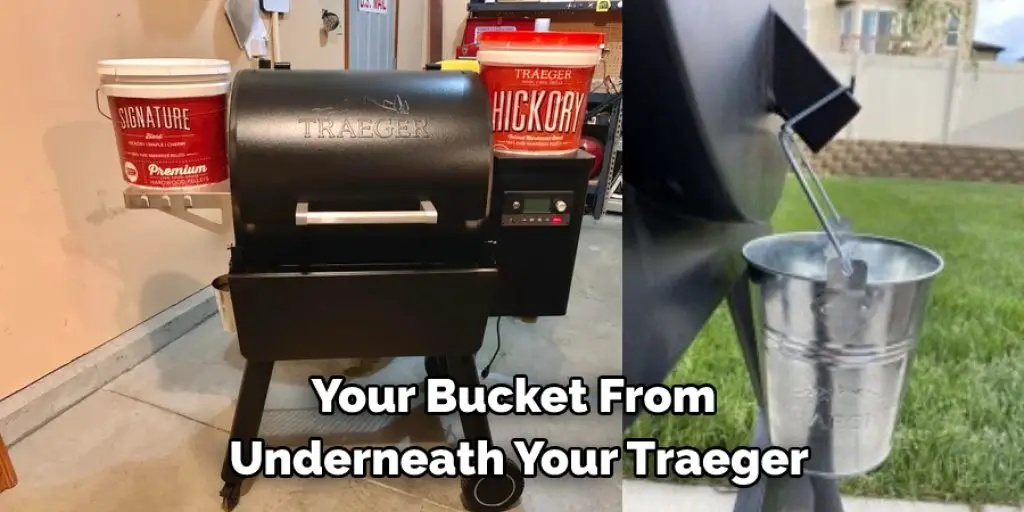
Step 3: Place Your Bucket
Next, after removing your bucket from underneath your traeger, lift your traeger drip tray, which is located under the grate where you place food. Then position it upside down over a sink or trash can.
Step 4: Use the Chemistry Brush to Clean the Parts
Now that your grease trap is apart use the chemistry brush to scrub any areas where gunk has accumulated. Make sure everything is cleaned thoroughly, especially if you notice grease buildup on one area of the trap over time.
Step 5: Make the Cleaning Solution
Next, mix up your cleaning solution in a spray bottle. Fill it with two teaspoons of dish soap and fill it up to the top with water. Shake it well to mix the two ingredients. The purpose of using this mixture is to separate any grease captured inside of your Traeger from the metal surface to be more accessible to clean out.
Step 5: Spray Your Soap Mixture
Once you’ve mixed your soap mixture well, spray down all areas around where you removed both the top and bottom portions of the grease trap (or whatever amount you are working on). Then take your chemistry brush or toothbrush and start scrubbing at these areas. The idea here is to get the soap inside these areas and then let it sit for a while (about an hour) before scrubbing and rinsing again.
Step 7: Rinse Out Your Grease Trap
Once you’ve let your solution set into your grease trap, take some warm water and rinse out all areas until all soap residue is gone. Make sure nothing gets left behind…especially if you plan on cooking food right after this process. Your Traeger must be completely clean and free from any soap residues before putting back together or placing back under your grill/smoker. This is a crucial step in how to clean the grease trap on a traeger grill.
Step 8: Clear the Burner Tube
Now that the grease trap is clean, we can focus on clearing out excess debris from your burner tube. This process requires you to stretch a vital piece of wire (coat hanger) underneath and poke it through to dislodge any heavy greases or fats that have stuck onto the burners and become hard over time.
Step 9: Rinse Sprite Bottle Thoroughly
All soap residues must be rinsed away from your spray bottle before using it for this step, as well as the next step below. Any residue left behind will cause problems because after spraying down your drip tray, you’ll immediately want to rinse off those portions with water again, which would be complicated by going through the motions of pouring down your burners and drip tray.
Step 10: Let it Dry
After rinsing, let your grease trap dry out. Usually, about 45 minutes should do it (especially if there was no rain or humidity). This will help ensure that this is a complete process before placing your Traeger back under your grill/smoker again.
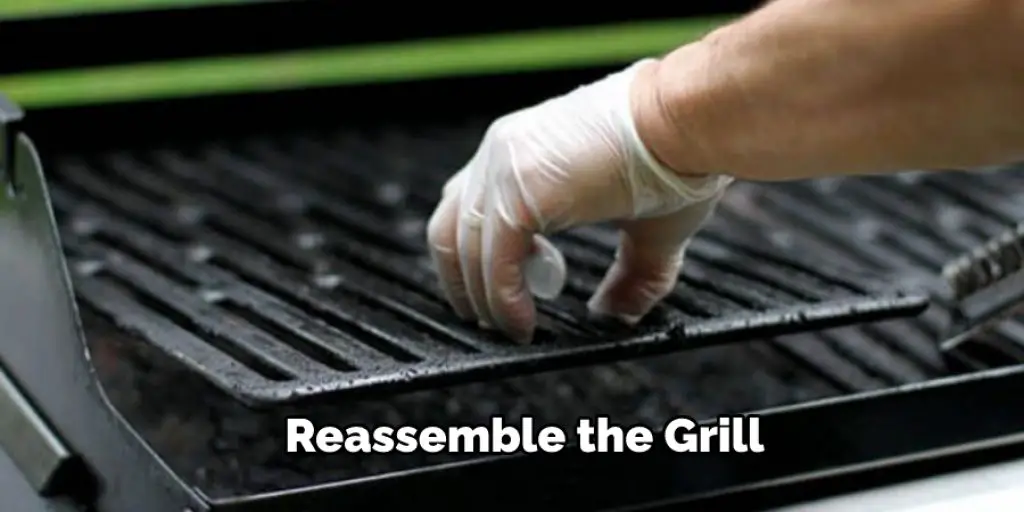
Step 11: Reassemble the Grill
Now that the trap, burners, and drip tray are all clean, put it all back together. How you put this thing back together will depend on how you took them apart. Sometimes if your grill is older, putting it back together can be a little tricky. Also, sometimes your screws might not fit nicely into their original places without having to force things into position. If you encounter this situation, just take out those screws and try putting them in different locations until they are snugly fit in again nice and tight.
Step 12: Prevent Future Buildup
The final thing to keep in mind is prevention. The buildup in your grease trap is caused by fats and oils left behind after cooking. So consider how long you cook for, what type of food you usually put on the grill, etc. And if your Traeger has a removable grease tray, make sure it’s cleaned out after every use, depending on the amount of time you’ve grilled/smoked foods over time. The reason being is that grilling sessions can last longer than one hour, which means any excess fat/greases will harden over this length of time if not removed. These steps will help in how to clean the grease trap on a traeger grill.
Tips and Warnings
Tips:
- When you are done with the cooking process, be sure to use a rag or some paper towels and push it down around the grease setting on your grill—cleaning up after cooking is easy when all of the excess particles stick to the grease trap.
- It’s essential to clean out your Traeger grill often so that customers can enjoy their meal without getting sick from bacteria hidden in old food particles. How long you leave this mess unattended will determine how bad the situation gets. Remove these particles as soon as possible for optimal results.
- Clean all areas where there is a change in color or texture – this means that you want to take extra special care during this process. Replace any broken parts if needed before using your barbeque again.
Warnings:
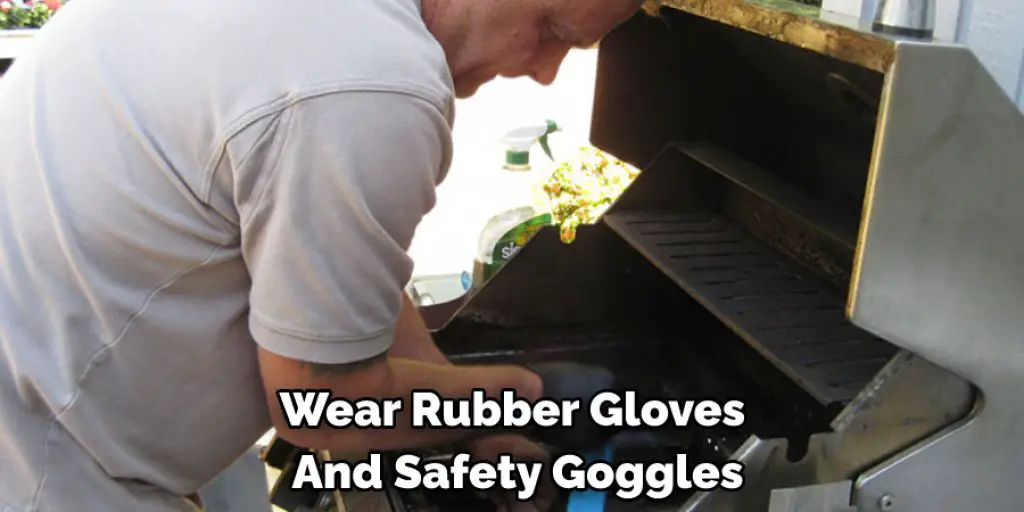
- Wear rubber gloves and safety goggles when cleaning the grease trap to help prevent burns, splatters of hot oil, and other injuries.
- Don’t clean the grease trap when it is hot. Instead, allow the grill to cool before cleaning.
- Follow all manufacturer instructions for safe operation and use of your Traeger Grill.
How Do I Know When It’s Clean Enough?
You’ll know when your grease trap is clean enough to run another few batches of meat through it by following some observations. First, keep an eye on how much water and steam is coming out the bottom, and give it a sniff now and then. If you notice that there’s no steam or very little coming out, combined with a good deal of water, you’re in business.
For the record, I should note that it should go without saying, but if nothing is coming out should NOT be taken as a license to keep adding meat until all you get is steam and no water. The only thing that would accomplish then is burning your subsequent few batches of heart before they can adequately smoke. If this does happen, follow the steps again after the grill has cooled down for a good while to make sure it’s good to go.
Conclusion
Follow the article on how to clean the grease trap on a traeger grill. If you’re a Traeger owner and you’ve been having issues with your grill, or if you want to make sure that it’s functioning correctly for the coming season, then this article is for you! I’ll walk through all of the steps to clean the grease trap on a Traeger. It should take about 45 minutes total and will be well worth it when your cooking gets back up to speed. The first step we need to do is remove any excess ash from around the burner area and start preheating our ovens so they can get nice and hot while we work on cleaning out the grates underneath them.
You can also check it out: How to Clean Korean BBQ Grill


