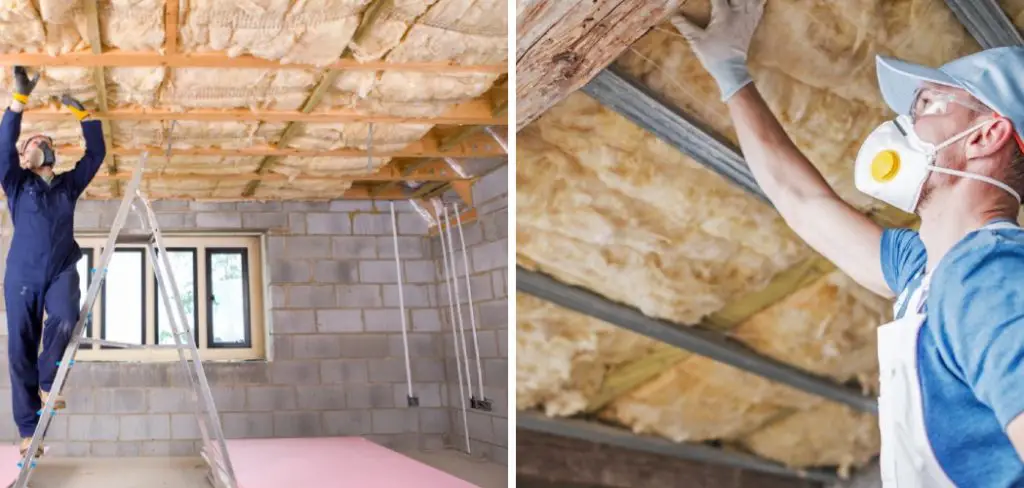
Basement ceilings can be a challenge when it comes to insulation. Installing insulation can be difficult and time-consuming. However, it is essential to keep your basement warm and energy-efficient. This article will show you how to cover basement ceiling insulation quickly and easily. keep reading to learn more.
The basement is a part of the house which is not used frequently. But it should be noted that even if your basement is not in use, you should still insulate it to keep the energy bills down. In addition, if you ever plan on using your basement, proper insulation is a must. Many people think it does not need insulation since the basement is underground. However, this is not true.
Why Should You Insulate Basement Ceiling?
Basement ceilings are often neglected when it comes to insulation. However, this part of your home can be as important as the walls to keep your home comfortable and energy-efficient. Here are a few reasons why you should insulate your basement ceiling:
- Basement ceilings are often colder than the rest of the house, leading to uncomfortable temperatures and higher energy bills.
- Basement ceilings are typical for air leaks, allowing warm air to escape in the winter and cool air to escape in the summer.
- Insulating your basement ceiling can help protect your belongings from moisture and mold damage.
- Basement ceilings are great to install insulation if you cannot insulate the walls.
What You’ll Need
- Insulation batts
- Wire mesh
- Staple gun and staples
- Utility knife
- Measuring tape
- Square
- Pencil
- Saw
A Step by Step Guide on How to Cover Basement Ceiling Insulation
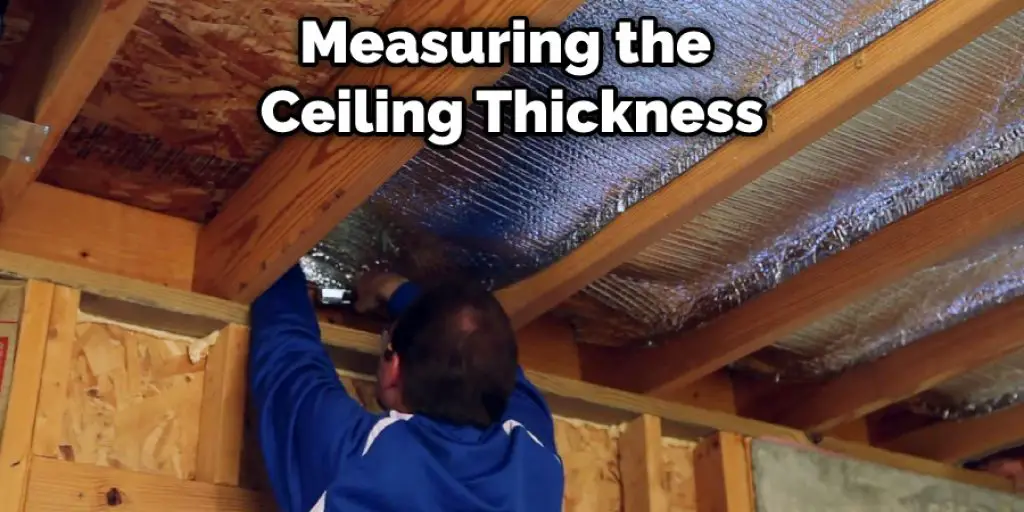
Step 1: Determine How Much Insulation You Need
The first step is to determine how much insulation you need. You can do this by measuring the thickness of your current insulation and then multiplying that number by the number of inches of insulation you want. For example, if you have six inches of insulation and want 12 inches, you need two feet of insulation.
Step 2: Buy Insulation Batts
If you’re looking to cover your basement ceiling insulation, the next step is to purchase insulation batts. Insulation batts are rectangular pieces of insulation that fit between the joists in your ceiling. There are a few different insulation batts available, so be sure to choose one best suited for your needs.
There are two main types of insulation batts: fiberglass and mineral wool. Fiberglass batts are made from recycled glass, and they can be effective at trapping air and preventing moisture infiltration. On the other hand, mineral wool batts are made from natural materials like rock and slag, and they can better withstand moisture than fiberglass batts.
Once you’ve chosen an insulation batt, measure the width and length of your ceiling joists. Then, purchase insulation that is the same size as your joists. This will ensure a snug fit between the batts and the joists, and it will help to prevent air leakage.
Step 3: Clean Up Any Old Insulation
You will want to clean up any old insulation in the way. This includes insulation that is stuck to the joists or on the floor. Use a stiff brush to remove as much of the insulation as possible. You can also use a vacuum cleaner with a brush attachment to remove the insulation. Make sure to wear gloves and a mask while cleaning up the insulation.

Step 4: Measure and Cut the Wire Mesh
Now that you have all the materials, it is time to start construction. The first step is to measure and cut the wire mesh. You will need to cut a big enough piece to cover the entire ceiling. Make sure that you leave a few inches of overhang on all sides.
Once you have measured and cut the wire mesh, it is time to start installing it. Begin by placing it in the center of the room and work your way outwards. Make sure that you firmly press it into place so as not to move around.
If there are any gaps or holes in the mesh, use wire mesh tape to fill them in. Once the mesh is installed, you can begin installing the insulation.
Step 5: Staple Gun and Staples
The staple gun is the following tool you will need. You can either buy one or rent one from your local home improvement store. When stapling the insulation, make sure to staple every six inches. This will ensure that the insulation is secure and will not move around. Be careful not to staple too close to the beams as this could damage them. Also, make sure to keep the staples parallel to the joists. If you staple at an angle, it could reduce the effectiveness of the insulation.
Make sure that you staple it in place tightly so as not to move around. Start in the center of the room and work your way outwards.
Once the insulation is attached, cut off any excess with a utility knife. Then, use a measuring tape and square to ensure that the insulation is evenly spaced.
Step 6: Cut and Install the Insulation
Now that the wire mesh is in place, it is time to install the insulation. Begin by cutting the insulation to size. If you are using fiberglass batts, make sure to cut them to fit snugly between the joists. If you are using mineral wool batts, make sure to cut them to be about two inches wider and longer than the joists.
Once you have cut the insulation, it is time to start installing it. Begin by placing one piece of insulation at a time and staple it in place. Make sure to keep the staples parallel to the joists. Once the insulation is in place, cut off any excess with a utility knife.
Step 7: Check for Air Leaks
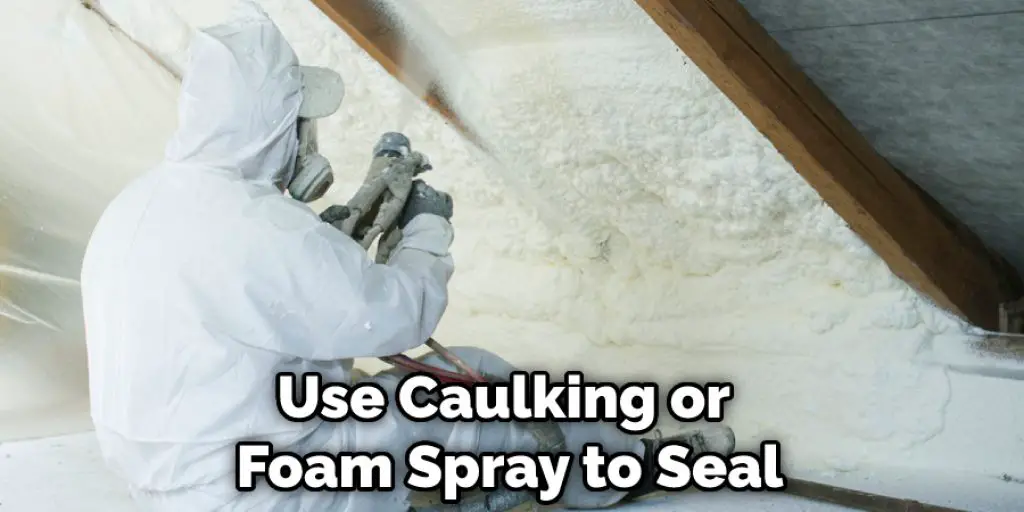
Once the insulation is installed, it is essential to check for air leaks. One way to do this is to hold a lit candle near the seams of the insulation. If the flame flickers, then there is an air leak. You can use caulk or foam spray to seal the seams.
Another way to check for air leaks is to use a smoke stick. This is a device that emits harmless smoke when you crack it open. Hold the smoke stick near the seams of the insulation and watch for any signs of leakage. Use caulking or foam spray to seal them up if you see any.
Once you have sealed all of the air leaks, your basement will be insulated and protected from the cold weather. These steps will help in how to cover basement ceiling insulation.
Tips and Warnings:
Tips:
- If you are using batting insulation, make sure it is the right kind for your climate. There are different types of batting insulation made for different climates.
- If you are using blown-in insulation, make sure to get the correct type of insulation for your climate. There are also different types of blown-in insulation.
- Ensure to seal all seams in the insulation with caulking or another type of sealant. This will help keep the insulation in place and prevent drafts.
- Inspect the insulation every few years to make sure it is still in good condition and hasn’t been damaged. Damaged insulation can reduce its effectiveness and may need to be replaced.
Warnings:
- Be careful when working with insulation. It can be a fire hazard if it is not appropriately handled.
- Do not cover the insulation with anything obstructing airflow, such as drywall. This will reduce the effectiveness of the insulation.
- Make sure the insulation is not in contact with any water or moisture. Water or moisture can damage the insulation and may cause mold to grow.
What Do You Cover Insulation With?
There are many different materials you can use to cover insulation. Some of the most popular options include:
- Fiberglass insulation: This is a common choice because it’s affordable and easy to install. However, it can be itchy and may not be very aesthetically pleasing.
- Natural fibers: wool, cotton, and straw are all-natural fiber insulation materials that can be effective and eco-friendly. However, they can be more expensive than other options and difficult to install.
- Reflective insulation: This insulation is made with aluminum foil or plastic film and helps reflect heat away from your home. It’s a good option if you live in a warm climate or want to save on energy costs.
- Spray foam: This is a good option if you want to cover insulation already in place, as it can be difficult to install new insulation over old insulation. However, it can be expensive and may not be the best choice for everyone.
When choosing a material to cover your insulation, consider your needs and budget. Some materials may be more effective than others, but they have benefits and drawbacks. Choose the material that works best for you and your home!

Conclusion
If you have an unfinished basement or one in the early stages of being finished, now is the time to add insulation to the ceiling. By doing this, you will make your home more comfortable and energy-efficient, but you will also increase its value. There are several different types of insulation that can be used in a basement ceiling; which one you choose will depend on your needs and budget. We hope you have learned how to cover basement ceiling insulation.
You May Also Read: How to Soundproof a Basement Cheap


