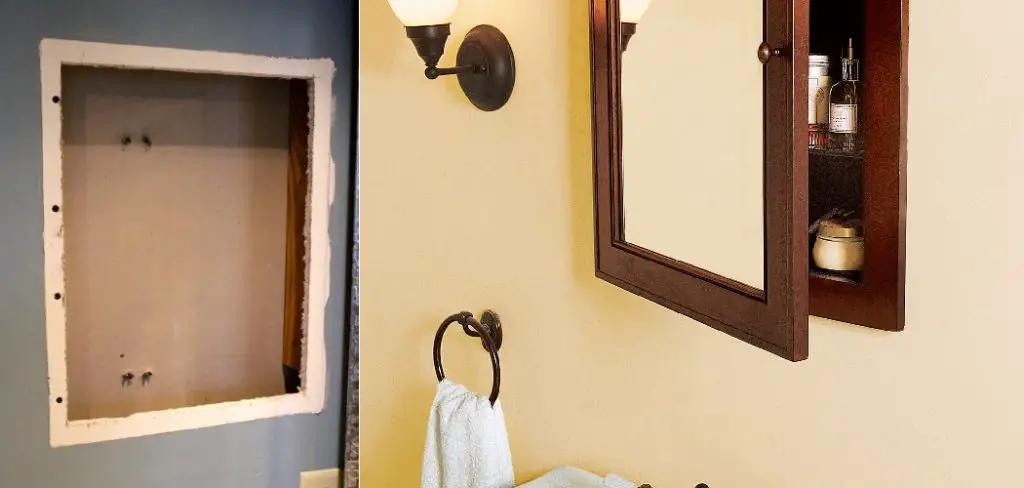
How to Cover Medicine Cabinet Hole
If you have a hole in your medicine cabinet that you need to cover up, Don’t worry, there are a few different ways you can go about doing this. In this article, we will discuss the best way how to cover up the medicine cabinet hole. Stay tuned for more information!
The cabinet is one of the essential pieces of furniture in our homes. We use it to store our belongings and valuables, and it helps to keep our home organized. However, accidents happen, and sometimes holes can form in cabinets. So if you have a hole in your medicine cabinet, don’t fret! Many people have been in this situation, and there are a few ways that you can fix it.
Things You’ll Need:
- Tape measure
- Drywall
- Circular saw
- High-grit sandpaper
- Stiles
- Construction adhesive
- Cordless drill
- 1 inch hole saw
- Paint or a sealant
A Step by Step Guide on How to Cover Medicine Cabinet Hole
Step 1: Remove The Door
First, you will need to remove the door from the medicine cabinet. To do this, unscrew the hinges that are holding it in place. If your model does not have screws, small pins may hold it in place. In this case, use a hammer to tap them out gently. Once the door is removed, set it aside.
Step 2: Measure
After you have found the perfect spot for your new mirror, use a measuring tape to determine the size of the hole. If your medicine cabinet has an existing hole, great! You can use that as a template and trace it onto your new piece of wood. If not, no problem! Just make sure to measure twice before cutting anything.
Now that you know the size of the hole, it’s time to determine the length of your wood. For this step, you will need to measure the width of the hole and add 1 inch to each side. This extra inch will be used later to attach the wood to the wall.
Step 3: Get a Wooden Picture Frame.
The best way to cover the hole is to get a wooden picture frame and cut it to size. The frame should be slightly larger than the hole to cover the entire opening. If you don’t have a wooden picture frame, you can also use a piece of wood from a scrap pile or even a cardboard box.

Cut the frame or wood to size and then attach it to the wall over the hole with nails or screws. Ensure that it is attached securely so that it doesn’t fall off over time. You may also want to use some sealant or paint to help protect the wood from moisture.
Step 4: Place a Picture or Mirror in the Frame
Placing a picture or mirror in the frame is easy to cover the hole. First, you need to find a frame that fits snugly around the hole. You can then use painter’s tape or hot glue to attach the frame to the wall. This method is also relatively inexpensive and can be completed in just a few minutes.
If you don’t have a frame on hand, you can also use a piece of cardstock or construction paper. Cut the paper to fit around the hole and then tape or glue it in place. You can even get creative and decorate the paper with markers, glitter, or anything else you have on hand.
Step 5: Turn the Frame Over
If your cabinet has a mirror on the front, place it facing the wall and not out into the room. This will ensure that no one can see into your medicine cabinet when the door is closed.
Now that your cabinet is hung, all you need to do is fill in the hole where the old cabinet was located. You can use a piece of trim or molding that matches the rest of your cabinets or go with a different style altogether. The most important thing is to make sure that it covers up the hole completely so that there are no visible signs of where the old cabinet was.
Once you have the trim or molding in place, you can add a new coat of paint to the area to match the rest of your cabinets.
Step 6: Install the Old Hinges
If you removed the old hinges from the cabinet door, you would need to install them on the new piece of wood. To do this, use a cordless drill and a 1-inch hole saw to create two holes in the wood. The holes should be located in the same spot as the old hinges.
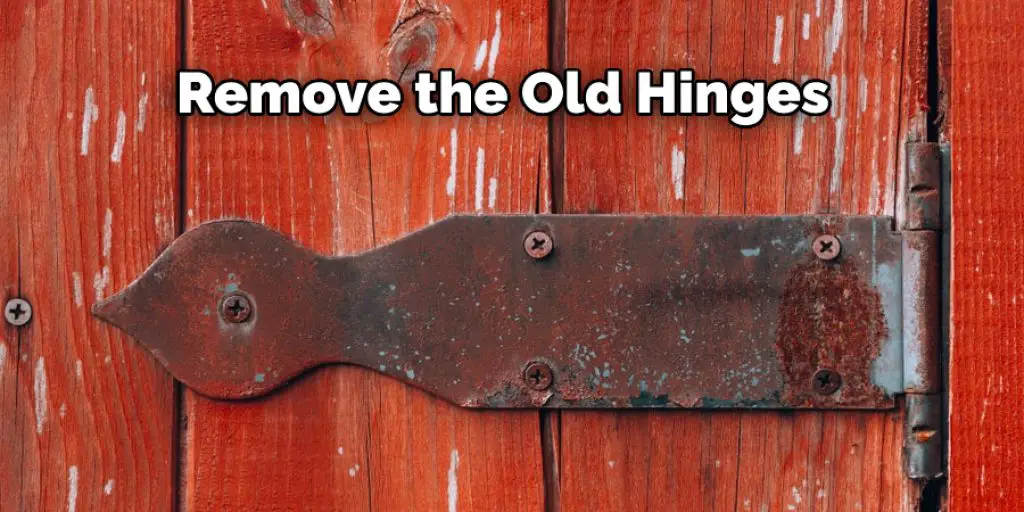
Once the holes are drilled, insert the screws or nails that came with the hinges and attach them firmly in place. Ensure that they are straight and secure so that the door will open and close properly.
Step 7: Line the Hinges Up
Now that the hinges are installed, it’s time to line them up with the holes in the cabinet. This can be tricky, but it’s essential to make sure they are lined up correctly. Otherwise, the door will not close properly.
Hold the door in place and use a level to make sure that it is straight. Once you have the door in the correct position, mark the location of the hinge holes on the cabinet. You can then remove the door and drill pilot holes for the screws. Be careful not to drill too deeply, as you don’t want to go through the other side of the cabinet.
Step 8: Attach the Hinges
Attach the hinges to the cabinet using screws or nails. Make sure that they are tight and secure so that the door will not move around. If needed, use a drill or screwdriver to tighten them up.
Now that the cabinet is hung, you need to fill in the hole where the old cabinet was located. Again, you can use a piece of trim or molding that matches the rest of your cabinets or go with a different style altogether. The most important thing is to make sure that it covers up the hole completely so that there are no visible signs of where the old cabinet was.
Once you have the trim or molding in place, you can add a new coat of paint to the area to match the rest of your cabinets.
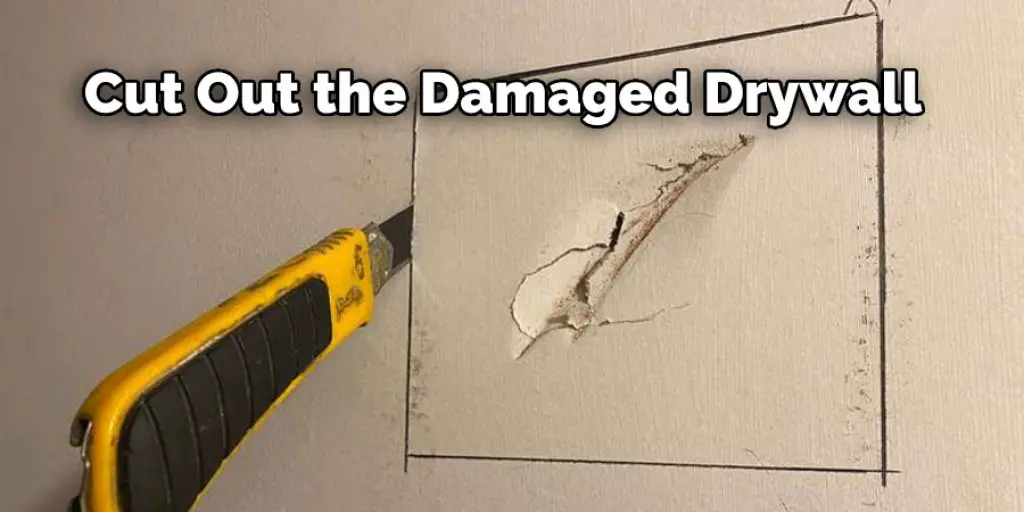
Step 9: Installing New Drywall
If your cabinet were attached to the wall with screws or nails, you would need to patch the holes before you can hang the new cabinet. This can be a bit tricky, but it’s not too difficult.
To start, use a utility knife to cut out the damaged drywall around the hole. Be sure to cut out enough to fit a piece of new drywall in place.
Once the hole is cut out, use a hammer and screwdriver to remove the screws or nails from the old drywall. Then, insert them into the new piece of drywall and attach it firmly in place.
If needed, you can use a drill to make some pilot holes for the screws. Just make sure that you don’t drill too profoundly and go through the other side of the wall. These steps will help in how to cover medicine cabinet hole.
Conclusion
If you’re in the market for a new medicine cabinet and are unsure how to cover up that pesky hole left behind by your old one, never fear! There are plenty of easy ways to conceal the opening without spending too much time or money. We’ve outlined a method to cover medicine cabinet holes that should fit any budget and skill level, so read on to find the best option for you.


