There are many reasons why people want to cover their wrought iron railings. They may be looking to enhance the look of their home, protect against rust or weather-related damage, or they may want a more modern feel. But, no matter what your reason is for covering your rails, there are some things you must know before starting the process.
This blog post will help walk you through everything you need to know to start this project! The first thing that needs to be done is to measure the railing’s height and width because it will determine how many panels are required for coverage.
Next, consider any other items on either side of the railing that might interfere with the panels. In this article, I’ll show you step-by-step instructions on how to cover wrought iron railings.
Step to Follow on How to Cover Wrought Iron Railings
Step One: Calculate What You Need
Wrought iron railings are intended to be aesthetically pleasing while providing structural support. They are available in many styles, designs, and shapes that lend themselves very well to covering just about any material. The first step is figuring out what you’re going to put over the railing.

Step Two: Buy the Right Materials
Aesthetics are highly subjective, but some general guidelines will help you figure out what to buy. If you want naturalistic stone railings, then cobblestone or slate would be a good choice. On the other hand, a rough-cut wood could look very rustic. These aren’t hard and fast rules, though; it’s ultimately up to you.
Step Three: Measure to Fit
After you’ve decided on a material, you’ll need to cut it into the appropriate sizes. First, measure the length of each section that needs covering. The sections can be long, even if they are broken up by posts in the ground. Just make sure the sections are proportional to one another before cutting them down to size.
Step Four: Make Sure It Fits
Once you know how big your pieces need to be, try them out. Situate the railings over the whole contraption, then put the material into place. This gives you an idea of what it will look like once it’s covering the railing. Cut down any pieces that are too large or too small.
Step Five: Glue and Press into Place
Once the material of your choice is cut to size, it’s time for gluing and pressing into place. Check out any instructions on the packaging if you bought a pre-fabricated product such as wood siding or stone veneer. These will usually require notched pieces and a bit of patience.
Apply the glue and press into place over the treads or upper railing and on any posts, if applicable. If you bought cobblestones or slate, check out our previous article on installing those materials for help with this step.
Step Six: Let it Dry.
This is an important step that can’t be skipped. It’s tempting to go ahead and attach it or start using it right away, but leaving it overnight is best in most cases. Be sure that the glue has dried before continuing with any adhesives or placing heavy objects on top of it.
And there you go! It may seem like many steps, but it’s not that bad once you get into the rhythm. As long as you get the materials right and let them dry before using them, then your railing should stay beautiful for years to come. That being said, check out our other articles if you have any questions or concerns!
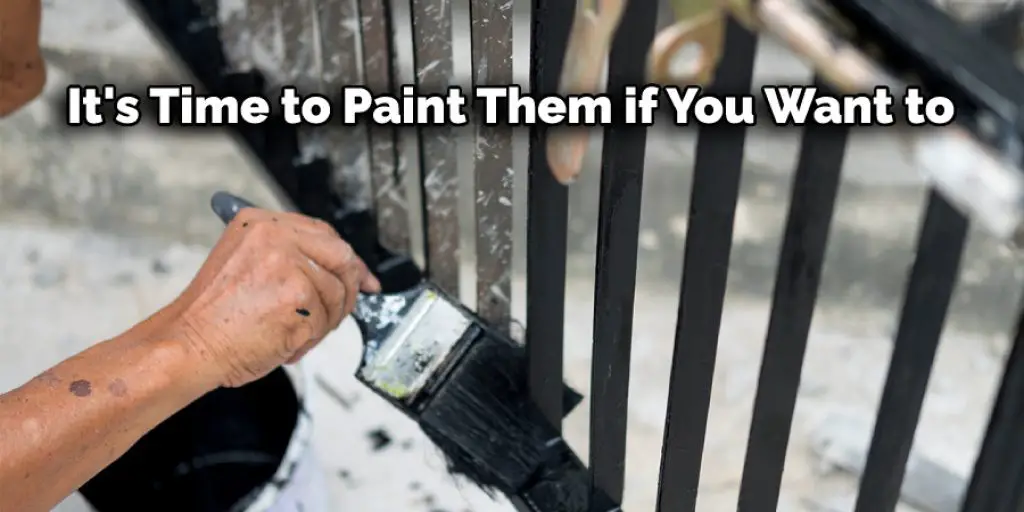
Step Seven: Re-Paint or Stain as Desired
Once you’ve laid down your covers, it’s time to paint them if you want to. If they’re wooden, the stain is always a great choice to protect the material and bring out its natural beauty. With other materials such as slate or cobblestone, you’ll want to re-seal every few months, so they don’t lose their luster.
The materials you choose can be as simple or elaborate as you want. It’s a matter of taste, but don’t forget that it will affect the final look! If you can think of a way to cover your wrought iron railings with something that suits your home, then go for it. You might end up with a beautiful new focal point.
Step Eight: Enjoy!
Once you’ve finished this project, take a look at your handiwork. Could you sit back and enjoy it? If anyone compliments your new railing covers, then be sure to tell them exactly how you did it because they will want to know too. Of course, you could start your own little business if you’re going to. All in all, have fun! Thanks for reading about how to cover wrought iron railings.
How Do You Remove Wrought Iron Railings?
To completely remove wrought iron railings, you will need a pry bar and a sled hammer. If they’re not already installed on the posts of another railing, a crowbar and a drill will do just as well. You’ll also need to have a helper with you for this job so you can switch off prying and hammering as required.
The first thing to do is remove the post caps and railings, then set them carefully out of the way. Next, pry up on the railing with your pry bar until it starts to come loose from the post. Then, use your hammer to pull it away from the post completely.
You’ll have to do this as you continue around the entire railing, loosening it little by little until all four sides are detached. After that, you’ll want to remove any hold-down screws on top of the post, then use your crowbar to pry up the base until you can detach it with your bars. The railings are now completely detached.
If you want to remove the post, use your drill and your driver bit to remove all of the screws or nails at the top where the railing was connected. This may require you to stand on one side of the rail while someone on the other side lifts it so you can get at them better.
Frequently Asked Questions
Can You Cover Wrought Iron Railings?
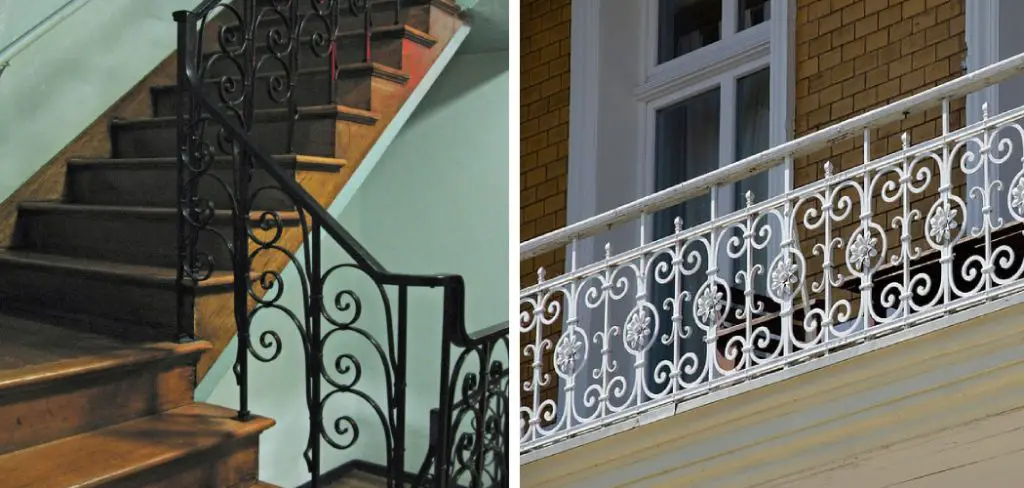
Yes, wrought iron railings can be covered. Wrought iron is a type of metal that has been used in buildings and fencing for centuries. It has a distinctive appearance with ornate patterns and rustic designs on the surface. It is widely used as an architectural material because it can be formed into many different shapes and easily repaired.
There Are Many Benefits of Using Wrought Iron :
- Its ability to withstand corrosion allows it to last for decades without losing its integrity or strength.
- The look of old-fashioned aesthetics gives it great curb appeal with minimal maintenance costs over time.
- It is also durable enough to hold up under harsh weather conditions such as rain, snow, sleet, hail, wind storms, etc., making it perfect for outdoor use.
How Much Does It Cost to Cover Wrought Iron Railings?
The cost of covering wrought iron railings can vary depending on the size and location of the railing. For example, in Los Angeles, California, a homeowner would have to pay around $60 for a set of six-foot-long panels with an average height of 16 inches.
How Long Does Railings Cover Last?
Depending on the material, railings can last for up to ten years. Material like wrought iron will rust over time and may need repainting or refinishing every few years. If you are looking for something that is more long-lasting, aluminum will be a better option because it doesn’t corrode or rust.
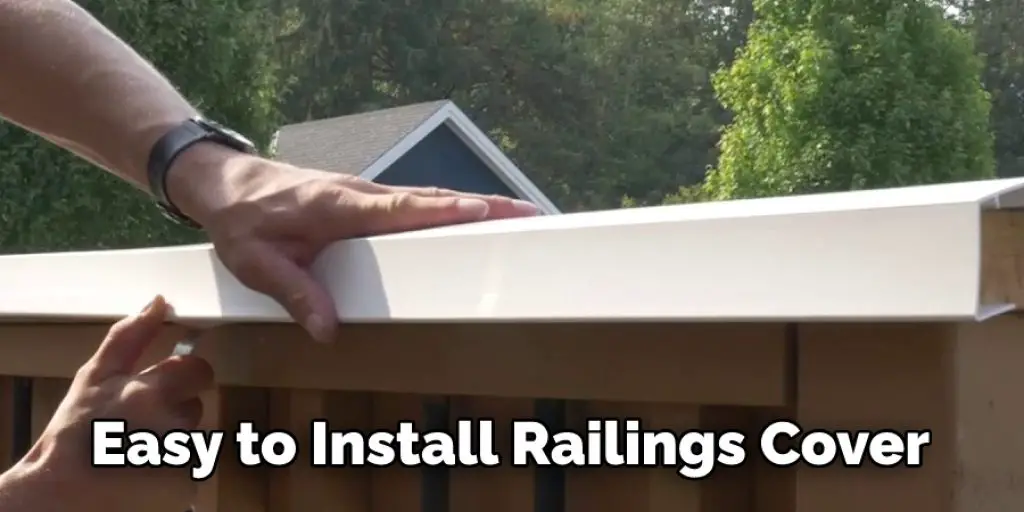
Is It Easy to Install Railings Cover?
Yes, railings cover is easy to install. You can either buy a premade railing cover, or you can make your own by using materials like aluminum, PVC, or wood.
Are Covering Wrought Iron Railings Worth It?
Yes, Covering Wrought Iron Railings are worth it because they offer a decorative look to your home.
The best part about covering wrought iron railings is that you can paint them to match your home’s color or add a little more color into your space. They also come in different styles and shapes so you can choose what suits your style best.
Covering Wrought Iron Railing Also Has Many Benefits Like :
- It provides protection from weather-related damage like rain, snow, wind, etc.
- It makes cleaning easy as you don’t have to worry about rust stains or mildew growth on the rails.
- If properly maintained, it will last for decades with minimal maintenance cost and labor required.
Conclusion
We hope this article has helped explain the various ways to cover wrought iron railings. No matter which option you choose, we can help! If you need a better idea of what style of railing could work best for your home, come by our showroom and see all available options.
Our experts will be happy to answer any questions or concerns during this process, so don’t hesitate to ask! However, at this point, you should feel confident that you know how to cover wrought iron railings.
You may also read: How to Stiffen a Deck Railing


