When it comes time to dig out a basement in an existing house, there are a few things you need to keep in mind. First, you’ll need to excavate the soil around your home, remove any debris, and then dig out the basement itself. This article will discuss how to dig out a basement in an existing house safely and efficiently.
The basement is an excellent addition to any home. It provides a lot of storage space, making your home look more spacious. However, excavation is not as simple as digging a hole. Exposure to various environmental conditions will cause the soil around your home to be very hard and challenging to remove. This increases the risk of significant accidents for those working on the project.

Necessary Tools and Materials
- Shovels, pickaxes, wheelbarrows, carts
- Water hose and source of running water. A pump capable of pushing water up at least 10 feet is ideal.
- Air compressor and brad nailer (or a hammer and nails) to attach lumber to create forms for concrete footings
- Forms such as 2×4’s and plywood
A Step by Step Guide on How to Dig Out a Basement in an Existing House
Step 1: Determine Your Property Plan
Take the time to transfer your foundation dimensions onto graph paper to represent what you are dealing with accurately. Next, if your pre-existing house has a basement, draw up plans for how you would like yours to look when it is finished, including any rooms that may be included inside your basement space. This step will help determine how much work needs to be done to get adequate headroom once the new slab is poured and where utilities need to be routed before returning outside.
Step 2: Assess How Much Work Will Be Required
During this process, ensure that you leave extra time for excavation because it can become more complex than initially anticipated. The best way to avoid significant delays is to stay organized and know how much work you have ahead of you. Start by looking at the existing foundation and determine what needs to be done to support any added weight from your new floor.
If you need to increase the load capacity, it will require adding footings on each side of your footing walls. It will also be necessary to repair any cracks in the foundation walls by injecting them with concrete mixture.
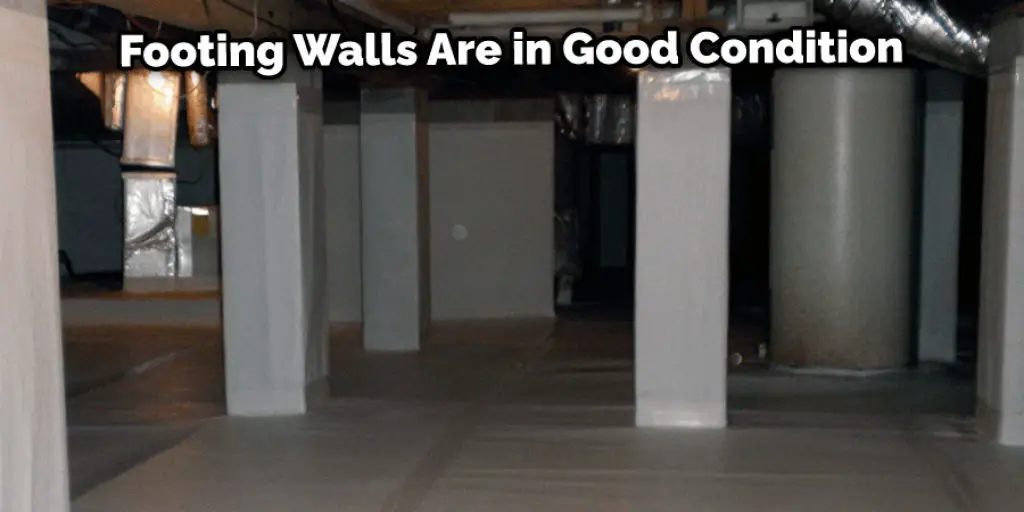
If your footing walls are in good condition, adding a new slab in place of the old one will involve breaking out the existing footing wall and soil underneath it. Depending on how much depth is required, you may want to excavate beyond this depth to add any features below floor level. For example, if you would like an exterior entrance or walkout basement, it might be worth excavating down further for more headroom when finished.
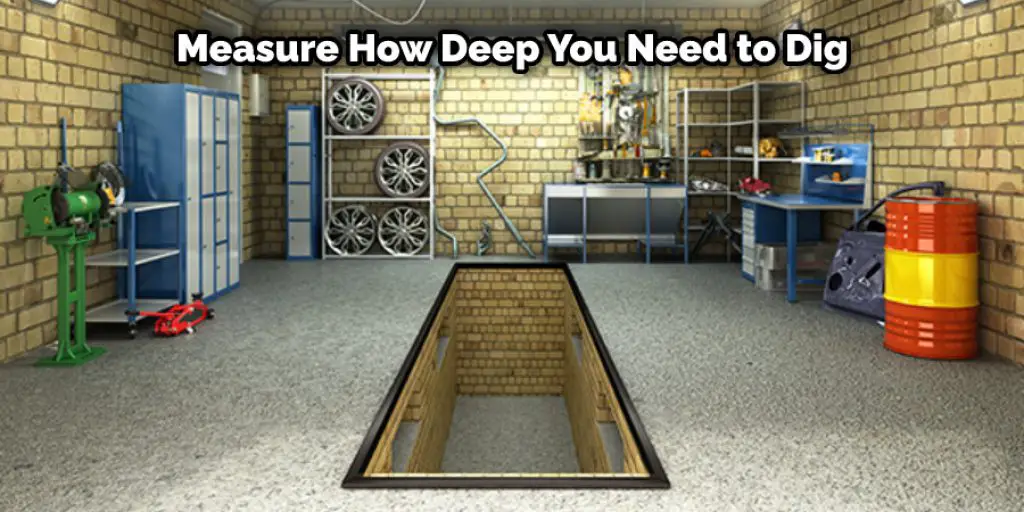
Step 3: Measure How Deep You Need to Dig
Even if you are not excavating the entire depth of your current basement, it is best to start with a small excavation that will give you enough room for working. A good rule of thumb when digging out in an existing house is not to dig any deeper than 12 inches below any window openings or doors leading outside.
If there are no current openings in the floor above, this step becomes less relevant since it would be safe to go down as far as required to get adequate headroom once foundation walls are completed. This will also help minimize the risk of any significant problems such as hitting old buried pipes or electrical wiring.
Step 4: Makeout This Project in Dry Season
If you live in a region where it is possible, time your project to avoid working during wet conditions as this will cause soil to erode and make excavation more difficult. If you need to excavate when the ground is wet, be sure to moisten the dirt with water from a hose before digging and use caution not to hit any buried utilities.
Step 5: Excavate and Dig Out the Floor Area
Start by removing any grass or vegetation that may interfere with your footings. Next, remove at least 8 inches of topsoil and place it into separate wheelbarrows that can be moved out of the way. Continue clearing soil until you reach tough compacted fill below (such as clay), usually about 3 feet deep, depending on how much material has been dumped on top.
Once you reach the compacted fill, begin making your footing walls using 2×4’s and forms such as plywood that can be removed once they are reinforced with concrete. It will likely take more than one person to lift any newly placed barriers, so keep this in mind if you need help moving materials out of the way.
As additional layers of support, continue adding at least two layers of forms before pouring a new floor, and always try to dig deeper than your planned finished floor level. When removing old pavement from an existing basement slab, it is best to use a jackhammer or gas-powered sawtooth bit since this may release buried utilities as well as cracks in the existing concrete.
These cracks are often the result of issues during construction, such as improperly mixed sand with the cement mixture, which is not strong enough to hold its weight over time. This is a crucial step in how to dig out a basement in an existing house.
Step 6: Secure the Foundation Wall
Continue digging out the basement floor until you hit any remaining solid footing walls. These will need to be repaired before the new slab is poured and footings that are added on either side of these foundation walls.
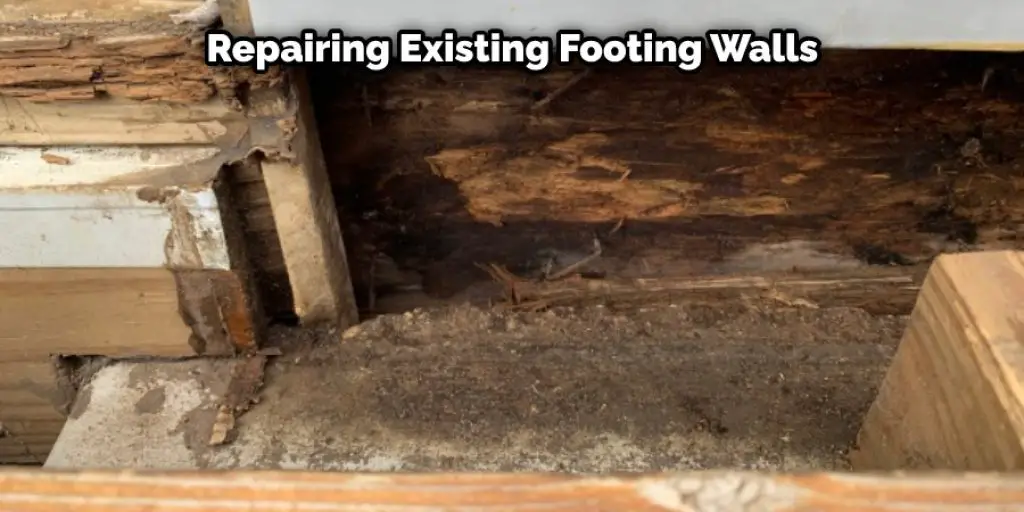
When repairing existing footing walls, first remove any old mortar that has fallen away from the substrate to be replaced with a fresh cement mixture. Then, if there are cracks in the wall, apply a layer of hydraulic cement at least 2 inches thick to help bind loose soil and strengthen apertures along the length of the wall.
For additional support, attach steel “rebar” or other tie rods vertically into holes drilled near the base of footing walls every few feet apart. Rebar should extend at least 3 feet into the ground to help hold the entire weight of the new slab.
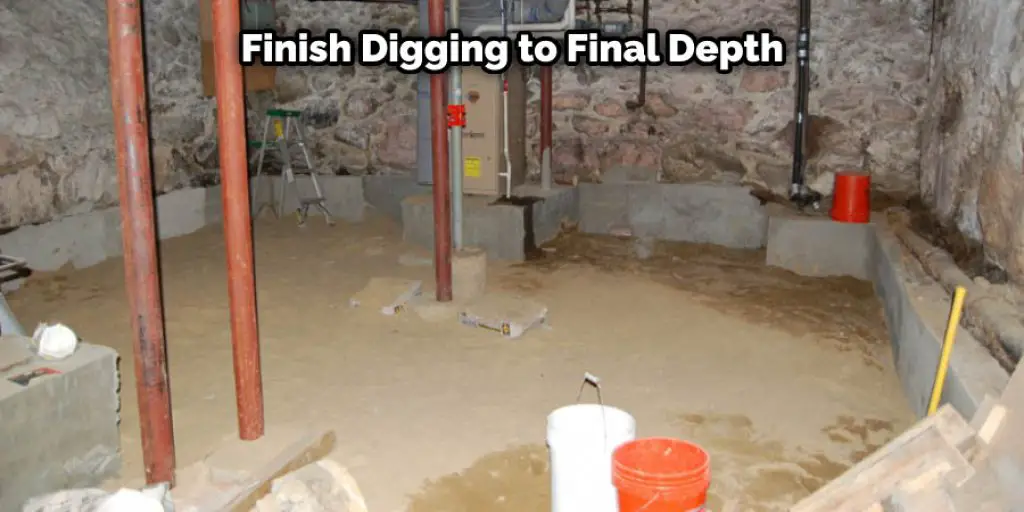
Step 7: Finish Digging to Final Depth
Remove soil from the area inside the newly formed footing walls, always being sure to check for changes in grade or small bumps since these are usually either natural water sources or buried utilities that could cause significant problems down the road. When picking up removed dirt, keep any clumps intact since this will help with compaction once the new floor is poured.
Once you have reached your desired depth, use a hose to moisten any remaining exposed dirt before it begins to dry out. This will help minimize dust during the pouring of the new slab and make it easier to compact during the final grading of the finished basement floor. For best results, leave the excavation site untouched for at least 48 hours after finishing wet-pouring before walking on the new floor.
Before finishing, run a hose around the base perimeter to check for any poorly compacted areas that need additional attention before pouring the new slab. For example, if you notice much of the soil is still dry in spots where water should be pooling, this might indicate poor compaction due to low moisture content.
Add more water and let it stand for about an hour before checking again so you can determine precisely where repairs are needed. These steps will help in how to dig out a basement in an existing house.
Precautions
- Before starting, consult with local utilities to ensure that all power lines are marked. These markings will be necessary for the next step in digging out a basement.
- If the property is located in a floodplain, contact local authorities to determine if excavation permits are required. This may prevent the need for expensive excavation and construction.
- Be aware that digging into a basement can cause problems with its foundation. Contact a professional to discuss safety precautions and excavation methods if this is a concern.
- Use appropriate protective gear such as gloves, boots, and safety glasses when working around the property’s land or excavation site. Protecting yourself may help avoid injuries such as cuts, scrapes, or infections.
Conclusion
We hope you have gone through the article on how to dig out a basement in an existing house. There are a few things to keep in mind as you dig. First, the home’s foundation mustn’t be undermined during the digging process. Therefore, do not dig deeper than five feet from where your footing begins!
If there seems to be a change in the structure of the house’s foundation – this could mean water pipes or ductwork exists underground and should not be disturbed. Once you have dug out your basement, building the walls and floor takes place next. Use insulation between layers of masonry to cut heating costs by up to half!


