For many people, the idea of a closet full of clothes may sound like a dream come true. But in reality, it can be overwhelming to plan outfits and keep up with the latest trends when you have so much clothing at your disposal.
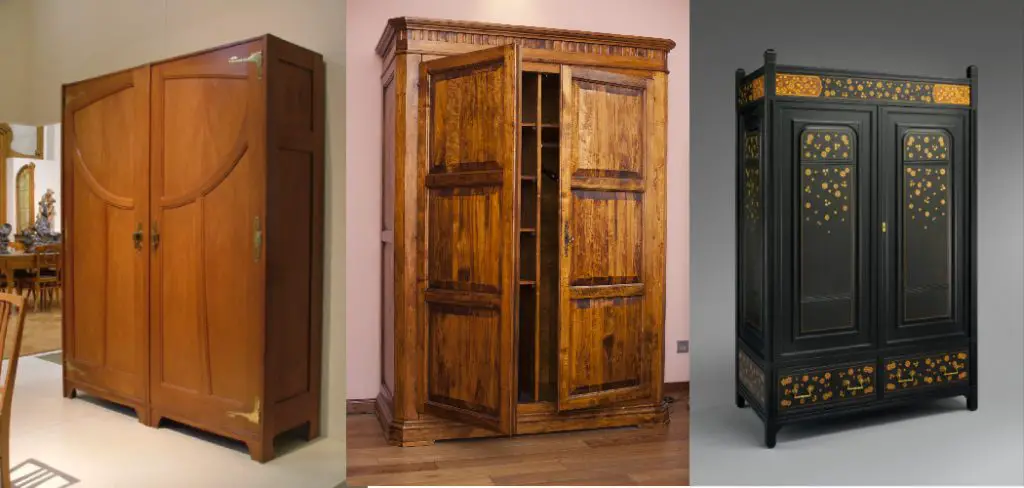
This blog post will provide tips on organizing your wardrobe into sections that are easy for you to shop from each season! In addition, this blog post will provide information on how to dismantle a wardrobe into areas that are easy for you to shop from each season!
8 Steps to Follow on how to dismantle a wardrobe
Step One: Take Inventory
Take a walk through your closet and note items in need of repair, missing buttons, zippers that are broken or have teeth missing, etc. You may want to make another list for organizing the remaining clothing to prioritize which repairs are most important before you begin dismantling the wardrobe.
If there are specific pieces that don’t fit properly, feel unflattering, or you would like to get rid of but have been holding on to just in case, this is a great time to get rid of them!
Step Two: Organize Your Tools and Your Workspace
Your workspace should be large enough for you to arrange the pieces of your wardrobe comfortably. For example, a table or some other flat surface would work well.
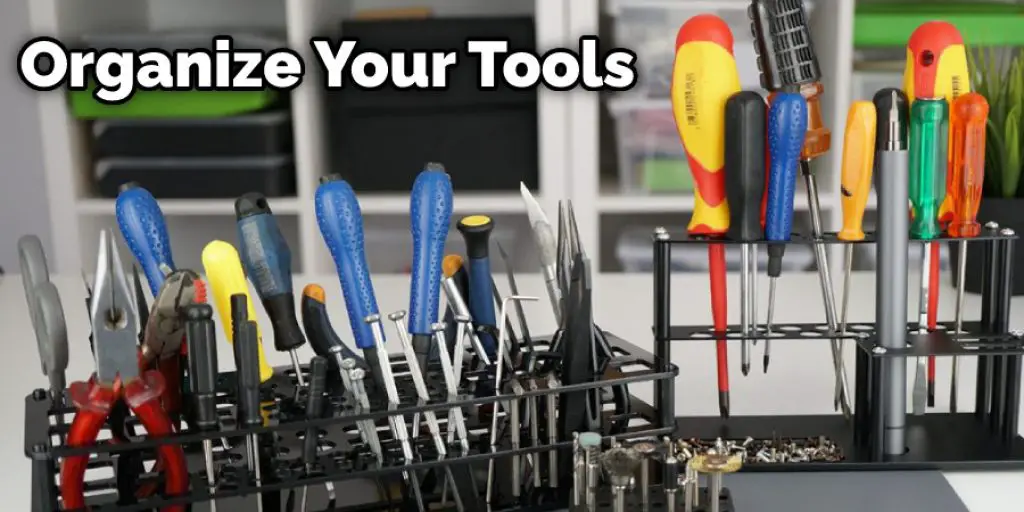
Organize your workspace by laying down a large sheet or other protective covering and arranging your tools; see the list below in an area where they won’t get lost or in the way of you working.
Step Three: Disassemble the Wardrobe.
Start by removing all of the hangers, drawers, and any other detachable items from the wardrobe. This will make it much easier to determine what repairs need to be done and allow you a better perspective on your inventory so that you can prioritize which repairs are most important before you begin dismantling the wardrobe.
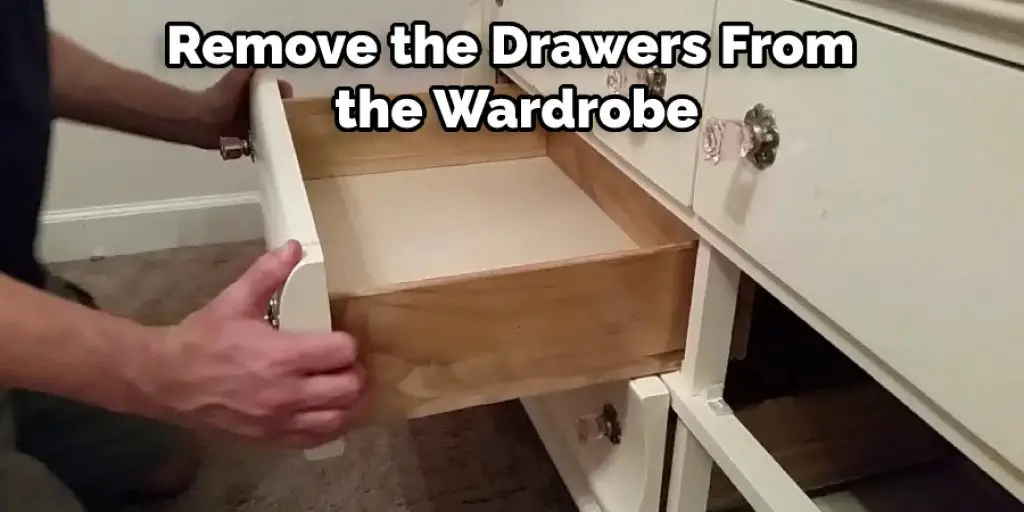
If the wardrobe is made of wood, it may be easier to remove the drawers by taking out all of the screws. If you should take off any other removable items before beginning this step, follow these instructions first.
Step Four: Remove Hinges and Knobs
Some wardrobes will have locks or hooks fastened to them with screws. These should all be removed before you begin dismantling the wardrobe.
Take note of where each hinge and knob is located so that you can replace them when you reassemble the wardrobe in its original condition. Also, keep track of which screws go where to save time during this step and future steps when reinstalling hinges and knobs.
Step Five: Remove the Back of the Wardrobe
Removing the back for wardrobes with a removable back will make it easier to remove and reattach screws when you begin assembling the wardrobe. If there is no visible seam where the back of the wardrobe should be removed, move on to step six.
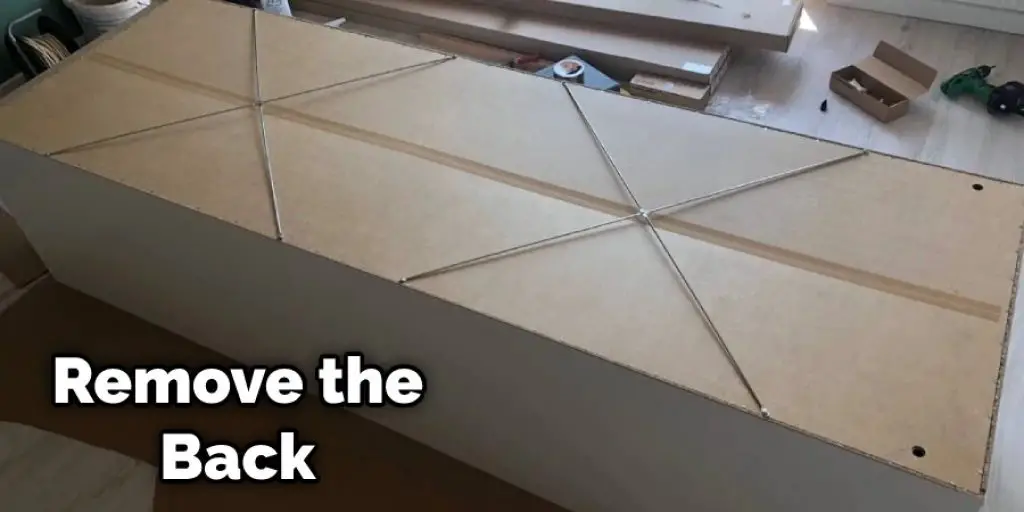
If there is a noticeable seam at either end of your wardrobe, use a screwdriver to pry the seam open. If there is no seam where you would like to remove the back, use your other hand to support the item as you wedge the screwdriver under one side of its frame and lift up until it comes loose.
Step Six: Remove Any Other Damaged Pieces
Remove cracked pieces, damaged hinges, and any other pieces you will need to repair before beginning the reassembly process. Once you’ve removed all damaged or broken pieces, you can go ahead and throw them out.
You may want to note where these items should be replaced, so you don’t forget when it comes time to reassemble your wardrobe.
Step Seven: Put All of the Screws in a Safe Place.
Put all of the screws from removing hinges, locks, knobs, and any other pieces in one space so you can easily sort them when it comes time to reassemble your wardrobe. You can use a bowl or even your hand if you wish.
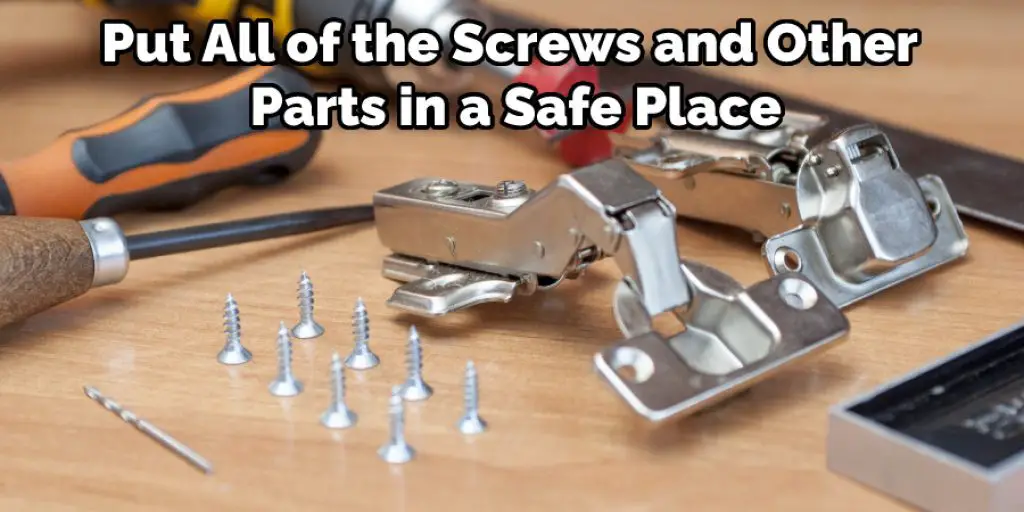
If there are screws that are similar but seem not to fit, make a note of these. You will want to sort them out at the end of the reassembly process and make sure that you put the correct screw in each place. This will help in how to dismantle a wardrobe.
Step Eight: Unstaple Padding
Use your hands to pull up padding or other fabric attached with staples. You may use a screwdriver for this, but be careful not to damage the wood by hitting it too hard with the pointy end of the tool.
Be sure to keep track of how many staples are in each section that you remove because you will need to use the same number when reattaching the padding. Also, make sure not to remove all of the staples from a strip of padding if it is only partially damaged because you may reuse that strip for repairs to other places on your wardrobe.
How Do You Move a Wardrobe Without Dismantling It?
Moving a wardrobe doesn’t require you to take it apart. Moving companies can move wardrobes that are already built, or you can hire professionals to disassemble the wardrobe before moving it for an extra fee.
If you want to save money on this service but still get your wardrobe moved safely, buy enough furniture pads to place under the wardrobe, and under the furniture pads place a sheet of plywood with a blanket on top.
The blanket will cushion your wardrobe from being scratched by the floor or pad and absorb some of the shocks if someone drops it instead of letting it drop gently to minimize potential damage.
Frequently Asked Questions
Can You Disassemble Wardrobe?
Yes, you can disassemble your wardrobe. However, it is not a good idea to do so as this will take up space and might damage the garments in the process.
If you want to reduce clutter in your home and store some of your clothes in a smaller place, then you can use a garment bag that allows easy access to the contents without having to remove them from their packaging.
Can You Dismantle Fitted Wardrobes?
Yes, you can dismantle fitted wardrobes. However, it will take a lot of time and effort to do so. A fitted wardrobe is an item of furniture that has been assembled using small pieces of wood or other materials to fit inside one another to create an aesthetically pleasing piece. The result is a finished product that looks like a large cabinet with shelves on the inside and doors on the outside.
Wardrobe construction generally follows standard sizes for each type of garment (shirt, dress, etc.), so as long as you know what size your desired wardrobe should be, then you can find instructions online on how to assemble it from scratch.
Can Ikea Wardrobes Be Dismantled?
Yes. Ikea wardrobes can be dismantled, but it is not recommended to do so because the products have been designed to last a long time and would need significant repair work if dismantled.
However, Ikea does offer its dismantling service for a small fee that dismantles wardrobes in about an hour.
Is It Hard to Dismantle a Wardrobe?
No, it is not hard to dismantle a wardrobe. However, there are some risks involved.
There Are Certain Things That You Should Keep in Mind Before Dismantling Your Wardrobe :
- You need to make sure that you have all the necessary tools and equipment required for dismantling your wardrobe properly.
- You need to know what kind of chemicals or cleaners you will be using while doing the process so as to prevent any harm to yourself or others.
- The first step of this process is cleaning up your wardrobe and getting rid of any dust particles on its surface by using a vacuum cleaner with a brush attachment.
- When dealing with clothes, wear gloves when handling them because the skin can react negatively if exposed to different types of chemicals or fabric softeners used during the process.
Conclusion
Now that you know how to get rid of clothes let’s talk about the best way to build a wardrobe. Whether for yourself or your kids, we can help you create an outfit out of what you already have in your closet and new pieces from our store!
We offer personal styling services where one of our expert stylists will come over and suggest outfits based on what currently fits in your space. Plus, we make sure everything is affordable with no commission necessary like most stores!
If this sounds perfect for you, simply check out Style With Us today and book a session! In the end, we also offer some practical tips on how to dismantle a wardrobe.
You may read also: How to Paint Over Black Lacquer Furniture


