How to Dry Plaster Quickly
I have always enjoyed working with plaster. I love the way it feels in my hands, and when you mix it just right, it can be used to create some fantastic textures. However, there are situations where an application of plaster is needed quickly.
When this happens, waiting for the plaster to dry can feel like an eternity. However, it’s possible to speed up the process by using a fan or even setting your project outside in warm weather conditions. In this article, I’ll show you step-by-step instructions on how to dry plaster quickly.
Step to Follow on How to Dry Plaster Quickly
Step One: Prep Work
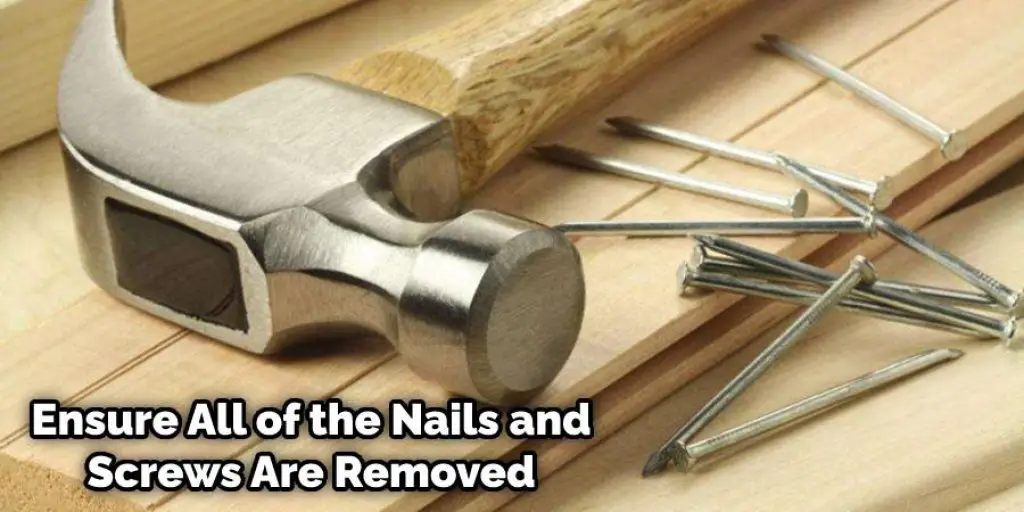
Once you have all your materials, it is time to start prepping the surface you will be applying plaster onto. If you are preparing a wall, make sure all of the nails and screws are removed. It does not matter if they are pushed too far into the walls or hard to get out; remove them altogether. For now, the ceilings will be next.
Do not bother patching the holes with drywall mud or spackling because you are about to get rid of it either way. Instead, take a putty knife and scrape away all texture from the wall. There is no need to be gentle at this point, so do not worry about hurting yourself on anything below the surface.
Step Two: Apply a Drywall Primer
Once you have removed all of the old textures, it is time to apply a drywall primer to your walls. This will help the new plaster adhere better and give it a layer for protection from moisture. If you do not remove the old texture first, this and paint will peel right off as soon as it gets wet.
Take your trowel and start applying the primer to the wall; make sure you cover every inch. It does not matter how much or little is used, as long as it covers all surfaces. Then take your trowel and run over it in straight lines, making sure to spread evenly across the entire surface.
Step Three: Add Texture to the Walls
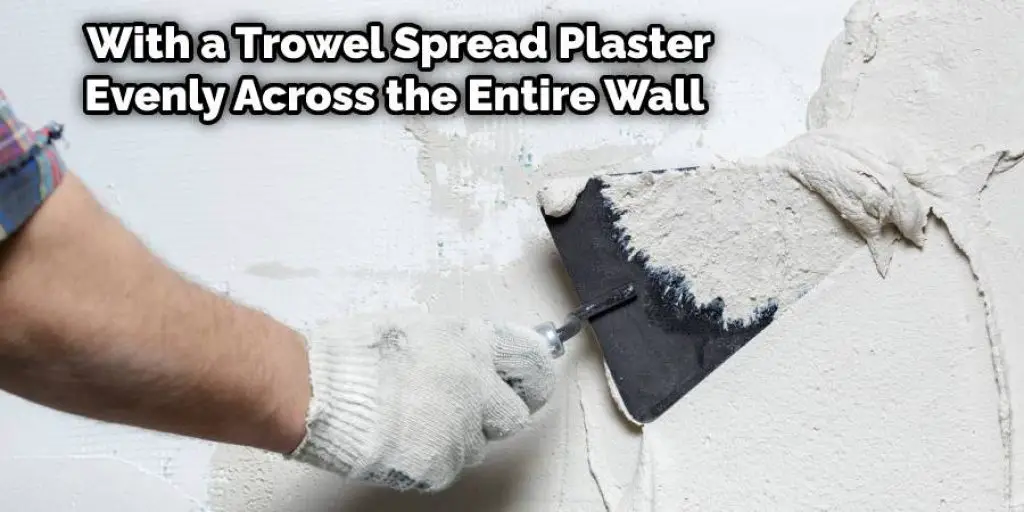
This step is pretty straightforward. With your trowel, scoop out a pile of plaster and spread it evenly across the entire wall. Then take your trowel and swipe over it in straight lines. Do this several times, focusing on getting rid of any bubbles or thin spots that may appear.
Do not worry about making it perfect. Just smooth out the surface as best as you can. It does not need to be a very thick layer, but that does not mean it should be too thin either. Three or four layers of this should be enough to cover the entire wall completely.
Step Four: Dry
Be sure to keep your fans and dehumidifiers running throughout the process. Continue to monitor the humidity in the room and take them out if it gets too low or close to 35 percent. Keep all doors and windows shut so that no outside air can enter. Usually, it takes around four days for this part of the process to be complete.
Once the plaster is completely dry, it should feel completely smooth to the touch. If you run your hands over it and there are any rough spots, it needs another day or two for this part of the process to be complete. Just make sure that there has not been any water seepage into the area before applying paint because it will not dry.
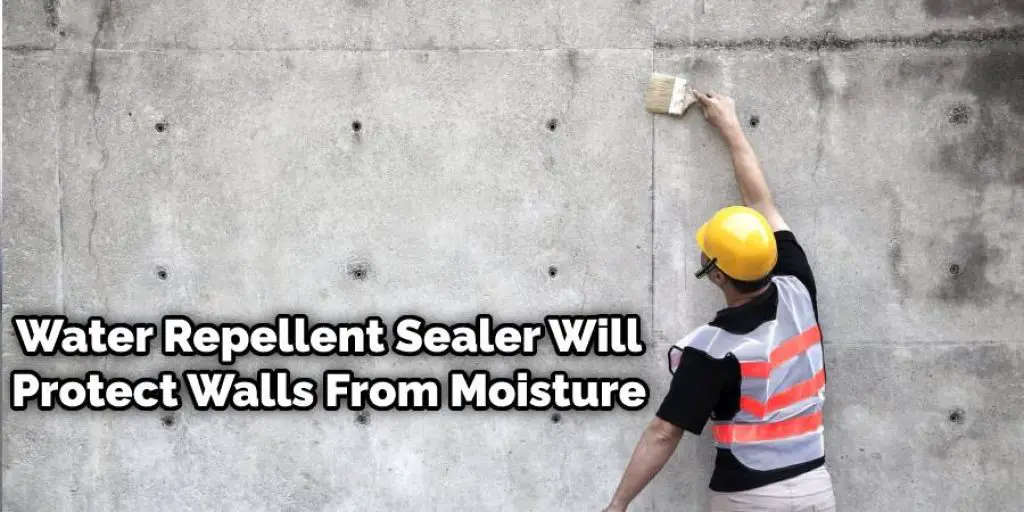
Step Five: Add a Water Repellent Sealer
Once the plaster is completely dry, it is time to add a water repellent sealer. This will help protect your walls from the moisture in the air and help keep everything inside of them safe and secure. First, take a rag and wipe all of the surfaces to remove any loose plaster.
Then take your brush and apply the sealer; make sure you cover every inch of the wall. You do not need to be gentle or precise at this point, so focus on getting it done quickly. The last step is taking a stiff brush and swiping it over in straight lines to help make it smooth out.
You Can Check It Out to Apply Thompsons water Seal to Brick
Step Six: Maintain
That is the entire process for how to dry plaster quickly. Depending on what surface you are working with, it can take several days, but it should not take more than a week at most. You will know that it is scorched when there are no visible cracks or crevices in the texture.
If you have any other questions about plaster or how to dry it quickly, please feel free to ask us; we will do our best to answer them as fast as possible. So all you need to do is leave your questions below, and we will get back to you as soon as possible.
Step Seven: Finished up!
Once you feel like the plaster is completely dry, it is time to finish off your work. Just take the paint you were using on your walls before and apply it to any new areas; cover every inch of the wall, so no spots or patches of exposed plaster remain.
Use a brush or roller for this step, depending on how smooth you want the final result. Then let it dry completely before turning your fans back on. If you have not removed old wallpaper or another type of texture from the wall yet, do not worry; this can also be painted over.
You Can Check It Out to: Remove Tile From Plaster Wall
Conclusion
Dry plaster quickly; it’s essential to use a moisture-resistant product and not cover the surface in plastic. So if you’re looking for an affordable way to add some life back into your walls with new plaster but don’t want to wait weeks for them to dry, we have just what you need!
Our water-resistant patching compound is perfect when you’ve got a hole too big or deep for spackle alone. It dries fast so that you can get right on with painting over it without worrying about any of the wetness seeping through onto freshly plastered surfaces. This blog post has given helpful advice on how to dry plaster quickly.
You may also read – How to protect wall behind stove


