Window wells are a common feature in many homes. Unfortunately, while they can be functional, they can also be unsightly. If you’re looking to cover up your window well, drywall is a great option. In this post, we’ll show you how to drywall over a window well and give you some tips on how to do it correctly.
Why Should You Drywall Over a Window?
There are many reasons why you should drywall over a window. For one, it helps to insulate the room, keeping it warmer in the winter and cooler in the summer. In addition, drywall provides a sound barrier, making it ideal for rooms that are prone to noise. Drywalling over a window can also help to improve the look of a room, giving it a more polished appearance.
And finally, drywall is much easier to maintain than other materials, such as wood or plaster. So if you’re looking for a way to improve the function and appearance of your home, drywalling over a window is an excellent option.
7 Steps to Follow on How to Drywall Over a Window
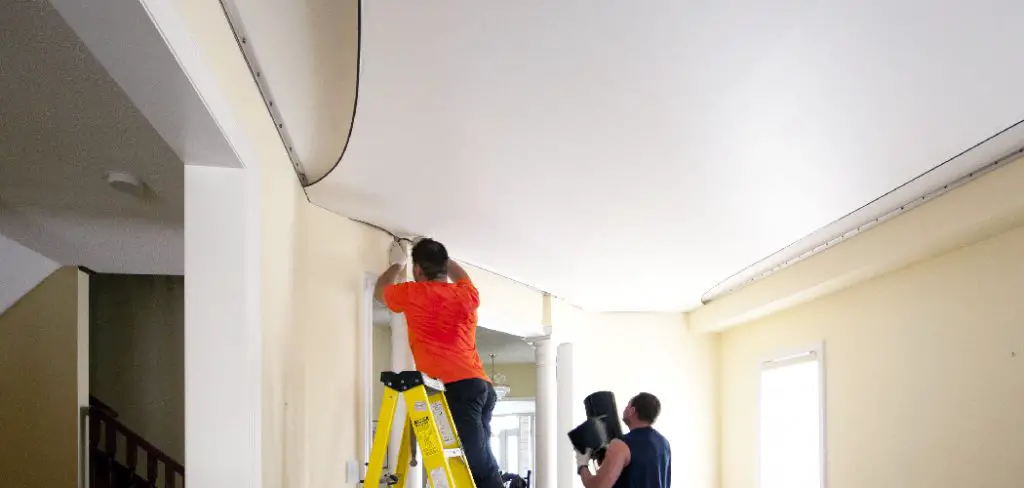
Step 1: Remove the Trim
The first step is to pry off the window’s trim using a putty knife. You will also need to remove any nails or screws that are holding the trim in place. Be careful not to damage the surrounding wall as you do this.
Step 2: Measure and Cut the Drywall
Next, you will need to measure the opening of the window and then cut a piece of drywall to fit. Again, it is important to ensure that the drywall is cut slightly smaller than the opening so it can be easily installed.
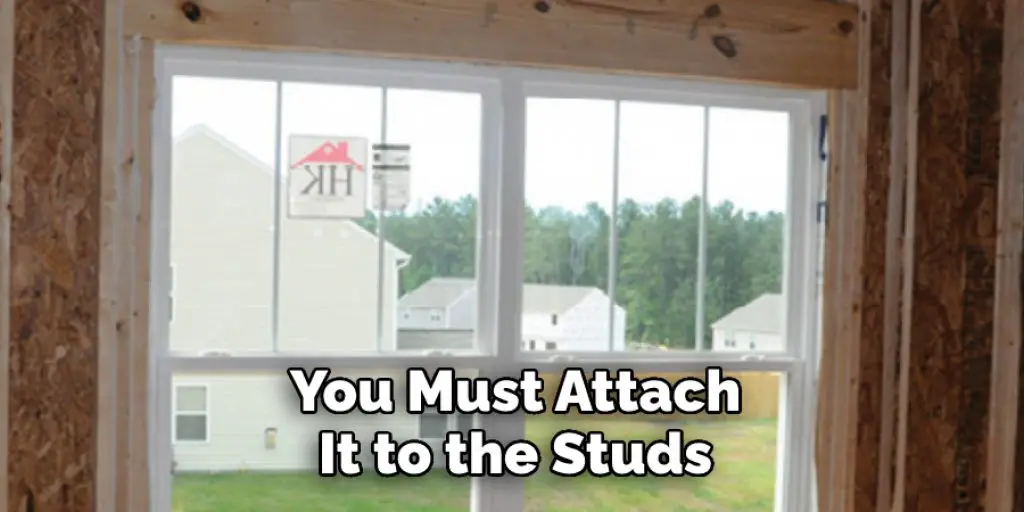
Step 3: Attach the Drywall to the Studs
Once the drywall is cut, you must attach it to the studs around the window opening. You can do this by using screws or nails. Be sure to countersink the screws so that they are flush with the surface of the drywall.
Step 4: Apply Joint Compound
After the attached drywall, you will need to apply joint compound to all the seams. You can do this with a putty knife or a trowel. Be sure to smooth out the joint compound so that it is level with the surface of the drywall.
Step 5: Tape the Seams
After the joint compound has dried, you must tape all the seams. This will help to reinforce the drywall and prevent cracks. You can use paper tape or fiberglass tape for this.
Step 6: Apply Another Coat of Joint Compound
Once the tape is in place, you will need to apply another coat of joint compound. This time, you should use a wider putty knife or trowel to smooth out the surface.
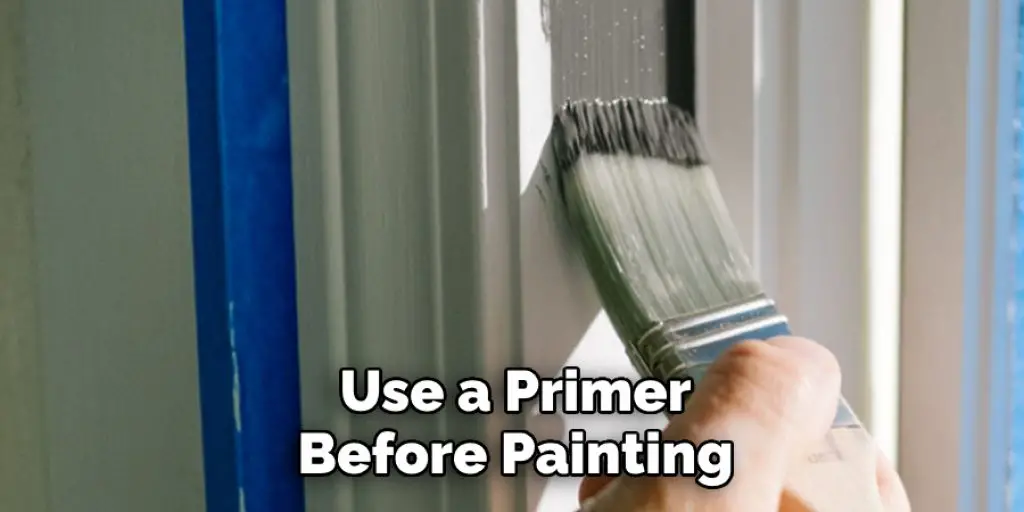
Step 7: Paint the Drywall
Finally, you must paint the drywall to match the surrounding walls. You can do this by using a roller or a brush. Be sure to use a primer before painting, and follow the manufacturer’s instructions for drying times.
That’s it! You’ve now learned how to drywall over a window. Be sure to follow these steps carefully to achieve the best results.
When Is the Right Time to Drywall Over a Window?
There’s no doubt that windows are an important part of any home. They let in natural light, provide ventilation, and can even help improve your home’s energy efficiency. However, there are also times when windows can be a bit of a nuisance. So if you’re considering drywalling over a window,
you should keep a few things in mind. In general, it’s best to do this when the window is no longer needed or when it would be difficult or expensive to replace.
For example, if you’re renovating an older home and the windows are in poor condition, drywalling over them may be your best option. Similarly, if you’re finishing a basement and want to add extra insulation, drywalling over the windows can help keep the space warm.
But, of course, before making any decisions, it’s always best to consult a professional contractor to see what would work best for your home.
What Are the Advantages of Drywalling Over Windows?
Drywall offers many advantages over windows regarding your home’s comfort, security, and energy efficiency. Drywall is a more durable material than window glass, so it is less likely to break and will provide a better barrier against intruders. In addition, drywall does a better job of insulating your home from temperature extremes, whether it’s hot or cold outside.
And because it is not transparent like windows, drywall also helps to reduce unwanted solar gain in your home, making it more comfortable and saving you money on your energy bills. So when it comes to choosing between drywalling and windows, drywall is the clear choice for maximum comfort, security, and efficiency.
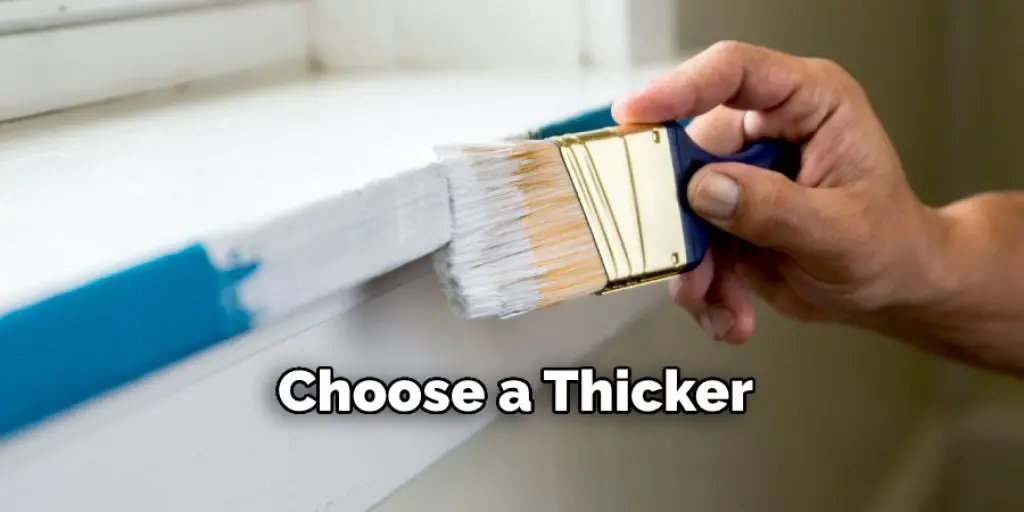
How do I Choose the Right Drywall for my Window?
When it comes to choosing the right drywall for your window, there are a few things you need to take into account. The first is the size of the window. If you have a large window, you’ll want to choose a thicker drywall so that it doesn’t sag over time. The second thing to consider is the type of window. If you have a casement window, you’ll want to make sure that the drywall you choose hinges on the correct side.
Finally, you need to think about the climate in which you live. For example, if you live in an area with high humidity, you’ll want to choose mold-resistant drywall. With so many options on the market, it can be tough to know where to start. But by considering these three factors, you can narrow down your choices and find the perfect drywall for your window.
Conclusion
So there you have it – a comprehensive guide on how to drywall over a window. We hope this article was helpful and that you are now ready to take on this project yourself. If you have any questions or run into any problems, be sure to leave a comment below, and we will do our best to help. Happy drywalling!


