Brick is a beautiful material to use in home construction, but sometimes you have to remove it. For example, you might be moving into an older house and want to update the look of your living space or need a new room for a growing family.
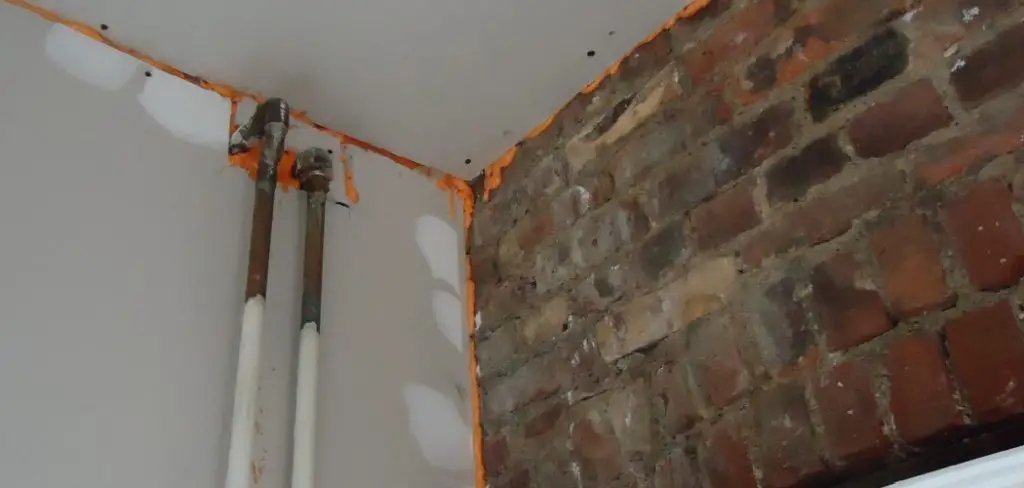
Whatever your reason, you don’t need to get rid of the brick because your renovation project involves putting up drywall. A brick wall is very sturdy and offers soundproof, but it has several problems with drywall, mainly water intrusion, and uneven surface texture.
There are a few ways to drywall over brick. For example, you can use furring strips or attach the drywall directly to the brick with unique adhesive and screws. So, this article is for you. You will learn how to drywall over brick with just one simple trick!
Step to Follow on How to Drywall Over Brick
Step One : Determine
First, the person doing the work needs to determine if there is a vapor barrier under the bricks. If there is, you do not need to put up a vapor barrier before drywalling over the bricks. However, if there isn’t, it is recommended that you do put one down. A polyethylene sheeting commonly used for this is 4 millimeters thick.
If you are unsure if there is a vapor barrier, you can poke holes in the mortar between the bricks with a screwdriver to see if any water appears. If there is water present, there isn’t a vapor barrier. On the other hand, if no water appears, there is likely one in place already.
It is also essential to check the condition of the brick wall. If it is in good condition, with no loose or crumbling bricks, then you can go ahead and drywall over it. However, if there are any problems with the brick wall, it is best to fix them before drywalling.
Step Two : Mark
Once you are ready to drywall, the next step is to mark the location of the studs. If there isn’t a vapor barrier, marking this will mean using an electronic stud finder. However, if there is one already in place, use your screwdriver again.
Poke holes in the mortar between the bricks at each end of the wall and then use a level to draw a line between them. This line will be your guide for where the studs are. Ensure that the lines will fall under a joist so that when you screw in the drywall, it won’t fall out.
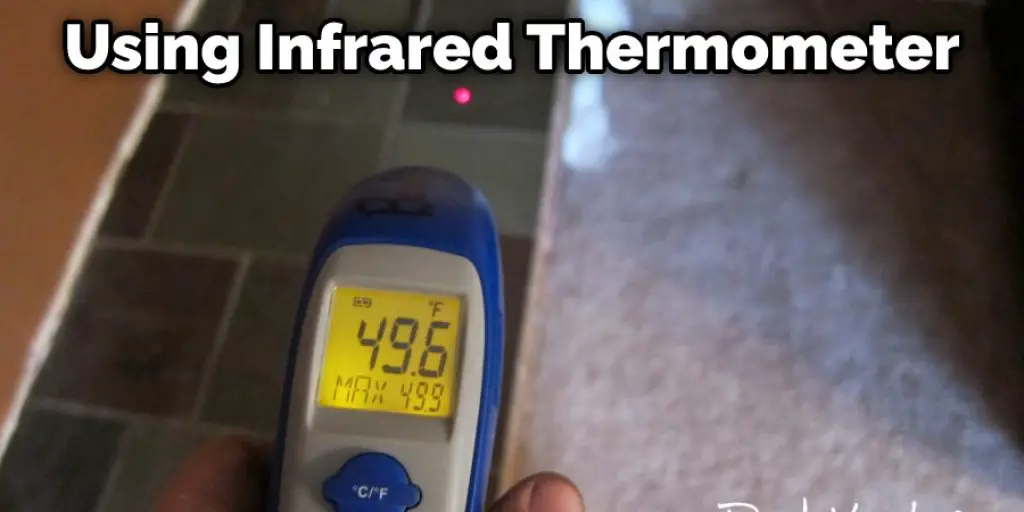
If you cannot find the studs by poking holes in the mortar, other methods can be used instead. One of these methods is using an infrared thermometer. If your bricks are about eight inches apart, this will work fine.
Step Three : Install a Vapor Barrier
If you have determined that there is no vapor barrier under the bricks, the next step is to install one. This can be done by using the polyethylene sheeting mentioned earlier and stapling it to the framing. The sheeting should be stapled every six inches, and make sure that there are no gaps in the sheeting.
If you have a vapor barrier in place, the next step is to attach the drywall. This can be done by using screws or nails, depending on your preference. The screws should be placed every twelve inches and the nails every six inches. Ensure that you are not putting any screws or nails into the vapor barrier.
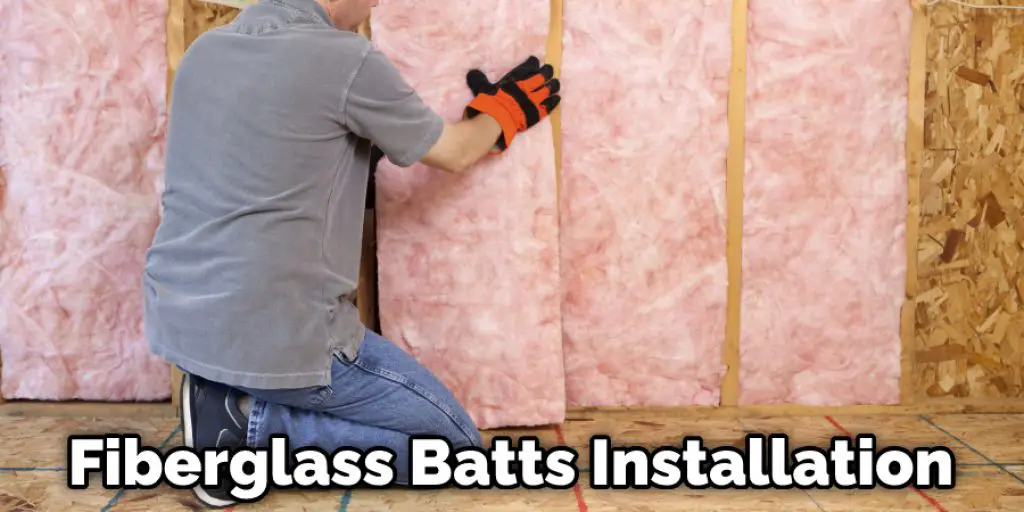
It is also important to remember that the drywall should not be attached directly to the brick wall. Instead, there needs to be a layer of insulation in between. This can be done by using either fiberglass batts or cellulose insulation. The insulation should be six inches thick and go from the floor to the top of the framing.
Step Four : Screw in the Drywall
Once the framing is in place, with insulation between it and the brick wall, it is time to attach the drywall. The screws or nails should be long enough to go through the insulation and into a stud. This will provide additional support for the weight of the drywall and any decorations that may be put on top.
Once the drywall is attached, it can be taped and finished with a coat of plaster or drywall compound. Several different types of taping tools can be used for applying the finishing coats of material, but they each do more or less the same thing.
It is essential to follow all instructions on whichever tool you are using to get the best results. Ensure that the surface is smooth and free of any bumps or ridges before applying the next coat. This will help in how to drywall over brick.
Step Five : Finishing Touches
Now that the drywall is in place, it is time to add finishing touches to look its best. These can include decorative molding and paint or wallpaper. Decorative molding can be added around doorways, windowsills, and anywhere else where there are gaps between the bricks or where they protrude a bit.
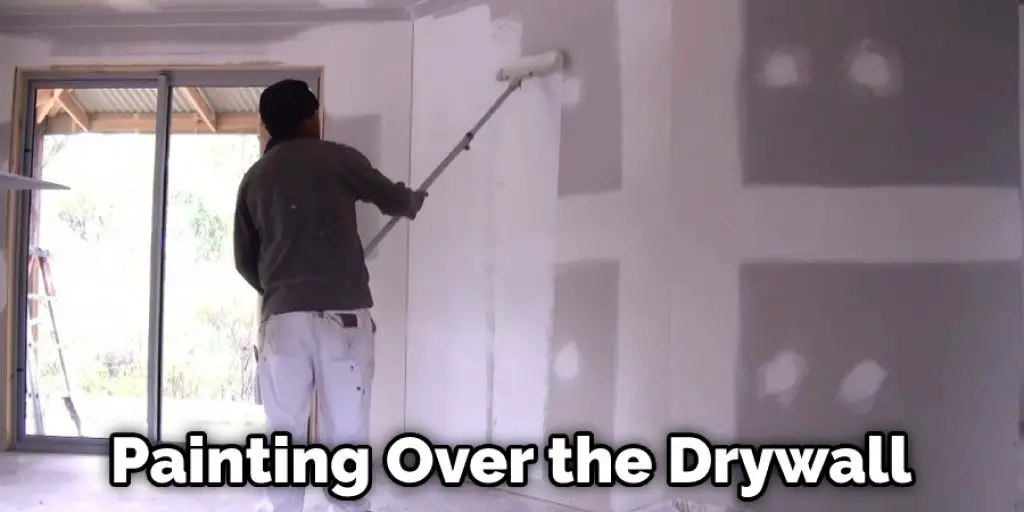
When painting over the drywall, it is best to choose a color that will complement your brick wall or tiles rather than contrast with them. This will create a more cohesive look for the house overall. It is also essential to test out different colors before picking one to know what looks best in your home.
Alternatively, wallpaper can be used in places you would usually paint. One tip for painting is to pick a primer compatible with the paint color you have chosen, so it is sure to stick well. This can prevent any issues with peeling or mold down the line.
You can check it to Apply Thompson’s Water Seal to Brick
Conclusion
Brick is a popular material for home construction because it can be very durable and add to the aesthetics of your property. But, when you want to make changes in your house, such as installing drywall over brick walls, some steps need to be taken before proceeding with this project.
To prepare for this task, here’s what you should know about how best to go about drywalling over brick. As a primer, you will want to see that it is essential to have a vapor barrier before hanging your drywall. We hope you enjoyed this article on how to drywall over brick.
Check it out also – How to Attach a Fence to a Brick Wall


