The idea of a chain-link fence can be a source of both fear and safety. The mere sight of one may remind you of the tension it may have caused in your life, but it is a symbol of security for others. A chain-link fence has been around for quite some time, with its history going back to the late 1800s when they were first introduced by Andrew Carnegie, who was an industrialist at that time.
In recent years, there has been an increase in the number of people replacing their old chain-link fences with newer ones and using them to line sidewalks and other public areas. So, this article is for you. You will learn how to electrify a chain link fence with just one simple trick!

Step to Follow on How to Electrify a Chain Link Fence
Step One: Determine
First, determine the parameter for how much electricity you want to be delivered. If you are not sure, start with 100 volts at 20 amps. It is an excellent place to start, and it should be enough electricity to stop a person and deliver some pain without serious injury. Next, choose your power source. A 120 volt AC outlet is the most common option. If you have a 220 volt outlet, you can also use it. The output will be a bit lower, but it will still be effective.
There is more chance of getting an electrical burn at higher currents and more risk of an electrical arc occurring. If an arc does occur, the chain link fence will become a conductor between the power source and ground, which can cause a fire in dry weather conditions.
For example, the amount of power delivered by a hand-cuffed person touching the fence is enough to cause burns and could cause death to the prisoner. If you want something for security, use an uninsulated steel link chain as your conductor because it will help shield you from electrical exposure and fire hazards. The steel link chain is also a good conductor for electrical current.
Step Two: Mark and Cut
Mark the link where you will cut it. Choose cut locations that don’t weaken the chain strength or strain any other link in the fence. Use a hacksaw to remove those links and bend the now free ends around an insulator like a bolt. Insert and tighten nuts for each end of the link to ensure they don’t touch any other link. Your fence is now electrified!
In the same way, cut as many links as needed to fit your fence using a wire stripper to remove insulation from the ends of those wires, where you will attach them to the power source and your conducting chain link fence. Again, the more links you have in your conductor, the higher the voltage will be delivered through the fence. Take the wires coming from your power source and attach them to the conducting chain link fence.
Using a 6-foot chain, you get the electricity from the power source to the ground by wrapping four links around an insulator. Then repeat that process to bring current through at least two more rows of links through the rest of your link set. The chain is placed in the middle of your links, with the insulator between two links.
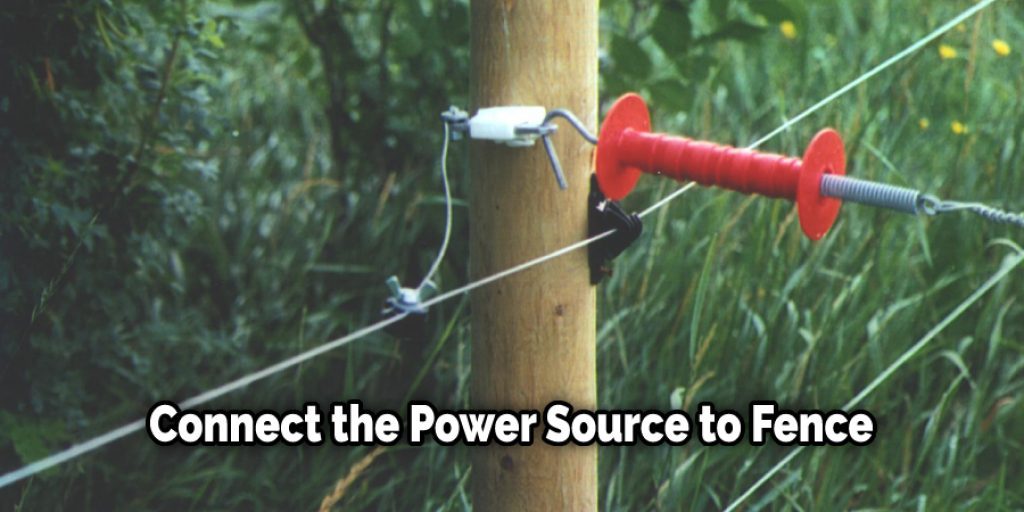
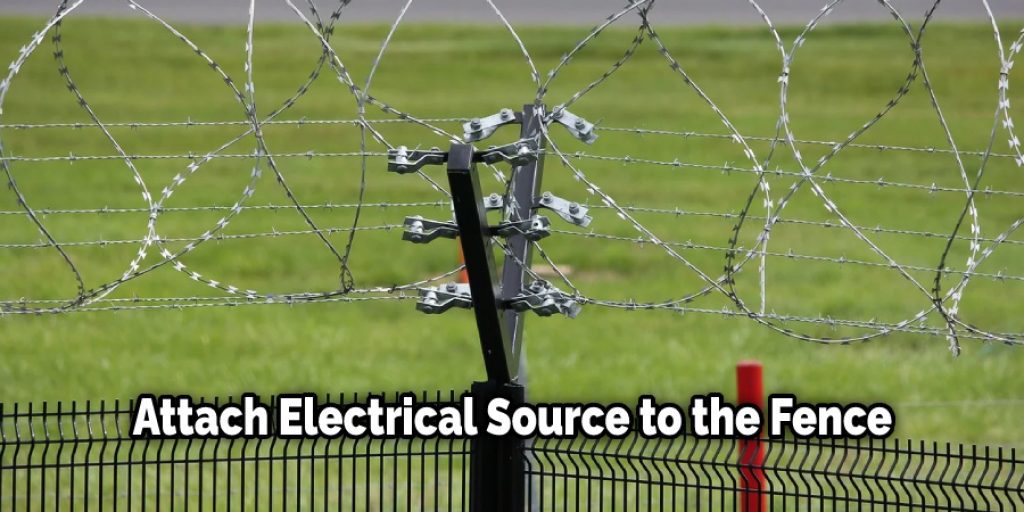
Step Three: Power Connection
Connect the power source to the fence. Use a utility knife or blade to strip away some insulation from an end, then attach that end with crimping pliers to the end of one conductor. If using wire nuts, twist them on tightly and solder if available.
Before inserting the conductors under any insulators, ensure the chain is the correct length and that your current connection points are secure. If you’re not sure where to put the power source, use a fence tester. They’re usually available at home improvement stores or online.
If you do not know how to test, attach it as close as possible to where you want the current to enter the fence. The best place is under a corner brace or post. If needed, use an extension cord or power strip for your power source and plug it in near the fence.
Step Four: Test for Ground and Power
Shine a flashlight on the fence to see where there is light. If you can see lighting, it means that your fence directly connects to the ground, and you should be able to use it as an electrical conductor instead of using an old wire. If not, attach your loop around something metal to give it aground.
Use a wire nut at the end of the wire and twist it tightly around something metal. For testing, attach your electrical source to your fence. For example, if you have a voltmeter, touch one lead to an insulator on the fence and probe metal areas until you get a reading.
Please do not use the probes themselves as part of completing your circuit, or you will shock yourself. If you tested the fence and it is life, use a wire to connect the fence around one of your posts. These steps should help you in learning how to electrify a chain link fence.
You Can Check It Out to Electrify a Fence With an Extension Cord
Step Five: Use Your Fence
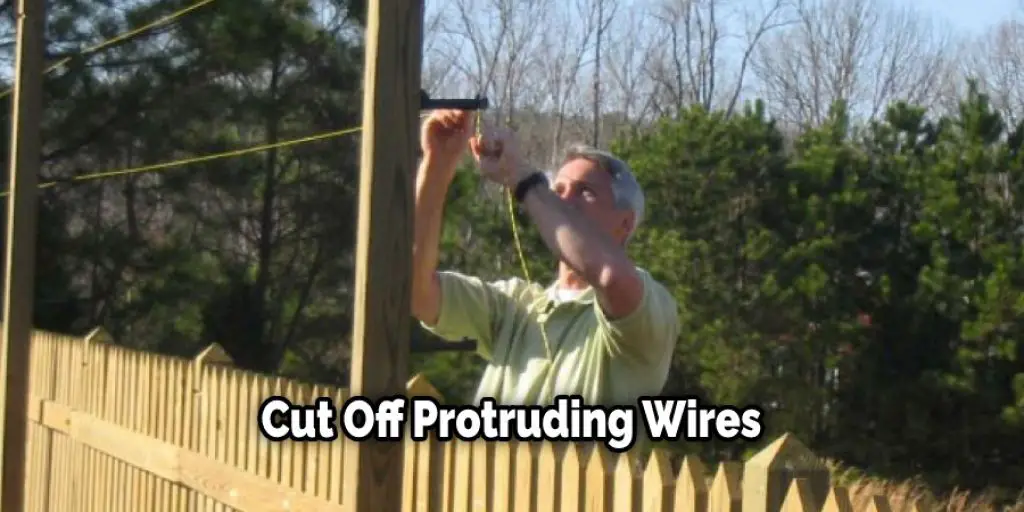
Use your fence at your discretion when you need to prevent intruders or when containing animals. You can also use it to power lights, an automated gate opener, or something else in the future. If you ever want to remove it, cut off any protruding wires and bend their ends around insulators, so they do not touch any other links.
Chain link fences are one of the most common types of fencing made today and a great way to secure an area if you need a strong but cost-effective solution. However, if you don’t want to leave it as-is, you can electrify your fence with a few tools and materials from home improvement stores or online retailers.
This process will vary depending on the type of fence you have. If you have a single link fence or one that has spaces between the links, then attach small metal clamps to the inside of each link and run your conducting wire through them. Next, determine how much voltage your fence needs by looking at the lowest amount required for an average residential installation, usually 28 volts.
Conclusion
To electrify a chain link fence, first, make sure the voltage can travel through it. If you have an outdoor outlet on your property and no power line running near where you want the electric wire to go, that’s not enough juice.
You need about five volts per foot of wire for electricity to flow from one end of the fence to another without getting zapped out by lightning or other sources of high-voltage energy nearby. The conclusion paragraph is informative and provides information on how to electrify a chain link fence.


