Introduction
Electrification is the process of providing electric power to an area. This can be done in various ways, but one of the most common methods is by using an extension cord. There are several reasons why you might want to electrify a fence. One of the primary reasons is to keep animals contained within a particular area. Electrified fences are also used as security fences to deter people from trying to cross them. This article will discuss “How to Electrify a Fence With an Extension Cord.” So let us get started.
A Detailed Stepwsie Guide on How to Electrify a Fence With an Extension Cord
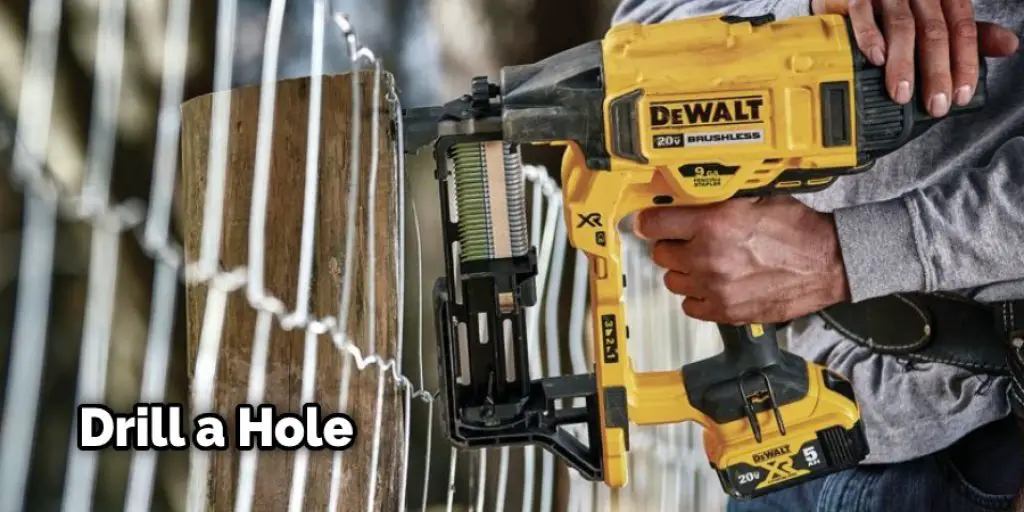
1. Drill a hole through the top bar of each gate post section(s) to allow for extension cord wiring.
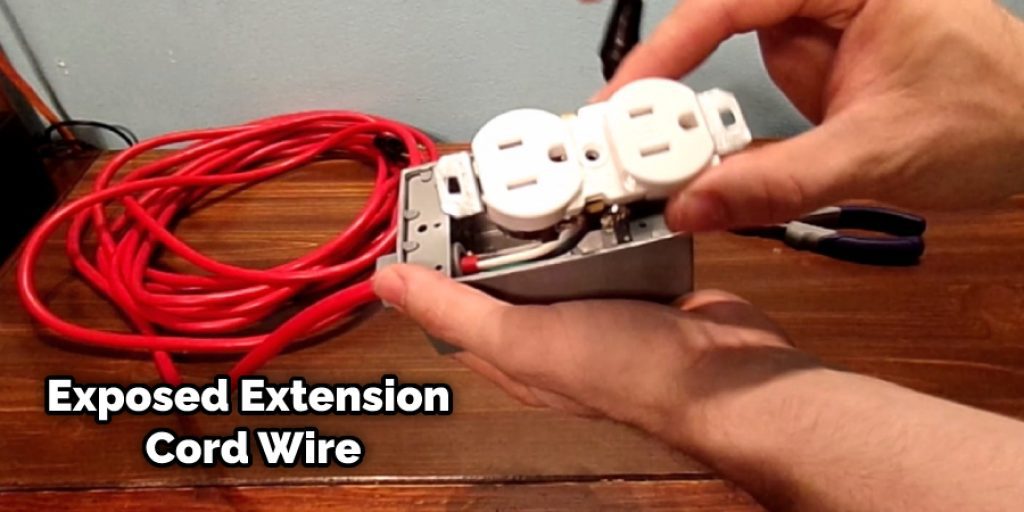
2. Strip insulation from the extension cord’s outer (wire sheath) area with wire cutters or scissors, exposing about 1-2 inches of #16 or #18 stranded copper wire. If multiple gates use this technique, then strip about 2-3 feet of wire on each piece of exposed cord. This allows for more flexibility in routing cables around posts and other structures on your property, as well as allowing the fence charger power box access to switch ON/OFF various sections of your fence line at any given time.
3. Drill a hole through each post at the gate(s) you wish to electrify using a 3/8″ drill bit. It is best to start inside the bar and work your way out to minimize splintering on the posts’ surface.
4. Feed the exposed extension cord wire through each drilled hole until it exits out the other side. Ensure that there is enough slack in the cord not to be pulled tight when the gate is opened (and closed).
5. Twist together each stripped section of exposed wire on both ends of the extension cord, forming a small “wire nut” or connector. This will create a watertight seal and prevent moisture from entering and corroding the electrical wiring of the extension cord.
6. Using a pair of “needle nose pliers,” strip about 1/4″ of insulation from the end of each #16 or #18 stranded copper wire (that was previously twisted together) and turn the exposed copper wire ends tightly around one another to form a tight connection (or “bond”) between all of them, creating a small “bracelet” on the extension cord wire. This will keep any built-up energy in your fence-line from traveling along with your newly wired gate post and shocking you or some other unsuspecting person that might come into contact with it while touching an uninsulated part of the new electrical connection on the gate post).
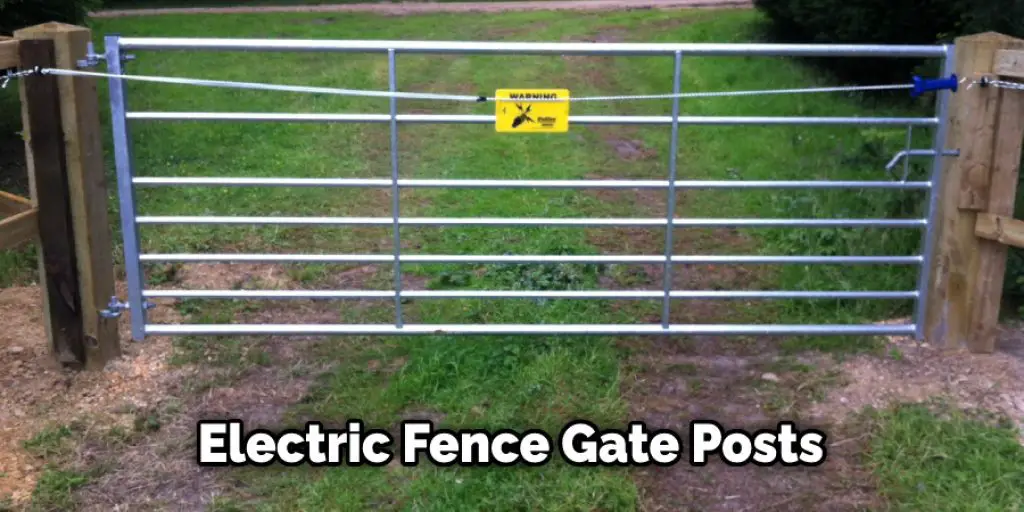
7. Drill a hole through each horizontal bar of the gate post(s) directly above the bracelets you just created to allow for a knot in the extension cord. This will prevent any tension from being placed on the bracelets when opening and closing your fence gate, which could cause them to loosen or fall apart over time. Please do not confuse this step with step 11 below, as it is entirely different!
8. Pull each of the #16 stranded copper wires that come out of the drilled hole in step 7 through a 1/4″ diameter eye-bolt, then secure it into place by placing a lock washer and nut onto the protruding wire end and tightening clockwise until tight against its neighboring post bar. This creates a “bracelet” around each horizontal bar of the gate post, which will hold the extension cord in place and prevent it from being pulled out over time.
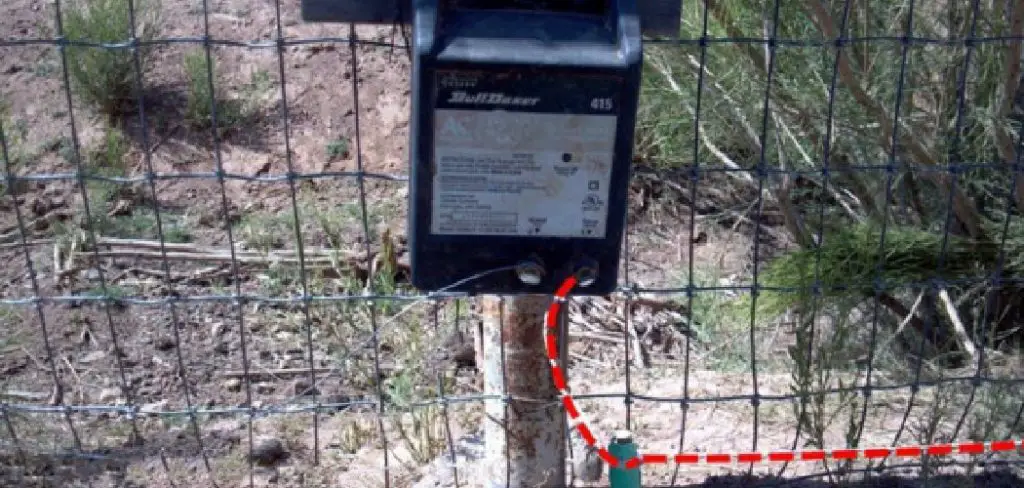
9. Hang the fence charger power box on a nail or screw that is attached to the side of your house, barn, workshop, or some other permanent structure near your electrified fence line. Make sure that the switch on the power box is in the “ON” position (up) before closing the gate(s) that you have just electrified.
10. Plug the extension cord into the proper outlet on the back of the fence charger power box and wait for the small green “power light” to come on. This indicates that the fence charger is now energizing your fencing system.
11. If you have any other gates on your property that you wish to electrify, repeat steps 2-8 above on each new gate post. If you drill more than one hole in any given position during this process, make sure to drill the matching hole (the same spot) in the opposite gate post as well. This is because some of these holes are not optional and MUST be there, or else the bracelets will fall apart over time, and your newly electrified fence section will fail to work correctly.
12.
13. To close each new electrified gate post, remove any wires you might have hung there previously (and not needed) earlier during this installation process, then tie off/cut/unplug your extension cord from it. You might want to use a slingshot or similar tool for cutting the power cord without having to touch it with your hands after plugging it into the fence charger.
14. That’s it! You have now successfully electrified a fence gate(s) using nothing more than a standard household extension cord and some strategically placed bracelets/knots/bolts. Enjoy your newfound safety and security!
You can check it to Fix the Bottom of a Chain Link Fence
Precautions While Electrifying a Fence With an Extension Cord
1. Use a GFCI exterior extension cord to reduce the risk of electrocution while electrifying a fence with an extension cord. Keep children and pets away from the wall as it is being electrified, as they may lean on or chew on the electric fence wire and get shocked. Ensure that you keep your face, hands, and feet at least 10 inches from the electric fence wire as it is charged up before application to animals to prevent getting shocked by touching or grabbing onto the wire by accident.
2. If you have a flock of sheep that you keep in a pasture, you need to ensure that there are no sheep in the area where you will be running a power energizer for 20 minutes before applying the current. This is because the sheep may be shocked if they touch or chew on the electric fence wire. Likewise, if you have a donkey in the pasture, you must ensure it is separated from the rest of the flock before applying current to the fence. This will prevent the donkey from being shocked by the electric fence wire.
You can check it to Drill a Hole in a Fence Post
3. Be prepared for any animal that is shocked to run back into an area that has previously been electrified if it is not shocked again when you are re-applying voltage immediately after releasing voltage when removing fencing material after each application. A grazing animal will remember where they felt pain and seek an escape route away from an awkward spot when they feel pain there again at another time in their lives.
You can check it to Build a Fence on Uneven Ground.
Conclusion
I hope you have a clear idea of electrifying a fence with an extension cord. Ensure all the precautions while performing the process. Thank you and have a nice day!


