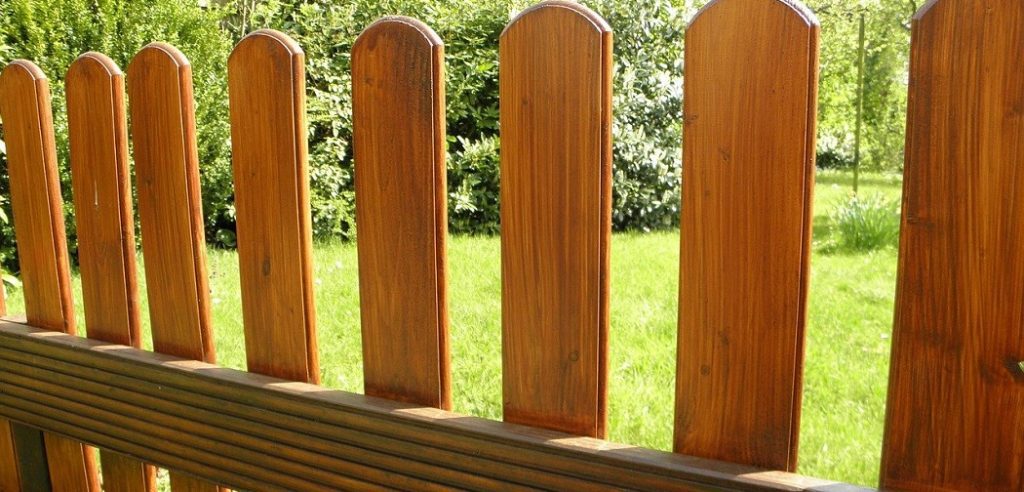
Fencing is very common in backyards and gardens all over the world. The most popular type of fence is a wooden fence because they are aesthetically pleasing to look at, comes in many different styles and colors, and lasts for years without rotting or needing significant repairs.
If you have ever built your fence or had one installed by someone else, then you may have noticed that there are some limitations to how high the posts can be set out from each other before it becomes unstable. The conclusion paragraph is informative and provides information on how to extend wooden fence post height.
7 Steps to Follow on How to Extend Wooden Fence Post Height
Step One: Determine
The first thing is to determine if you even need to extend your fence post. Make a quick comparison between the old and new fence posts and the distance from ground level to where they will be placed. If you are only adding to the current height of your fence, this process will work.

If you add more height to the fence, you will need to go up at least three feet. You can make your extension as high as you would like, but keep in mind that the higher you go, the heavier your fence will be. Taller fences are also not as stable as shorter ones.
Then you will need to measure where you would like your posts to go. For example, if you are extending two posts, put one on top of the other, so they are evenly placed. Ensure that it is secure and stable once your post is in place before putting your fence back into place.
Step Two: Prepare
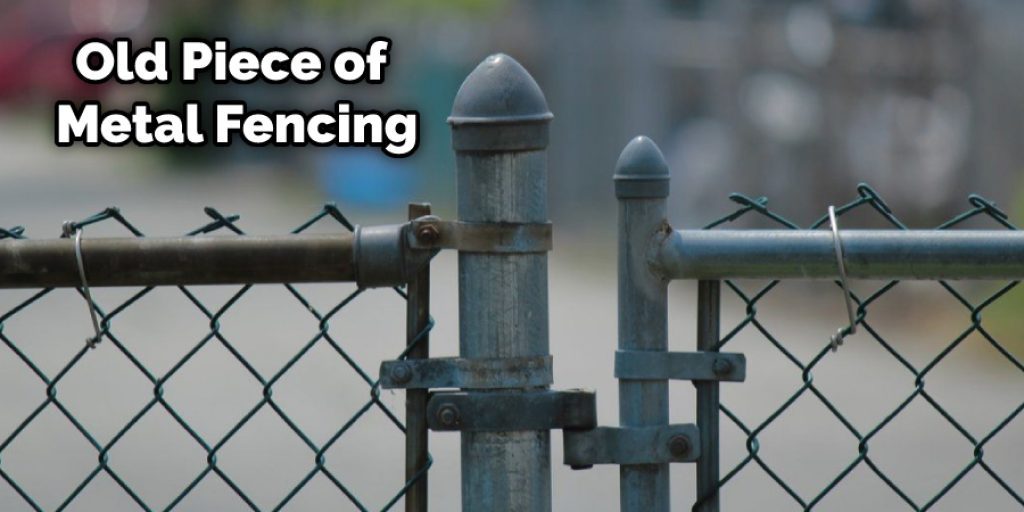
You will need a sledgehammer, a block of wood, gloves, an old piece of metal fencing, and three-foot-long pieces of rebar. If you are not adding to your current fence height but just trying to fix sagging posts, there is no need for the extra steps in this process.
You can use much lighter materials that will help keep your costs down. For example, you can use bricks or cinder blocks to keep your fence from falling over while working on it. Do not be surprised if the post isn’t straight; some may have been angled to get into the ground.
You may need to adjust them, so they all lineup and are relatively even with each other before applying all of your weight to the center post. This will keep it from falling over every time you pull up on one side of it. Securely push your posts into the ground with whatever is at hand, or hire a professional if you are uncomfortable doing this process yourself.
Step Three: Repairing Wood Fence Post
The old fencing will serve as a support beam for the center of your fence. Cut one of your three-foot pieces of rebar to half its length. Take the wire off of the piece of metal fencing so you can reuse it. The wire should be covered in rust which doesn’t hold well with this project.
Once you have all of the wire off, you can bend it at the end to where the two pieces look like a U-shape. Next, securely attach your three-foot piece of rebar to the center of your post by sliding one side through the other and securing it with screws. Once your center is secure, take your other two pieces of rebar and slide one side into the other.
The flat edge should be against the fence post, and the curved end of the rebar should stick up about a foot or so higher than your fence. If you want to find out more about how to extend wooden fence post height, keep reading.
You can check it to Cut Welded Wire Fence.
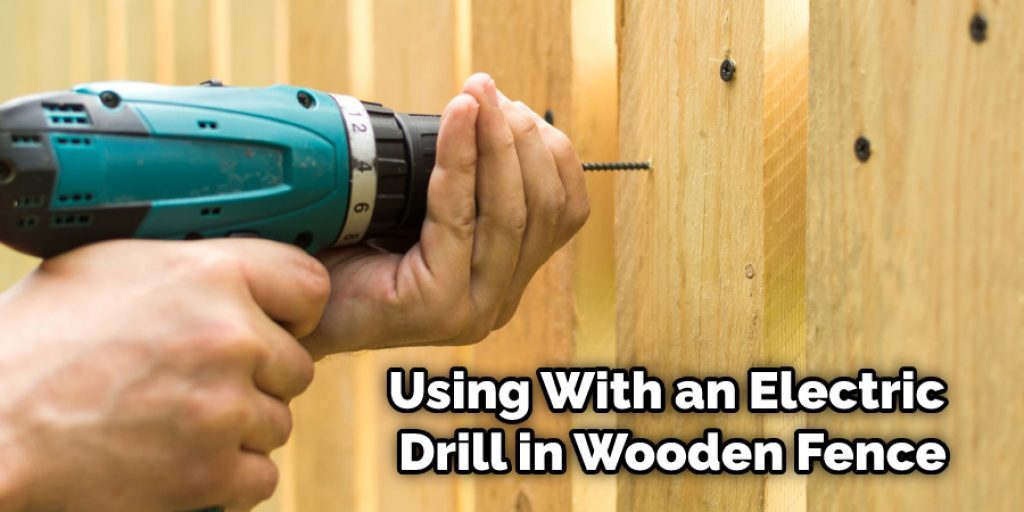
Step Four: Drill Your Fence Post
Once your wooden post is secure, you will need to drill a hole through it. You can buy a drilling attachment that you can use with an electric drill. Make sure the bit is slightly smaller than the bolt that came off of your fence posts. The bolts are usually three-quarters of an inch in diameter, so make sure you use a minor bit, most likely 3/8th of an inch.
Drill your hole in the center where you would like to place your fence post so that they are even with each other. If they are not even, your fencing will have a slant in it, which is another unattractive feature you want to avoid. Drill deep enough so that the bolt fits snug. Once you have successfully drilled the post, put the bolt through it with washers on both sides.
Take one of your wooden fence posts and place it into the hole that you drilled. If it fits snug, you can attach it to the wire on the other post. If your bolt is not long enough to achieve this, you can use a metal screw instead. Wrap the end of it in electrical tape so that once you secure it into a place, you will have to use a wrench or pliers to take them out just in case you want to alter the height of your fence.
Step Five: Put Your Fence Back in Place
Once both posts are secure, you can put your fencing back into place and adjust it, even on each side of the two new posts. Next, securely attach the fencing with wood screws so that they cannot budge or fall. If you don’t know how to attach fencing, directions on the back will show you how to do it.
Make sure that your wood fence post is secure and even before finishing this project. When you’re done, your fence should be nice and sturdy, along with looking more attractive than before. With proper maintenance, it should last a long time and be safe for your family and pets.
Make sure that the post is secure. Before finishing this project, make sure that the fence post is stable, and even with each side of the fencing, it will look unprofessional if it moves. These steps should help you in learning how to extend wooden fence post height.
You can check it to Remove Vines From Chain Link Fence.
Step Six: Finishing Your Fence
Add the fencing along the line of your new posts with wood screws or nails. You can paint or stain your wooden fence post to keep it protected and looking nice for a long time. The stain will go on evenly with little effort, but you may have to sand wood between coats if imperfections are on the surface.
Make sure to use a stain or paint that’s resistant to weather conditions as well as insects. You should also put two coats on the fence post itself to not rust over time and look bad. Finally, if you notice any holes in your fencing, quickly patch them with wood filler and sand smooth when dry.
The safety of your family and pets depends on the quality of your fence. Make sure that you do a good job repairing and maintaining them if necessary. You can do it yourself if you use the steps outlined above to extend the wooden fence post height. This will help in how to extend wooden fence post height.
You can check it to Cut Welded Wire Fence.
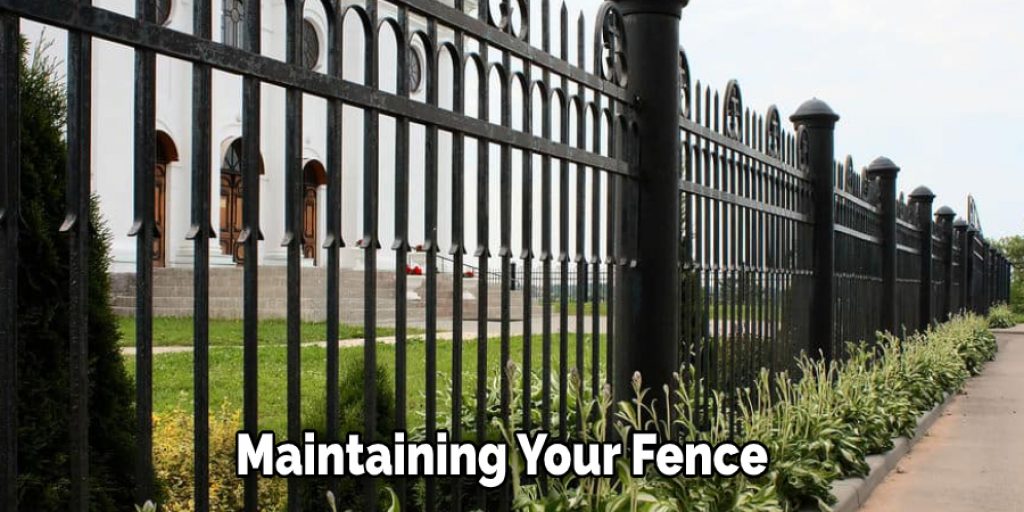
Step Seven: Maintaining Your Fence
The best way to maintain your fence is to check it for any loose boards, holes, or if the post has shifted. Then, tighten these up with nails or screws and fill in any holes that may cause rainwater penetration problems. You may also want to replace your fencing entirely down the road if you feel it’s falling apart and is no longer safe for your family and pets.
Please use caution when you are working with wood posts like this. Please make sure you wear the recommended safety gear, including goggles for eyes and earplugs, not to damage your hearing with the noise of machinery. Also, please be aware that there is a potential risk of getting splinters, eye damage, or hearing loss when working with wood like this.
Please be aware that there is a potential risk of getting splinters, eye damage, or hearing loss when you work with wood. Please use precautions such as goggles for eyes and ear plugs not to damage your hearing from the noise of machinery.
You can check it to Stretch No Climb Fence.
Conclusion
You can use a variety of methods to extend the height of your fence posts. Posts can be extended by using taller stakes, longer lumber, or thicker materials. For example, you could use pressure-treated wood for an extra 2 inches in height or metal brackets secured with screws and bolts for up to 4 feet in height.
The type of railing material will also dictate how much higher you need to make your fence posts because different materials have different weights per linear foot when installed on top of railings. If you’re not sure what solution is best for your situation, consult with our experts today!
We would love to help figure out which option will work best for you to avoid wasting time trying something that will not work. The conclusion paragraph is informative and provides information on how to extend wooden fence post height.
Check it out also – How to Fill Gap at Bottom of Fence.


