Introduction
When a fence is missing, it can be challenging to know how to finish the project. First, any new piece must adhere to the same height and width as existing pieces. This ensures stability and prevents gaps from forming in the finished product. The best way to add a new piece is by using an adhesive such as wood glue or concrete adhesive.
Both types of adhesives will create a permanent bond between parts when they are applied correctly. Once dry, you should have no trouble inserting your newly added section into place without causing any damage or warping around other areas which were already set in place beforehand. In this article, I will have a clear discussion on how to fill gap at bottom of fence. So let us get started.
A Detailed Stepwise Guide on How to Fill Gap at Bottom of Fence
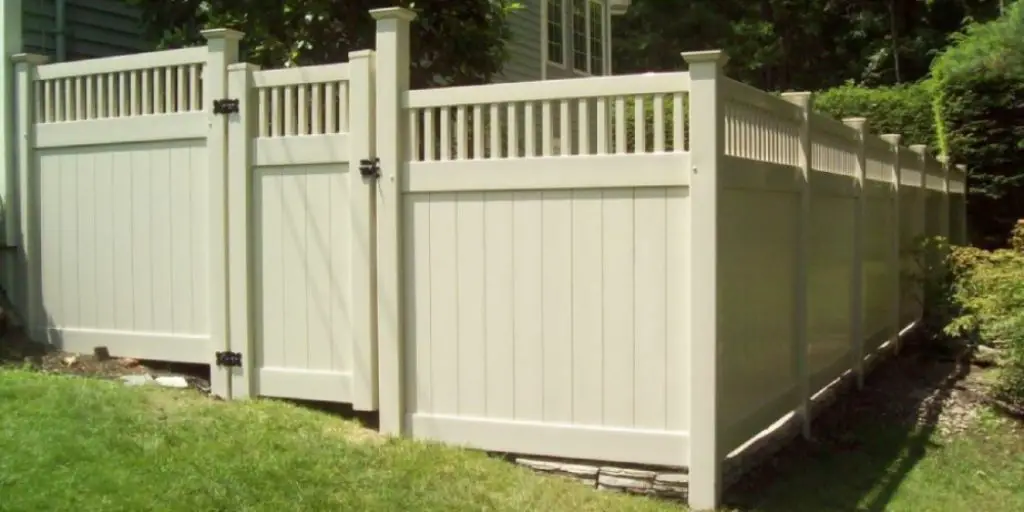
If you have a fence made of wood or wire, then at some point, there will be a gap in the bottom of the wire mesh or wooden boards. This might happen for reasons such as material deterioration, weakening of structure over time, and many more yet to be known causes. There is always a wide variety of how big or small such gaps can be, and this article will give detailed information on how to deal with such blunders.
There are various easy ways by which one can fill up the space created due to the existence of such gaps in the fencing. So there is not much work needed on your part, but yes, there’s no denying that getting it done right needs attention and patience if you want your new look fence back in good shape.
Any such gap must be dealt with quickly as it may cause many problems such as insects and rodents entering your home. There will also be an ugly view of the fencing due to significant gaps visible from the outside, which may create a wrong impression about your house. So by using some essential tools and following the instructions given below, you can fix this problem yourself and regain the fence’s beauty:
Tools Needed for Fixing Gap
- To drive nails into wood Wire Cutters
- To cut wire mesh or remove bamboo rods Handsaw
- To cut any material according to requirement Level
- For getting perfect horizontal and vertical edges Rags/Cloth pieces
- For cleaning tools before putting them back in their place Screwdriver (optional) Screws/Nails (optional)
Instructions for Fixing Gap
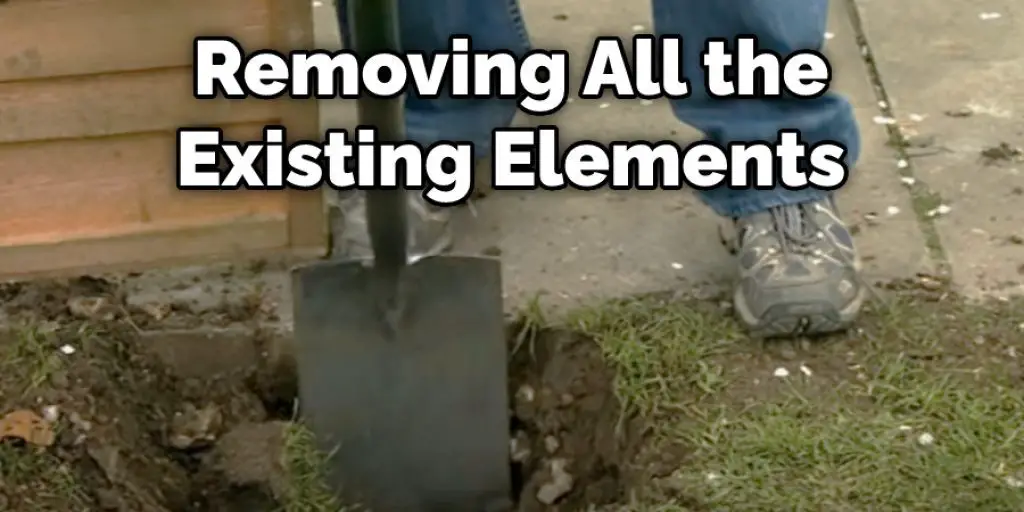
Step 1 – Excavating Existing Conditions
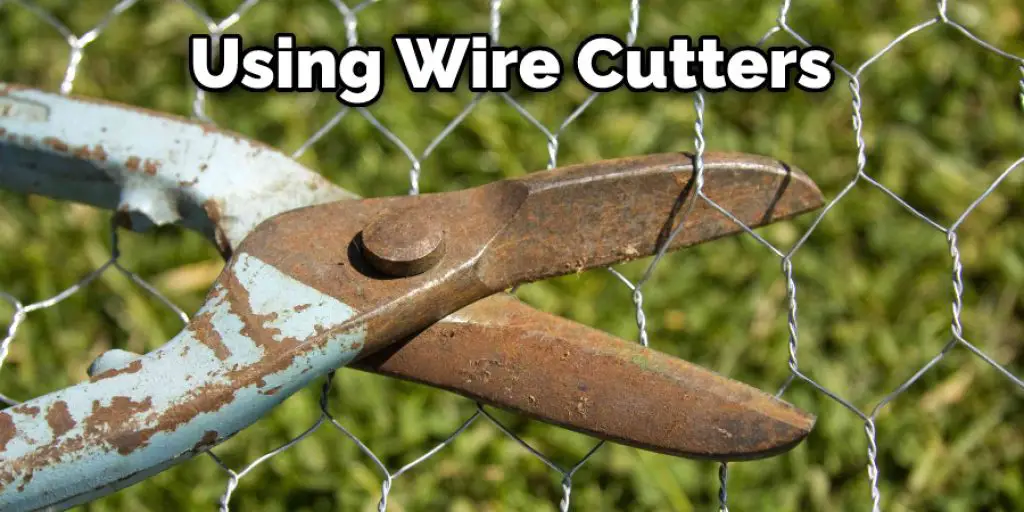
The first step is to remove all the existing elements which are surrounding the gap. So that you can then fill it with new raw material at your own will, you may need to cut some lumber boards using a handsaw depending upon the size of space created by the gap. Next, use wire cutters to clip excess wire mesh or bamboo rods sticking out around the border.
Make sure you don’t make any mistakes like cutting a vital piece which you need later on, so be careful! Now clean up everything correctly and put them back where they were if required. Use rags/cloth pieces to clean any dirt or dust particles before putting tools back in their place.
Step 2 – Building a Frame for Filling Space With New Materials
Now that you have removed all the surrounding elements, it’s time to build a frame filled with new materials for filling up space left due to the gap. The first step is to decide on what kind of material will be used. Whether it is wood or wire mesh, the dimensions are yet to be determined by you depending upon how large or small you want your fence area filled with material.
To work according to your convenience leading to the best possible result, a few industrial-sized products may come in handy, such as pre-fabricated made up of galvanized wire mesh and wood. Depending on the dimensions of the gap, you can decide the ratio at which both these products will be used.
Step 3 – Glue/screw Fixing the Frame to Existing Fence Panels
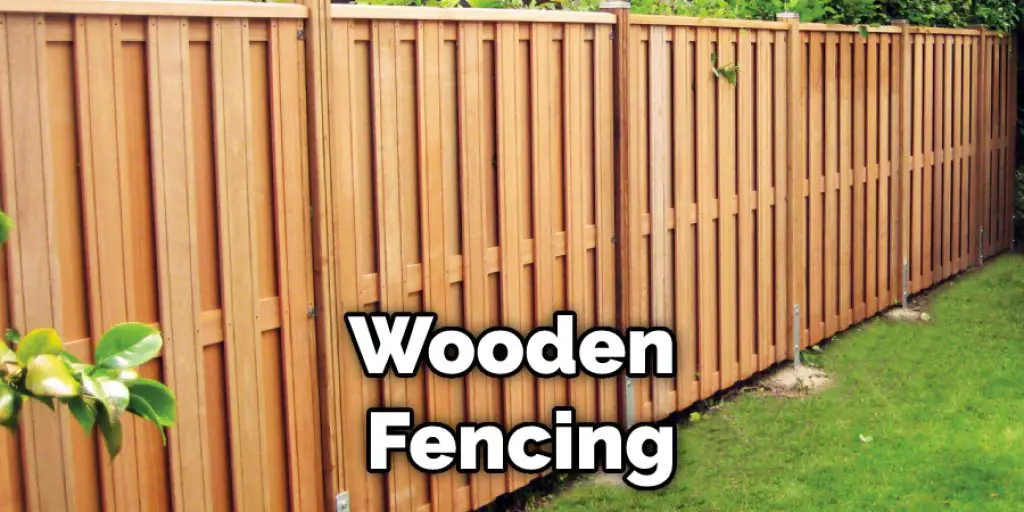
Now that you have your frame ready and material is also selected, it’s time to build a structure by sticking together pieces of wood or wire mesh at equal space from each other until they are coming out from one end of the gap. In the case of wooden fencing, secure each piece properly using screws or nails as per requirement depending upon how permanent you want your solution to be. To ensure everything is going the right way, use a level tool to check their placement, whether horizontal or vertical, before screwing them down.
In the case of wire mesh, build a frame by sticking together pieces of wire mesh and then fixing it to an existing fence panel using either screws or nails depending upon the strength required for that part (fence panels can be screwed from inside). Now clean up all mess around and put tools back in their place.
Step 4 – Mixing Plaster of Paris to Fill the Gap
Mix water and Plaster of Paris according to ratio as per instructions given on the packet. Mix thoroughly until there are no lumps left in the mixture, after which you should allow it to sit mixed material for overnight to ensure complete hydration. Subsequently, take out material from the bucket and it into the gap neatly, leveling them up with each other (use level). Once the filling is done, allow it to dry overnight.
Step 5 – Curing the Mixture to Get the Best Result
Once you are sure that the mixture is completely dried out after overnight sitting, use wire cutters to remove all excess wire mesh or bamboo rods sticking out of the frame. You can also remove pieces of lumber boards if required.
Now cover the entire structure with your favorite paint to eliminate any sign of raw material showing through, which might look bad aesthetically. Make sure you clean tools properly before putting them back in their place and take care while mixing plaster-of-Paris to avoid repeating the same mistakes. Finish!
You Can Check It Out to: Remove a Section of Vinyl Fence
Frequently Asked Questions
Should a Fence Have a Gap at the Bottom?
In general, if the fence is being used to keep animals or children out, a gap at the bottom is generally a good idea. If the fence is being used for decorative purposes, it doesn’t matter as much. Some factors to consider include the height of the fence, the type of material used for the fence, and whether or not the gap will be covered up.
What Do You Put at the Bottom of a Wooden Fence?
It depends on your specific fence and the type of landscaping you have. However, some popular options for placing items at the bottom of a wooden fence include rocks, bricks, cement blocks, and even swimming pools! It’s up to you to choose what will work best for your situation and to make sure that anything placed at the bottom of your fence doesn’t interfere with its functionality.
What Goes at the Bottom of a Fence?
It depends on the location and type of fence. However, common items that might go at the bottom of a fence include weeds, leaves, dirt, rocks, and shards from broken glass or ornaments. If you are unable to remove these items yourself and they become an obstruction or safety hazard for pedestrians or animals nearby your property line, please contact a professional contractor who can take care of them.
What Should I Put Between Fence and Soil?
Depending on the climate and soil type, you may want to put different types of protection between your fence and the soil. In general, a layer of mulch or bark will help suppress weeds and protect the ground beneath the fence from erosion. A layer of concrete or asphalt can also help reduce water infiltration into the soil, which can damage plants (and possibly your fence). Finally, linseed oil might be effective in reducing weed growth while preserving plant life.
Conclusion
I hope this article has been beneficial for learning how to fill gap at bottom of fence. Thank you and have a nice day!
You may read it also – How to Install Sliding Closet Door Bottom Guide .


