Drywall is a popular building material often used to create walls and ceilings. However, filling in a gap can be a tedious task. It’s easy to underestimate the time and effort necessary to fill a gap between drywall and a ceiling or wall that is obvious from below.
To fill in a gap between drywall and the ceiling, measure the width of the hole. If it is small, purchase spackling paste or lightweight joint compound that matches your wall color in the same brand name line as your paint. The lightweight joint compound already has fine sands to help speed up drying time.
Use a lightweight joint compound to fill in the gap for more significant gaps between drywall and a ceiling or wall. Place a large piece of plastic underneath the area where you will be working as a dropcloth. It is essential to know how to fill gap in drywall between wall and ceiling.
Step to Follow on How to Fill Gap in Drywall Between Wall and Ceiling
Step One: Mark the Gap
The gap between the wall and ceiling needs to be marked. Check for an electrical outlet box or recessed can light to find out where this gap is. If a lighting fixture is installed in the room, then there has to be a frame built around it. This frame keeps it fixed in place and attached firmly to the walls.
Before committing to anything else, make sure to find this frame. Use a stud finder in the ceiling to locate any wooden beams. Next, use a level and straightedge to draw lines on the wall where the lighting fixture is installed. Mark this gap or find the box.
If you have access from the wall, then inspect for wiring issues. These may involve loose or detached wires. If there is a gap in the insulation from the wiring, it may be cut close to the drywall. If there is no gap, then you’ll have to remove some drywall from the room and expose the wiring for repair or replacement before proceeding with any repair work, such as filling in a gap between wall and ceiling.
Step Two: Apply Joint Compound
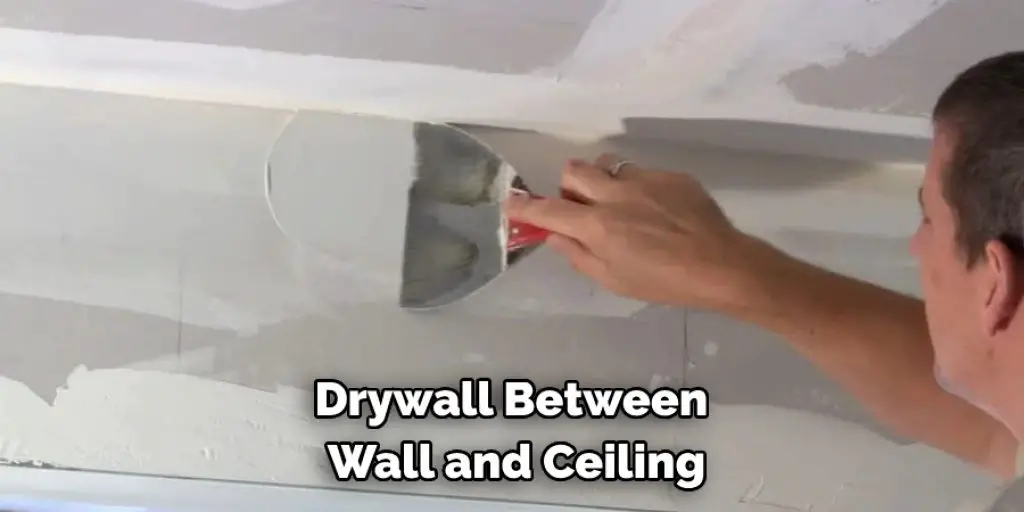
To fill in the gap, apply joint compound to both sides of the wall. Then, use a drywall knife or taping spackle knife. Add enough to be pushed into the crack and filled tightly in place. If this is not done correctly, the finished product will have a noticeable bulge, making it rather unsightly.
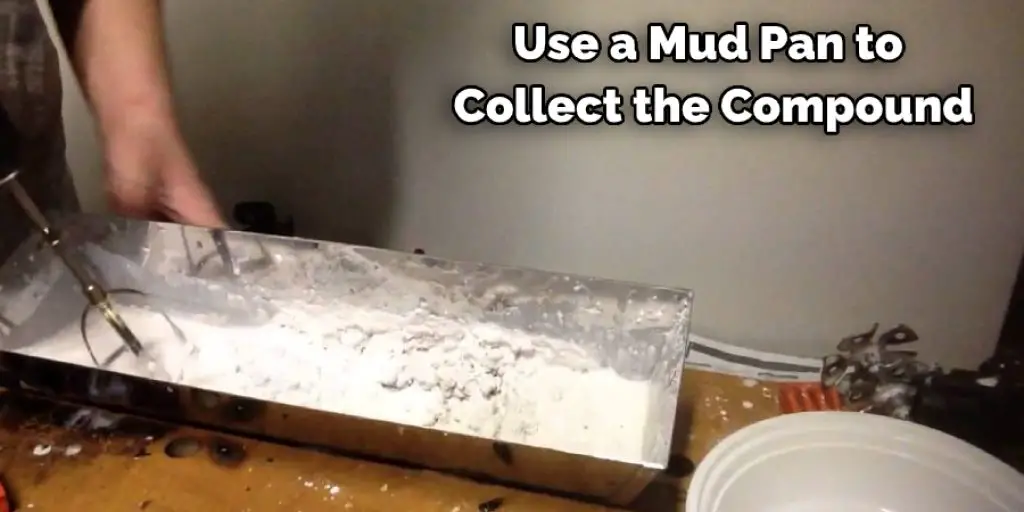
Use a mud pan to collect the compound and spread it evenly along the area to cover the gap. Make sure to go with the natural flow of the wall from left to right. Use approximately half a gallon of mud for this job and add enough water to make it workable.
If not wet enough, it may not spread easily, which means there will be an uneven application. If it’s too wet, the mud will become too smooth and hard to spread out evenly. Keep adding water or compound as needed to get the consistency right.
Step Three: Smooth Out Mud
The next process is crucial because it involves smoothing out any irregularities that may have occurred. First, make sure to get rid of any ragged edges or lumps by using a drywall knife. Next, tilt the blade at 45 degrees and drag it over the surface, pushing in more mud as needed.
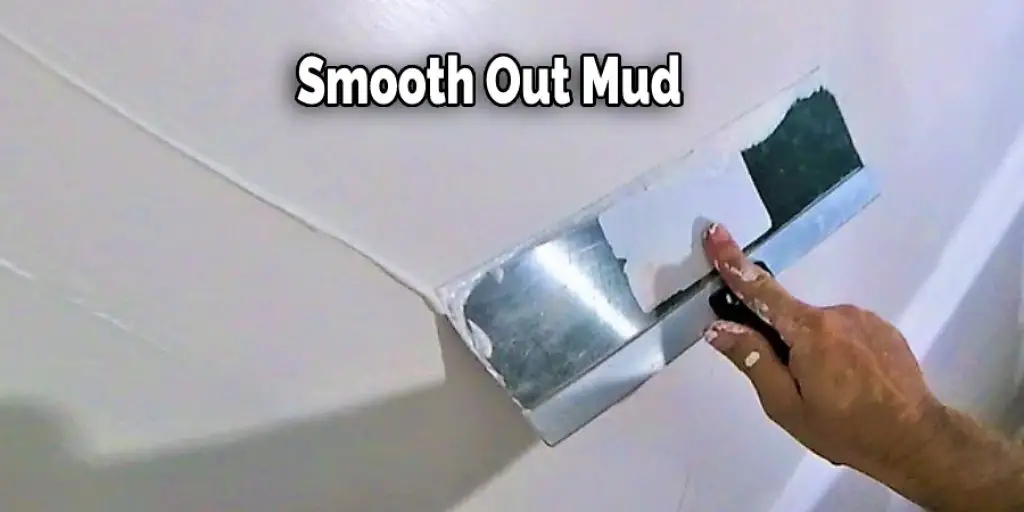
The angle allows for better control while dragging the blade across the wall, perfect for applying pressure on uneven spots and making it appear smooth. If there are clumps, take away the excess and add more compound to fill in any gaps.
The compound may start to sag or drip if it’s too wet. If it’s too dry, there will be areas that don’t stick together and will crumble off easily. This information will help you learn how to fill gap in drywall between wall and ceiling.
Step Four: Scrape Off Excess Mud
Using a drywall knife, start scraping off any excess mud along the top of the surface. Just scrape it over the top without digging into the fresh compound underneath. If not done correctly, it could pull away some of this new layer and create ripples or ridges visible to the naked eye.
First, use a wide-angle before getting to an acute angle as the excess is scraped away. Continue this process until excess mud has been removed and only the new layer remains. Please don’t leave any extra on top; make sure it’s smoothed out entirely with no ridges or unevenness.
At first, there should be a hazy look created by the dried compound, which indicates that it’s ready for sanding. However, it should look like the photo below when done correctly, making it easier to spot any areas that need more time or attention.
If there are any bubbles or ridges, leave it to dry for a while longer. If there’s not enough compound, add more and repeat the previous steps. Keep using this process until the surface is completely flat without bumps or ridges.
Step Five: Sanding
Using an oscillating tool with fine sanding discs, I carefully sand down the surface with circular motions. Continue sanding until the entire surface is flat and smooth. Sand in one direction, then go back over it in perpendicular directions to ensure that everything is even across the board.
If done incorrectly, the compound will show up as an unsightly bump on a concrete highway, making it stand out relatively clearly. However, if done correctly, it should feel utterly flat to the touch with little bumps because of the oscillating tool’s sanding disks.
Conclusion
We recommend using foam insulation if you’re looking for a quick fix to fill the gap between your wall and ceiling. Foam insulation is easy to cut with an electric saw to fit in tight spaces like this one. It’s also lightweight and won’t sag over time which can cause moisture problems if left untreated.
You’ll need some drywall tape or joint compound before installing the new piece of insulation, but once that’s done, the surface should be smooth and ready to paint! The conclusion paragraph is informative and provides information on how to fill gap in drywall between wall and ceiling.
You can also check it out: How to Dispose of Drywall Mud


