Introduction
Many people have a new fence board or two, and they might wonder what to do with them. One thing you can do is use them as a spacer between boards that are already in place. The gap will allow air circulation for the wood, which helps it last longer. It also allows rainwater to run off the board’s surface rather than soaking into it.
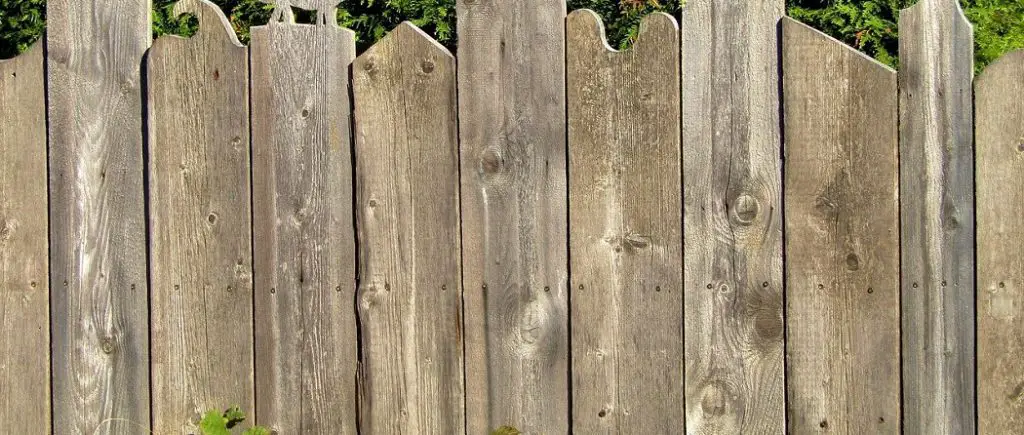
If you don’t want to bother with a lot of measuring, make sure your new boards are at least five inches shorter than those next to them, so they’ll rest on top without any gaps showing through. This article will discuss how to fill gaps between fence boards. So let us get started.
A Detailed Stepwise Guide on How to Fill Gaps Between Fence Boards
The gaps between your fence boards are not only unsightly, but they can also allow small creatures to walk right into your yard. Fortunately, it’s easy to fill gaps with dirt. But you have another option: putty filler. Consider this step-by-step guide on how to choose the best product for filling gaps between fence boards.
Step 1 – Choose Your Filling Product
Before choosing a material for filling in significant gaps, you need to understand why they’re there in the first place; The purpose of wood or vinyl fencing is not only to provide privacy but also security against intruders. Decorative metal fencing has gained popularity due to its durability and strength. Once installed, fences fit tightly together with no exposed spaces through which someone could reach in and unlatch a gate.
Step 2 – Gaps Due to Warping Boards
You need to know about the warped boards if they do not fit in the gap tightly. If that is the case, you need to sand them down or plane them down to fit into the opening perfectly. The gaps between your fence boards may also be caused due to a slight difference in size between each board.
In this situation, you don’t need to worry about using big tools or splitting wood. Just fill the cracks with dirt and it will be fine. This will allow the fence posts to move a little bit and also let water drain out, which will prevent the posts from rotting.
Step 3 – Filling Unsightly Gaps Between Fence Boards
To make a wooden fence, you will need to choose a board to be the filler and put it across the top of the gap. If you need to, trim off part of the board to make it fit better. Next, take an identical board and place it on top of the filler, leaving enough space between your fingers and thumb – approximately 2 inches. Finally, use a hammer to drive the second board firmly into place. You may have to tap it a few times until it is snug against the first board. If there is still a noticeable gap, you need to apply a sealant or some adhesive before putting dirt in it.
Gap filler is also available in a liquid form. This type of filler can be poured into gaps, and dries quickly to become solid. It is similar to concrete in that it can be painted or stained to match the color of your fence. It is a long-lasting option that won’t crack or deteriorate over time.
Step 4 – Filling Gaps Between Metal Fencing
Metal fencing is not prone to warping like wood, so gaps are usually caused by poor installation. The first step is to measure the width of the opening and purchase a roll of fencing that is at least 1 inch wider than the gap itself. If you have more than one gap, you will need to acquire enough fencing to cover them all.
Next, unroll the fencing and cut it to the desired length with a pair of wire cutters. Next, use a hammer to drive one end of the fencing into the ground on each side of the gap. Ensure that it is firmly embedded in the environment and no space between the fencing and the earth itself. If you want to make it more decorative, you can use staples or screws to attach it to wooden posts.
Step 5 – Filling Gaps Between Vinyl Fencing
Vinyl fencing is not prone to warping like wood, so gaps are usually caused by poor installation. The first step is to measure the width of the opening and purchase a roll of vinyl trim that is at least 1 inch wider than the gap itself. If you have more than one gap, you will need to purchase enough trim to cover them all.
Next, unroll the vinyl trim and cut it to the desired length with a utility knife. Next, use a hammer to attach the trim across the top of your gap using brass-coated nails or staples. These are available at any hardware store for less than $10 for 100 – more than enough to repair every hole in your fence line.
You can check it to Remove Stain From Wood Fence.
Step 6 – Filling Gaps With Dirt
You can always fill the gaps between fencing with dirt, which settles, fills in cracks, and provides drainage. It is pretty inexpensive but not very attractive, so you won’t leave it out when the company comes over. But two drawbacks come with this solution: rodents and moisture. Rodents can quickly enter your property through the gaps and make a home for themselves, and humidity can cause the fence posts to rot over time.
You can check it to Electrify a Chain Link Fence
Precautions While Filling Gaps Between Fence Boards
When using any chemicals or stains, you should wear gauntlet gloves and cover your body from head to toe, including your face. You can also use an anti-stain mask if you have one. After applying any chemical, be careful as colors can cause permanent damage to your clothes and skin. Use a sponge brush instead of the glue roller to prevent leaving any residue on other surfaces.
Make sure there is no ignition source near the board, as the chemicals used can produce fumes that ignite easily if mixed with oxygen in the air. A butane cigarette lighter should not be used to check the flammability of these products, as it emits sparks which can be dangerous around these chemicals.
Conclusion
I hope this article has been beneficial for learning how to fill gaps between fence boards. Ensure all the precautions while performing the process. Thank you and have a nice day!
You can check it also –How to Cut Round Fence Posts.


