If you’re like many homeowners, your garage is an extension of your home that is used for various purposes. Whether you use it to store seasonal items or as a workshop, finishing the drywall can make the space more functional and look nicer. In this article, we will show you how to finish bottom of drywall in garage.
Finishing the bottom of drywall in your garage is a necessary step if you want to protect the walls from accidental damage. Follow these simple steps, and you will be done in no time!
Required Tools and Materials
- Drywall Knife
- Masking Tape
- Spackle and Paint Scraper
- Sand Paper (fine)
- Paint Bucket with Grid Pattern
- 120, 150, 220 Grit Sandpaper Rolls or Sheets
- Drop Cloth or Plastic Sheeting
- Paint Roller and Handle with Extension Pole if Needed.
A Step by Step Guide on How to Finish Bottom of Drywall in Garage
Step 1: Planning
Before you begin installing drywall, take a moment to think about how it is typically done. In most cases, each sheet runs from the top to the bottom of the wall.
To accomplish this without showing seams at the ceiling line, holes are cut in each piece for electrical outlets. If anything needs to be patched in the future, like filling nail holes with spackle or paint, this step makes it easy there aren’t any seams above these openings.
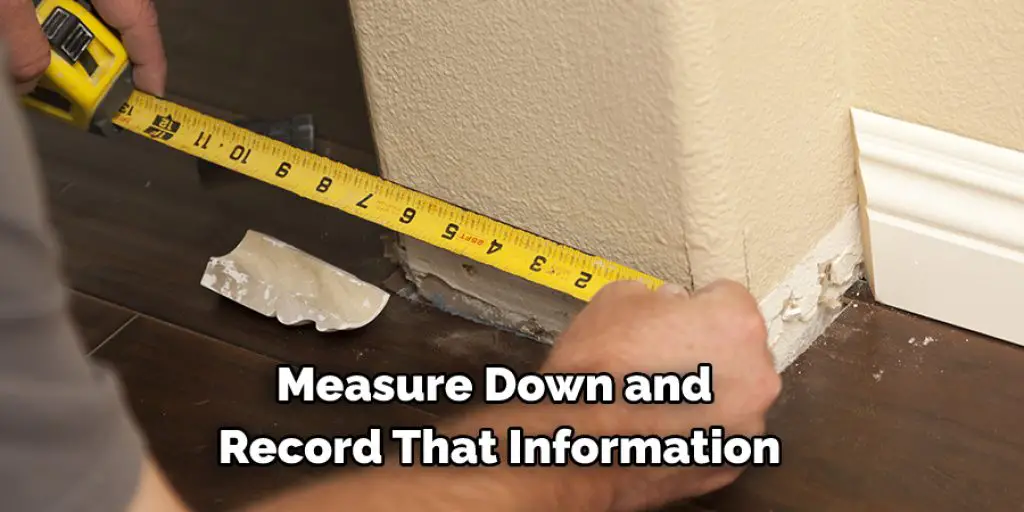
Use chalk lines or masking tape on your garage floor to mark where your garage floor outlets are located along an entire wall (or two opposite walls if you have a single-car garage). Once the outlets are located, you’ll need to determine how far down from the ceiling or joists your garage flooring will start.
This is usually pretty simple because most utility garage areas are tiled at the same level as the rest of the flooring. But if yours is not, measure down and record that information for future reference.
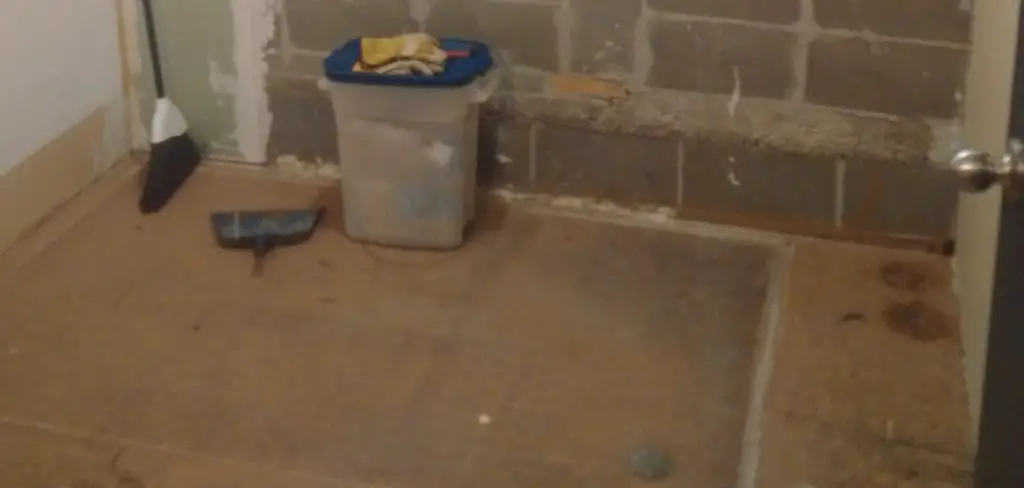
Step 2: Prepare the Area
The area where the drywall will be applied should not only be free from dirt and grime; it also needs to be painted with a suitable primer/sealer. In other words, you want it smooth and clean enough that the tape won’t stick to it when you apply it later.
And using a primer or sealer is necessary because most garage floors are untreated concrete. As a result, they often have an uneven surface, making them difficult to finish once tiled.
To prepare your floor for tiling, sweep up any debris, including old paint chips or fallen plaster pieces. You might need to scrape down chipped or peeling areas of residual paint before priming the entire floor, but scraping before making repairs can create more damage than it solves.
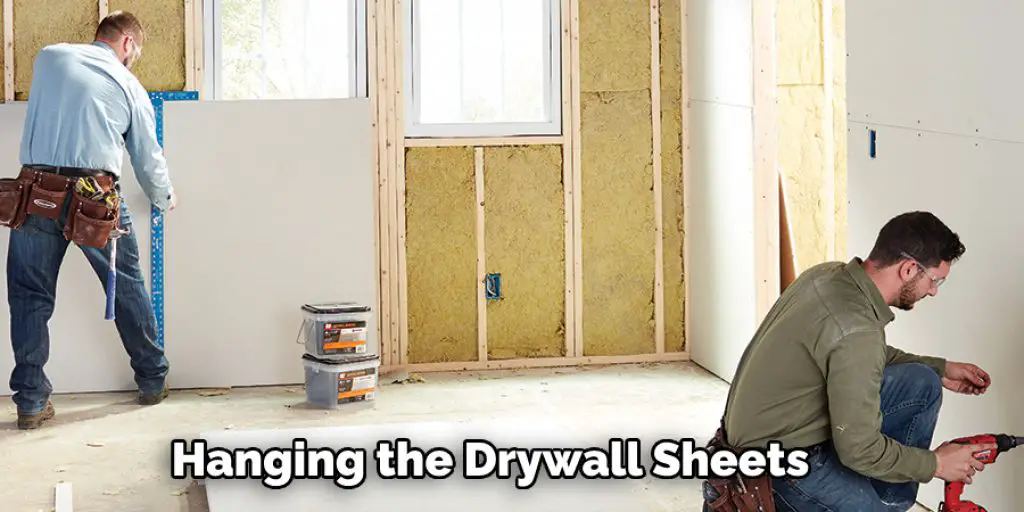
Step 3: Hanging the Drywall Sheets
Hanging drywall on a ceiling and walls is more challenging than the steps required to cover garage flooring. But it would help if you still had an expert hand with some essential tools to get this done. If your garage has wood or plaster ceilings, you’ll need to install simple cleats spaced no more than 16 inches apart for hanging sheets of drywall (4 feet).
Next, drive 3-inch screws through the cleat into at least two joists. If you’re looking up from below, that means on either side of each sheet; if you’re looking down from above, that means at both ends.
If you don’t have wood or plaster ceilings, you’ll need to attach furring strips. How far apart these are spaced depends on how thick the garage floor tiles are. Most are 5/8 inches thick, so if you’re laying 1/2-inch drywall with 1/4-inch spaces between boards, your furring strips should be no more than 12 inches apart.
Instead of screwing in each strip individually-which will hog up your weekend-use a drywall stapler and some wire brads to fasten them all in place in two passes. Then, place each staple at the center of every second furring strip in both directions – six staples in total per sheet in most. This is a crucial step in how to finish bottom of drywall in garage.
Step 4: Cut the Drywall Panels Where Necessary
Once your supplies arrive, lay out all the rolled sections in their proper places to ensure everything fits and plan where cuts should be made. Then use a manual drywall saw (the type with the safety, retractable blade) to cut each piece to size. Don’t forget that if you’re tiling over the existing wallboard, you’ll need to make corresponding cuts before installing the panels.
It’s also not unusual for garage flooring tiles to be wider than standard ceiling/wall panels; in these cases, it’s best to use one full length of tile and then install an alternate support board on one side (usually 16 inches out).
Step 5: Screwing the Drywall in Place
One rule to drywall should never be broken: It must rest on a secure substrate. So think about what the floor will look like once you’ve finished applying your joint tape and spreading a thin layer of setting-type joint compound over any imperfections.
This isn’t a room in your home with carpet or furniture to hide ripples. Many types of garage tile have exposed grout joints between them which can make small bumps or dips more noticeable since they’re not only at eye level but, well, right in front of your eyes! To avoid this problem, screw each sheet down securely from both sides using 1-inch pan head screws every 2 feet along the length and width of each sheet.
Now apply your joint tape by using either the drywall compound or the mesh-backed paper variety, which is much faster to install. How you go about doing this depends on personal preference.
Narrow taping knives are shorter if applying a thin coat of compound, but they also require more skill because it’s easy to leave small ridges along the length of joints between sheets of drywall.
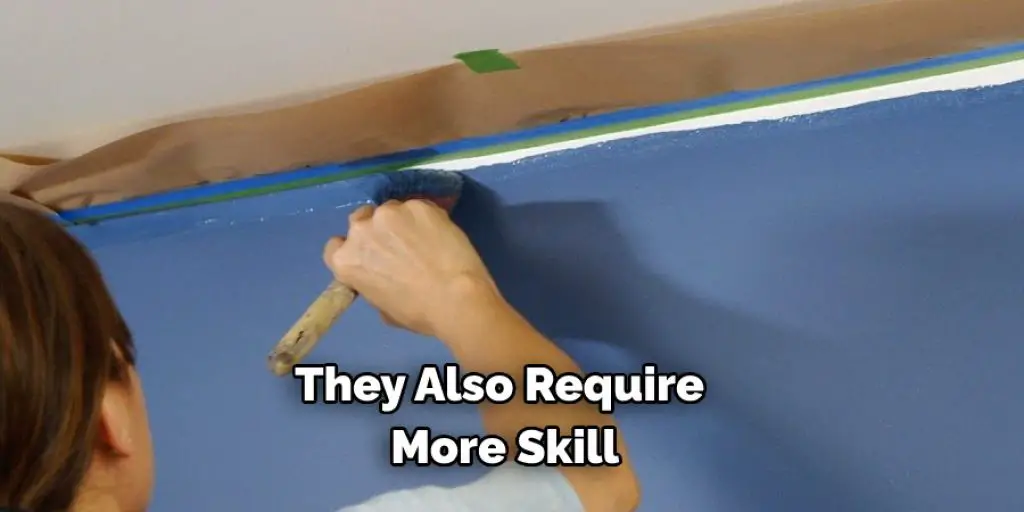
So for beginners practicing their first taping job, use a wider taping knife instead and roll out just enough compound to cover each line of tape after 2 minutes. Once done, start checking for air bubbles that need popping with your screwdriver handle or push pins just before setting time ends (that’s around 10 minutes).
Step 5: Completing the Drywall & Compound Tasks
Once you’ve set the first layer of tape, you should allow at least three hours before applying your second coat. How thin this layer needs to depend on how many tiles are on your garage floor. If it’s just one large expanse, then a 1/4-inch layer is fine.
If joints between tiles need to be filled along with other imperfections, then you’ll have to apply another coat using an inch-thick knife or trowel. How long you wait before sanding once applying the entire second coat depends on humidity levels and air temperature.
The ideal situation would be about 15 minutes after completing your final processing time, so the tops of the tiles are still slightly tacky. How you sand depends on whether or not you have a belt sander ready to go.
If so, move it back and forth over each tile’s surface with very light pressure. The key is to keep your sander moving at all times while applying even downward pressure. Better yet, use a random orbital palm sander with a 150-grit sanding pad if one is available. These steps will help in how to finish bottom of drywall in garage.

Precautions
- You need to be extremely careful when taping joints so you do not create cracks or openings. They are easier to patch before painting the drywall’s finished surface.
- Always use plastic drop cloths to prevent discoloration when working with a lime wash.
- Wear rubber gloves while using limewash to protect your skin from chemicals that can cause irritation or burning.
- Wear a respirator when laying fiberglass cloth to keep you from inhaling dust.
- Use a putty knife to smooth out any wrinkles in the fiberglass cloth.
- Do not paint the drywall until it has completely dried.
- Do not apply a lime wash as an undercoat before painting.
You Can Check It Out To Insulate and Drywall a Garage
Conclusion
We hope you have learned how to finish bottom of drywall in garage. Most of the time, the bottom is left open when a drywall seam is finished in a garage or basement. To complete this area, it helps to have a long enough board with a straight edge to fit behind the gypsum boards and plaster.
Look at your local home improvement center or carpet store if you don’t have any scrap wood for this job. They usually have lovely straight pieces that are just being thrown out because they’re too long for an installation. But, if you’re lucky, someone might give it to you!


