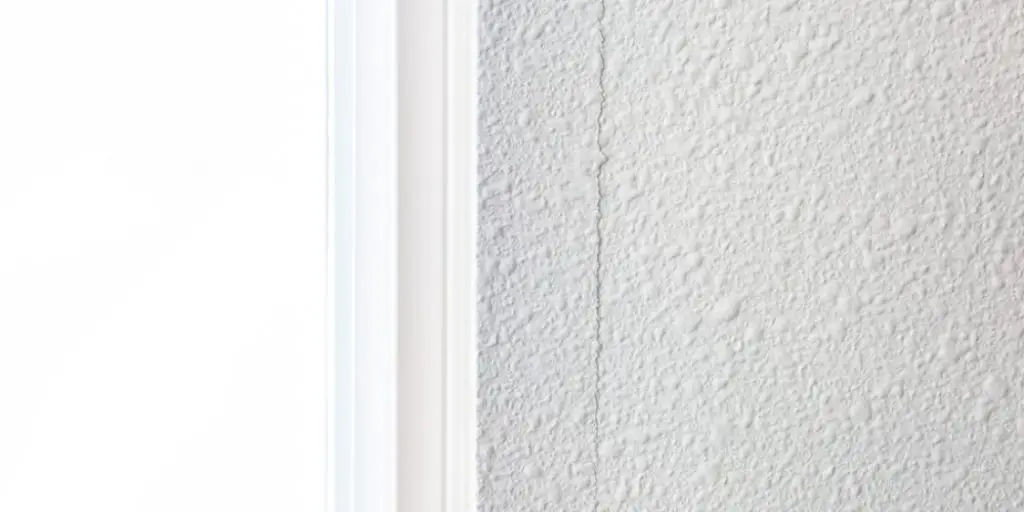
It’s no secret that drywall is one of the most commonly used construction materials in homes and businesses. This is because it’s inexpensive, easy to install, and can be painted to match any color scheme. However, if a drywall job isn’t done correctly, it can be very noticeable and look extremely ugly.
Don’t worry if you have a lousy drywall job in your home or business. There are plenty of methods that you can use to fix the problem and make it look new again. Most do-it-yourselfers will try using drywall compound since they have all of the tools on hand for this project already.
However, finding the right way to fix a lousy drywall job can be a little bit more complicated than using a drywall compound alone. The following article will teach you how to fix a bad drywall job that has been painted.
Materials You Need
- Drywall compound
- Sanding sponge
- Paint of choice
- Primer of choice
- Paint roller and pan
7 Steps to Follow on How to Fix a Bad Drywall Job That Has Been Painted
Step One : Mark the Drywall
First, you need to find something sharp, like an exact knife or a box cutter. Then, use your marker to outline the problem area on your wall. Next, make sure that you mark all of the adhesive borders between the drywall and the tape. This gives you a better idea of where to start when removing things from the wall.
If you cannot find something sharp enough to make a mark, you can use a screwdriver. Place the tip onto the drywall and slap it with your hand. Repeat this until you have created an indent to place your marker.
If you find yourself in a situation where you do not have any tools, use your fingers! Be sure to make significant, visible marks so that when you add the paint and primer over the top, which will create a much brighter outline than before, you can easily locate them.
Step Two : Prepare the Wall
It would help get rid of the adhesive border between the drywall and the tape. You can do this by hitting it with a hammer or placing something heavy on top of it. This should flatten out most of it to remove it more accessible.
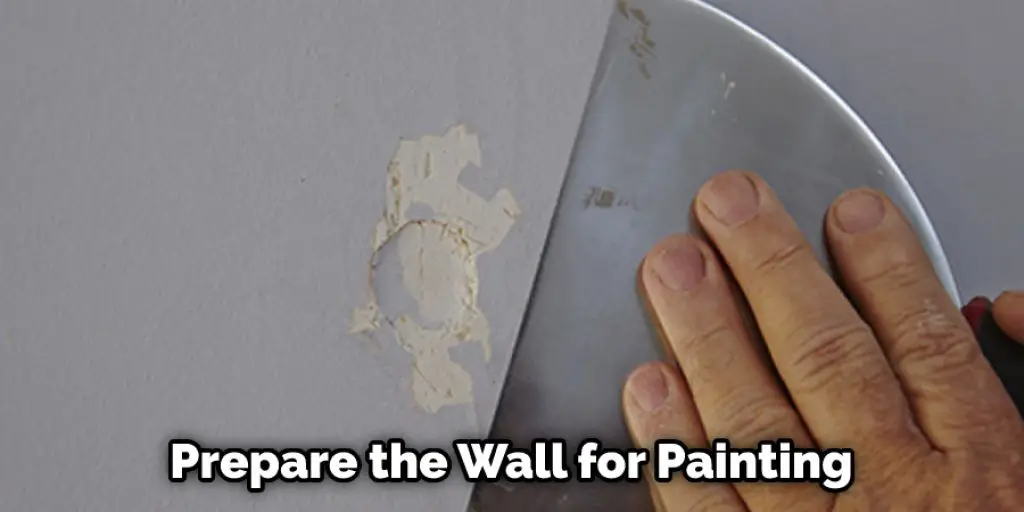
You want to be sure that when you create these lines, you do not accidentally create a new line on the drywall itself. While it may look as if your lines meet together, you want to ensure that all of your adhesive borders are flush with one another on the tape.
If you do your job correctly, it should look like one continuous line when the tape is removed in due time. However, you will find that in some rare cases, this is not possible to do with adhesive borders alone, and you must cut into the drywall itself. This will help in how to fix a bad drywall job that has been painted.
Step Three : Prime the Damaged Area
Now, you want to prime the damaged area. Take your primer and paint it on liberally to cover all of the adhesive borders. You can use a brush or a roller for this process. If you have any mistakes, repeat this step until there are no visible creases or lines.
If you find that the wall has stains or other blemishes, you may need to take your primer and paint outside of the damaged area. If you cannot cover all of it with just one coat, do not worry about it! You can let it dry for an hour or two and then re-prime that section again until you feel that it has been covered thoroughly.
It is essential that you not re-paint over the adhesive borders no matter how much primer you use. It can be challenging to cover them up, so make sure that at least one layer of primer on the wall covers them completely.
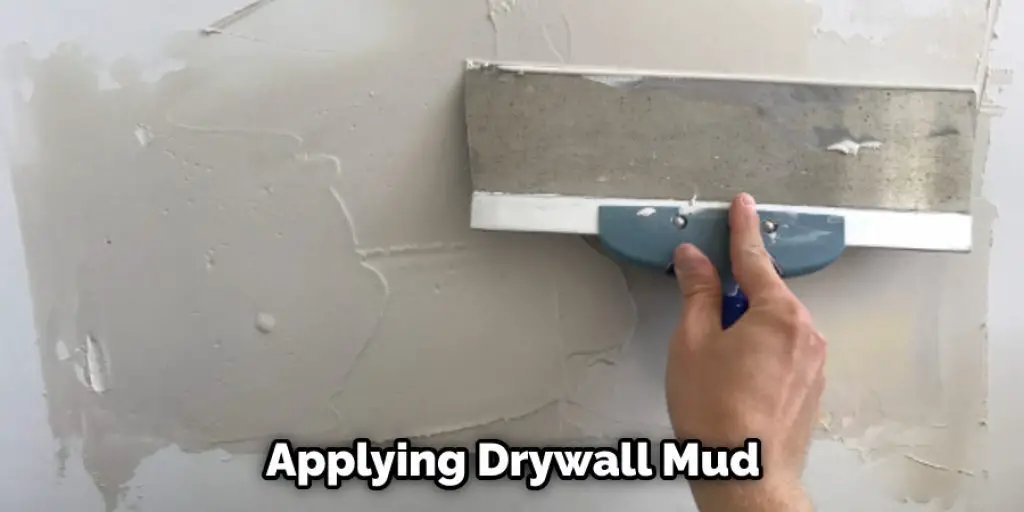
Step Four : Coat the Damaged Area With Drywall Joint Compound
Now, it is time to take your joint drywall compound and use the flat edge of the taping knife. Make sure you hold onto that end of it when you are applying the combination because it can be quite heavy and difficult to work with. Also, you want to use only a little bit of pressure on it; if you press too hard, it will create creases in the area, and you do not want that.
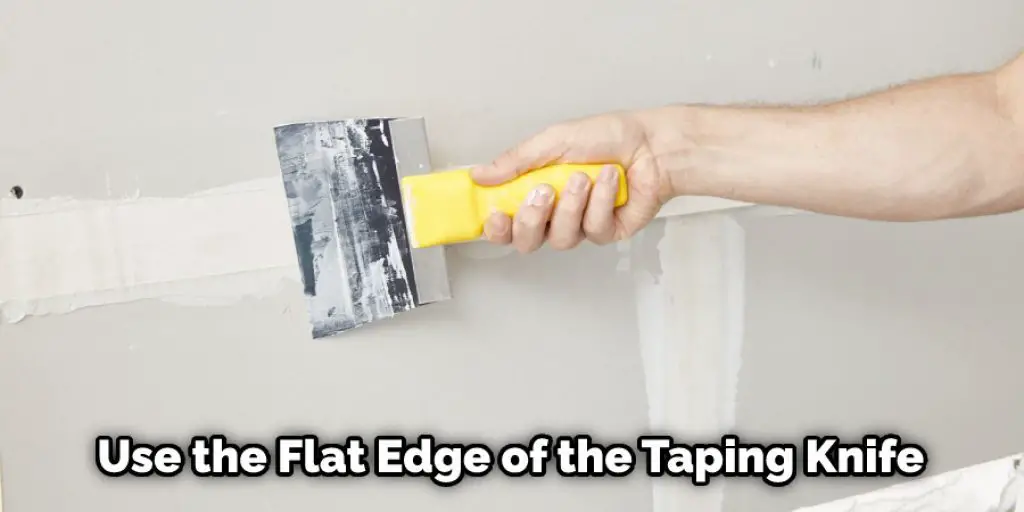
Just press enough to give yourself an excellent smooth surface, and then slowly pull it off until nothing remains on your joint drywall knife. Once these are done, take your taping knife with the beveled edge on it. Apply pressure onto the compound itself and run the taping knife up and down the damaged area until there are no visible creases or bumps.
If you find that this process is too complicated, you can also try using an airless paint sprayer. First, place a few layers onto the damaged area and then take your taping knife and run it over it to give yourself a nice smooth finish. These steps should help you learn how to fix a bad drywall job that has been painted.
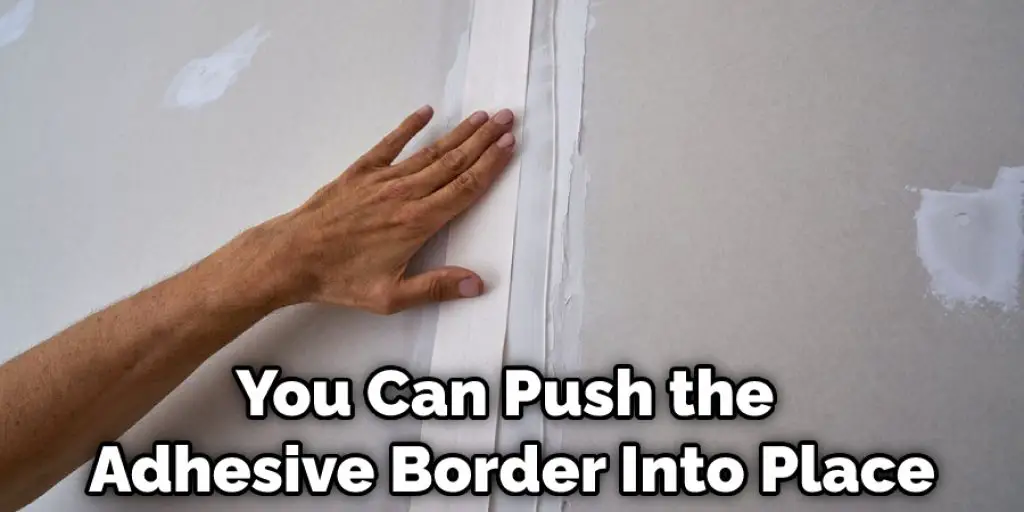
Step Five : Replace Nails and Adhesive Borders
Since you have just finished coating the damaged area, you are now ready to replace the nails and adhesive borders. Take your hammer or another nail-set that can punch into drywall. Make sure that it is shorter than the nails themselves because if you hit them with too much force, you will cause them to create a new hole in the drywall, which you will have to fill later.
Just place your hammer directly onto them and give it a light tap so that they go back into the walls themselves without breaking through. Once this is done, take your adhesive border pieces and your taping knife. Carefully run your taping knife over the adhesive borders, pressing enough to adhere them back into the wall.
If you find that one of them is not completely lying flat against the wall, take your taping knife with the beveled edge on it. It will allow you to apply pressure onto the damaged area itself so that you can push the adhesive border into place without making too many creases in it.
Step Six : Coat the Seams with Mud
Now it is time to apply some finishing touches. Take your mud and lightly coat the seams of the adhesive borders with it, but do not get any of it on the center of the wall itself. You will need that to patch holes in areas such as corners or spots where light fixtures were once attached.
If you find that the drywall mud is too light or runny, take your taping knife with a flat edge. Just use it to apply pressure onto the seams themselves so that they are not as visible and blend into the wall better. Then, take your taping knife again and lightly run it over the center of the damaged area as well.
Make sure that you do not apply too much pressure onto it, just enough to cover up any creases or bumps that may have been created during this process. All of this information will help you how to fix a bad drywall job that has been painted.
Step Seven : Apply Texture to the Wall
Now that the wall has been patched up, you will need to apply a texture over it. You can purchase drywall mud at any hardware store, or you can even make your own if you would like. Begin by taking some of the mud with your taping knife and applying it to the center of the wall.
Take your taping knife with the flat beveled edge on it and use it to push the mud into all of the crevices by applying pressure onto them with your fingers. Continue doing this until you cannot see any raised or rough areas left on your wall, or else they may show through your final coat of paint.
Once the center is done, go over to the damaged area and do the same thing. Again, apply pressure onto it, but make sure that you are not applying too much so that all of your hard work does not simply get pressed back into your wall with no visible texture at all.
Take your taping knife again and quickly run over the center of the damaged area to smooth and not have any indentations created from all of your work. This is the last step in the process, so now you are ready to paint. Just take your paintbrush or roller and go over it with your first coat of paint.
You can check it to Dispose of Drywall Mud
Conclusion
In some cases, the only option is to remove all paint and drywall. However, that can be a time-consuming process as well as an expensive one. So, if you have been left with this situation by previous contractors or work-men, follow these steps so you can fix the problem and get on with your life!
This article is copyrighted by Blogging Windows. You may not copy or reproduce any content of this article without permission from the author. We hope you enjoyed this article on how to fix a bad drywall job that has been painted.
Check it out also – How to Refinish a Deck That Has Been Painted


