Introduction
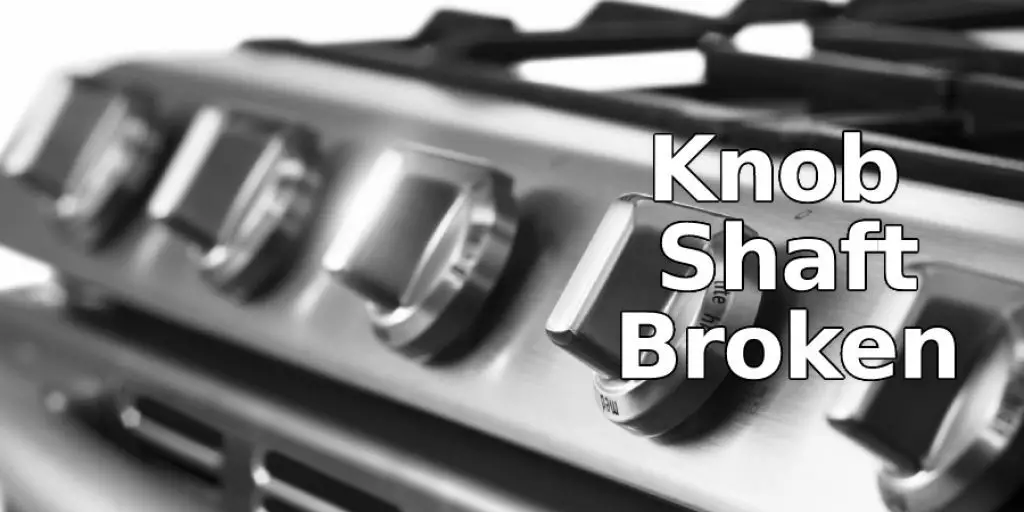
Usually, an oven knob is a small knob that controls the temperature of your oven and other functions. There may be more than one, but usually, there is only one you use often. The knob’s shaft connects to a metal disc located in the center of your oven (called a “thermostat,” usually) and turns it on and off by pressing the thermostat down or up.

Unfortunately, knobs tend to break due to regular wear and tear from opening or to close the door of your oven frequently – the constant motion loosens them inside their casing over time until they get so loose they fall off completely. In this article, I will discuss how to fix a broken oven knob shaft. So let us get started.
Why Is the Knob Shaft Broken?
The knob shaft breaks because of various reasons. Some of them are listed below:
- When someone tries to pull off the knob forcefully using all their strength, the knobs break.
- The oven door falls suddenly on a hard surface when one is not standing in front of it, causing the knob to break due to the forceful impact.
- If you or someone in your family has arthritis or carpal tunnel syndrome, you might end up pulling the oven door open with too much force causing the knob shaft to bend and snap inside.
- Any long-term wear and tear can cause stress on any metallic object, which may lead to snapping under pressure, even if the pressure is as low as that of human touch.
- Negligence from the user’s end, which leads to the wrong usage, also causes severe damage to oven knobs after time. For example, sometimes you tend to forget where your hand should be placed while opening an oven door, which pushes it with too much strength causing breakage.
A Detailed Stepwise Guide on How to Fix a Broken Oven Knob Shaft:
Step 1
Remove the oven door or drawer from its hinges by removing screws from the underside of the door or drawer. Next, remove any screws holding the plastic faceplate onto either side of the door opening where the knobs were attached, as well as those holding the entire control panel inside the drawer or door frame. When all four plates have been removed, set them aside somewhere they will not be lost.
Step 2
After removing all parts of the control panel, unplug one wire at a time from where it is attached to the oven’s circuit board until the entire faceplate has been removed. Next, unbolt two or more screws holding another panel in place inside where the knobs were located to obliterate it so you can access the oven knob shafts.
Step 3
Unscrew any screws that are holding either broken oven knob onto its shaft and pull both knobs off of their shafts entirely so you can replace them with new ones; set ready-to-use replacement knobs aside while you work on fixing worn-out shop ones.
Step 4
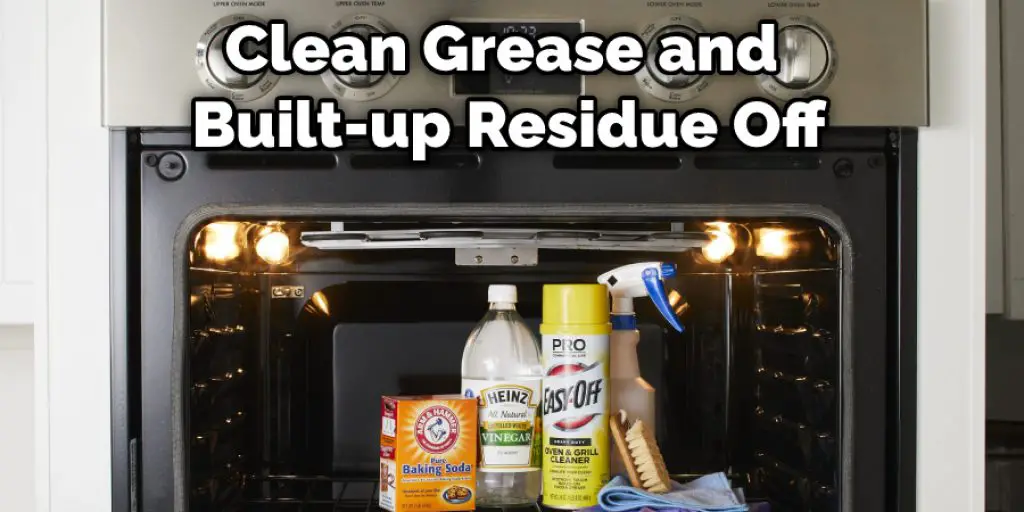
Clean grease and built-up residue off of both ends of each oven knob shaft with a dry cloth or paper towel.
Step 5
Slide new oven knobs over the shafts from where your newly cleaned grease and residue-free ends protrude from before until they click into place; lock them in by tightening screws on new knobs once they are inserted far enough to do so.
Step 6
Dial both of the replaced knobs down to “0,” then unplug one wire at a time from where it was attached to the circuit board and attach it back again in the same spot. Next, reassemble the control panel and oven door/drawer in the exact reverse order you used when dismantling them. Once everything is back in its place, reattach all screws that were removed during this process. Finally, once all oven components are back in place, reattach the oven door or drawer back to its hinges by screwing them securely.
Step 7
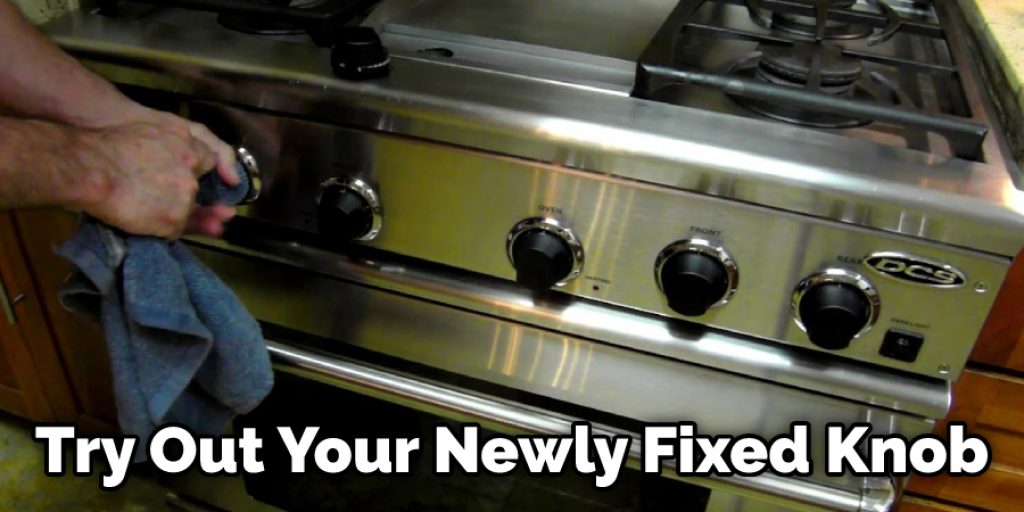
Finally, try out your newly fixed knob(s) to be sure that they work correctly by turning each one slowly just far enough so you can hear them engage then turn off. Once you have confirmed that both knobs turn smoothly, return the control panel’s faceplate and oven door/drawer’s plastic plates into their original places, then tighten screws for each one before placing any sellotape or stickers over them as is- do not replace screws if using sellotape.
Check it out to learn to put oven drawer back on track.
Precautions While Fixing a Broken Oven Knob Shaft
If you are still under warranty, contacting the company is best before attempting the repair. You risk voiding your warranty by tampering with it.
Don’t use any power tools for this project! The tiniest drill bit can break inside the shaft and render your oven completely useless. Also, take special care not to strip out the screw holes when taking off the knob mechanism.
Keep in mind that ovens come in various shapes and sizes depending on the model number, manufacturer, etc., so if you’re unsure about how yours is made or what size parts you’ll need, check your user manual or find another broken one of the same kind to take apart. That way, the assembly will be exact, and there won’t be any guesswork involved.
How Do You Fix an Electric Stove Knob?
When the knob on your oven breaks, you risk accidentally turning the heat up or down when cooking. Fixing it is easy with screwdrivers and needle-nose pliers. This saves money because you don’t have to call a maintenance specialist. Electric stove knobs are inexpensive (some can be found for under $10). They remove from their shaft by slowly pulling them off with your fingers.
Turn the broken knob counterclockwise until it comes loose; then pull it straight up to obliterate it. You can use this same method for any stove knob, including gas stoves (make sure not to turn on an electric stove without a working knob if there’s no circuit breaker). First, you’ll want to clean the shaft on your stovetop. There may be gunk stuck inside. Pull this off with needle-nose pliers, exposing a new knob’s threads for easy replacement.
Frequently Asked Questions
Can You Replace Oven Knobs?
Replacing oven knobs is not a difficult task. It just needs some time and patience.
First, you need to find the size of your current knobs by measuring them with a ruler or tape measure.
To make a new knob for your cabinet, you can either use your old ones as a guide, or find a similar-looking knob to use as a guide. You can also use an existing screw from your cabinet if you want to avoid buying screws altogether.
After cutting out the pattern, glue it onto the back of the new knob with contact cement (superglue). Then apply rubber pads on both sides of the base where they will rest on top of each other when installed into place and let dry overnight before installing them into place.
How Much Cost Need to Change Broken Oven Knobs?
Changing oven knobs can be very expensive, but you can replace them yourself with a little bit of time and patience.
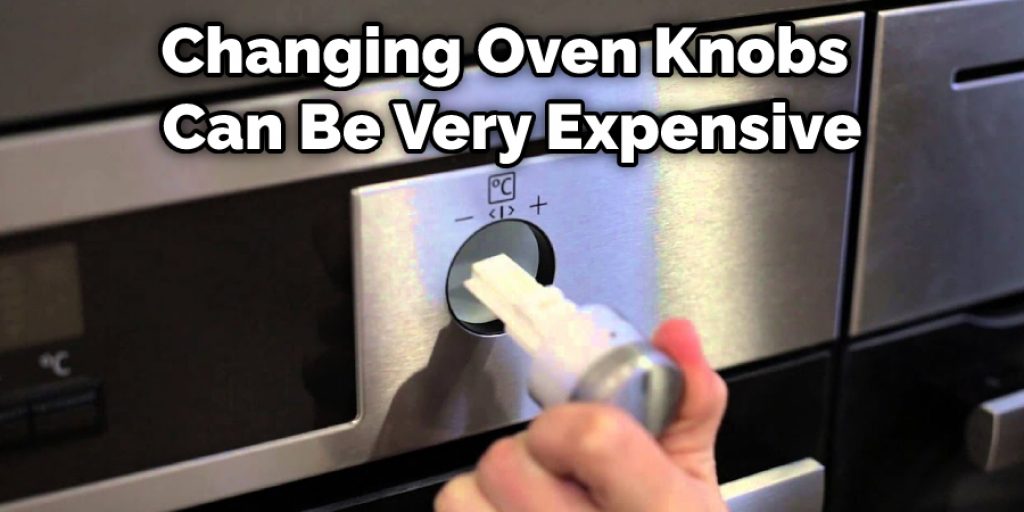
You will need to purchase the correct size of oven knob that fits your current oven and then buy some screws and a screwdriver. You will also need a drill if you do not have one. The cost of this project is usually around $10-20 dollars.
Is It Safe to Change a Broken Oven Knob Shaft?
Yes, it is safe to change a broken oven knob shaft. However, this will depend on the oven type you have and the available tools.
If your oven has an electric oven motor, then changing the knob shaft should be easy as you can do it yourself without any help from anyone else.
However, if your oven has a gas or coil burner system, you might need professional help because these systems are more complicated than an electric one.
How Do You Put an Oven Knob Back on?
- Put the oven on broil and put the knob up into the slot.
- Turn off the oven, then turn it back on to a normal temperature setting (either bake or roast).
- Place an oven mitt over your hand and place the knob back in its original position by turning it counter-clockwise with your other hand while keeping pressure on the knob with your thumb until it clicks into place.
Conclusion
I hope this article has been beneficial for learning how to fix a broken oven knob shaft. Ensure all the precautions while performing the process. Thank you and have a nice day!


