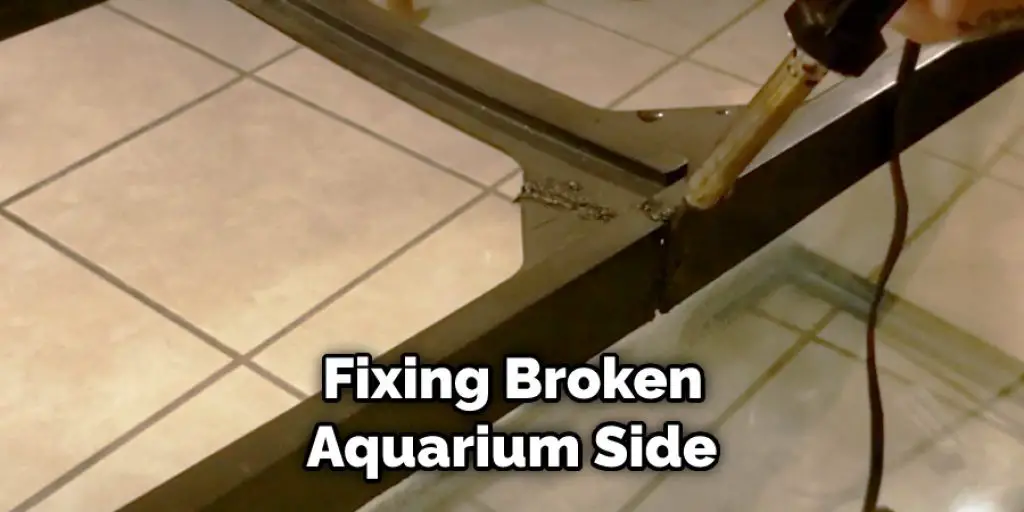
When you have a broken aquarium, it’s easy to think that you must go out and purchase a new one. However, what if I told you that there was a way to fix the side of your tank without having to spend hundreds of dollars on a new one? Well, there is! In this blog post, we will discuss how to fix a cracked aquarium side.

Many people who have bought an aquarium over the years end up with several tanks in their homes because they are constantly breaking them for various reasons. If you’re looking for an alternative option other than buying another tank or just throwing away your old cracked one, then read on!
Reason to Crack An Aquarium Side
The most common way to crack an aquarium is from the weight of people leaning on it. However, this can also happen from trapping air between objects and the side of the tank. Either way, this ends up pushing down on the glass until it eventually cracks or gives out. Another reason why your aquarium side may have broken is if you didn’t use silicone when assembling the tank. If there is not any sealant used when assembling the aquarium, it can leave tiny gaps, which will make your tank more likely to crack.
Steps on How to Fix a Cracked Aquarium Side
Step 1 – Safety Concerns
Before you begin fixing your cracked or broken aquarium side, be sure that you take proper safety precautions. This is especially important if you have a large aquarium that has been broken from the weight of people leaning on it. Place some towels down on the floor to ensure no one slips and falls as they walk near the tank.
Make sure your doors are closed as well, so no one runs into them with their elbow or arm. Before you begin working on the aquarium, ensure that your apron is properly secured around your waist so it doesn’t fall and get caught in the tank.
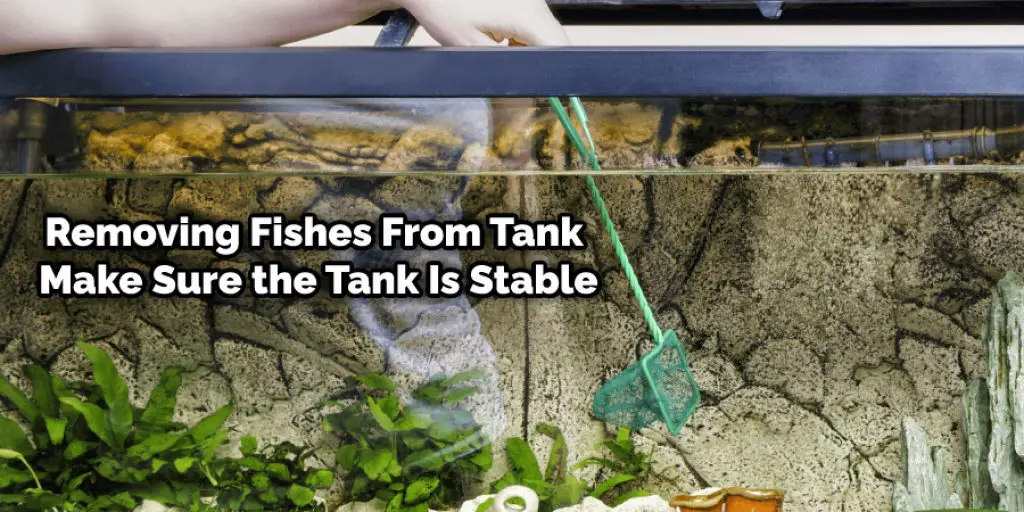
Step 2 – Remove Fish from Tank
If you have fish inside of your tank, remove them carefully to avoid injuries or death to the fish. Make sure you leave an inch or two of water in the bottom of the tank for them to be able to breathe. If you do not have a fishnet, you can also use a bucket or other container and scoop them out with your hands (be sure to wear rubber gloves).
Step 3 – Make Sure It Is Safe
After removing all of the fish from the tank, check to make sure that the tank is stable. If it appears as if you still have a problem with the side of your aquarium being cracked, then be sure to secure it with rope or tape so that it isn’t going anywhere. If you have an older aquarium that was just recently cracked from leaning on it from people walking past or around it, you may be able to attach the two pieces back together. If this is not possible, then read on to see how you can still fix your aquarium without replacing it entirely.
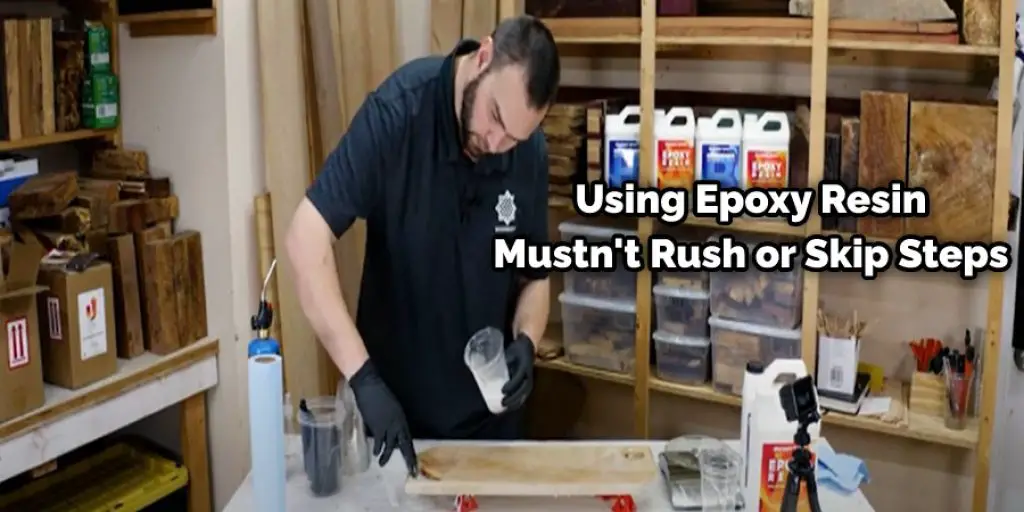
Step 4 – Take Your Time
When using epoxy resin, you mustn’t rush or skip steps. This will end up making your tank unusable and needing to be redone. It is better to take your time doing things properly than rushing through them than having to do it over again. The most important thing that you need to do is read the packaging for your epoxy resin. Make sure that you get all of the proper instructions printed on there so that you get the best result possible. It is also a good idea to have another person there with you so they can read the instructions as well and assist you if necessary.
Step 5 – Mix Together
Once you have your epoxy resin, grab a mixing container and pour one part of the resin into the container. Then, use a toothpick or small paint stick to get some of the resin out of the container and mix it with the other part. Do this repeatedly until you have them combined completely. Make sure that the mixture is smooth, without any lumps or bumps in it, so your tank ends up being properly sealed.
Step 6 – Apply Epoxy Resin
After you have mixed with the epoxy resin, grab some small disposable paintbrushes and begin applying the mixture to the broken side of the aquarium. Make sure that you cover every part of the crack so no water can get through it. If any small pieces do not adhere to the tank, wrap them with masking tape until they do.
Step 7 – Let Dry
Let the epoxy resin dry for 24 hours before trying to put fish back inside of it. You can speed up this process by placing a small fan in front of the crack so that it will start drying out quickly. Make sure you secure the aquarium down to where it doesn’t fall apart again when the fan is turned on by using ropes, nails, or any other object that will hold it in place.
You Can Check It Out to Get Rid of Sand Cloud in Aquarium.
Warnings
- If you do not properly mix the two parts of the epoxy resin together, it will not harden, and your tank will be ruined.
- If you do not read over the instructions for using epoxy resin, you may end up using too much of it or too little, making the repair process difficult.
- Be sure to let it sit for 24 hours before adding any fish back inside of it. If you do not, there is a chance that they could die because of the chemical reaction with the materials used in making your aquarium.
- If you do not properly secure the two parts together after repairing, water will leak through and may ruin your floor or carpeting underneath it.
Frequently Asked Questions
Can You Fix a Crack in the Side of a Fish Tank?
There are many ways to fix a crack in the side of a fish tank. The most common method is to place some aquarium silicone sealant over the crack and allow it to dry for 24 hours before adding water.
How Do You Replace the Side Glass in an Aquarium?
To replace the side glass in an aquarium, you will need to unscrew the top of the aquarium. Once you have removed it, take out the old glass and place it on a flat surface.
Next, unscrew all the bolts from the frame that holds your aquarium together.
Once all of these screws are removed, use a utility knife to cut off any remaining bolts or pieces of glass that are still attached to your frame. Then remove any silicone that is still adhered to your frame with a solvent like acetone or nail polish remover.
Lastly, screw in your new side glass into place by placing it inside of one corner first and then pushing down so that each corner has contact with each other and tighten them up until they are tight enough for water tightness.
How Do You Fix a Crack in an Acrylic Fish Tank?
The most common type of acrylic fish tank crack is a hairline crack. This is usually caused by stress or temperature change or when the aquarium is moved.
If your aquarium has a hairline crack, you can apply clear nail polish to seal it. You can also add silicone caulk to seal the crack and use duct tape to hold it in place while the nail polish cures.
If your tank has multiple cracks, or if you cannot fix them with the above methods, then you will need to get professional help from an aquarium repair company.
Will a Scratched Aquarium Break?
It is not recommended to have a scratched aquarium.
A scratched aquarium will cause problems with the clarity of the water, so it is not recommended to have one.
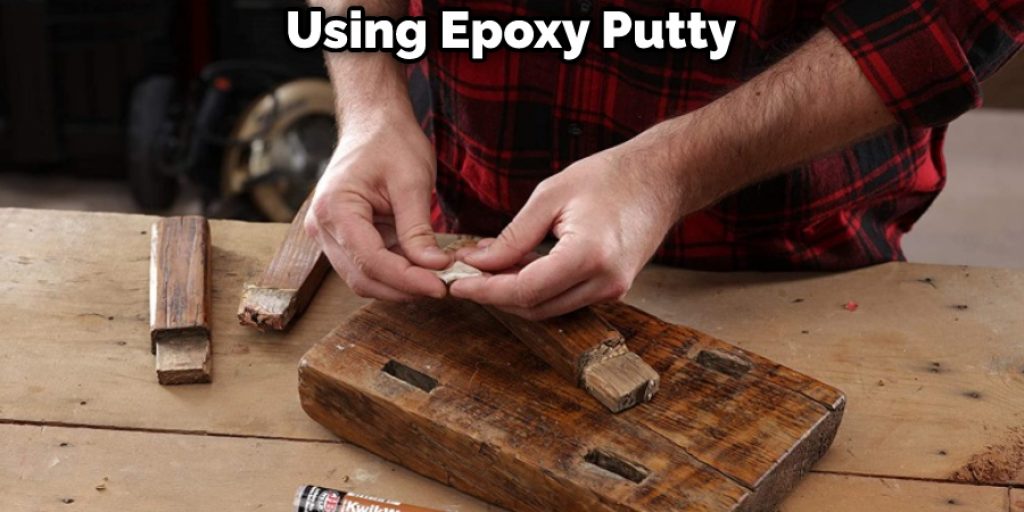
How Can You Fix a Cracked Fish Tank?
Cracked fish tanks can be fixed by using epoxy putty. You will need to apply a layer of epoxy putty on the crack and let it dry for about an hour before you re-attach the tank.
Conclusion
It is possible how to fix a cracked aquarium side, but it can be difficult. The most important thing to do is make sure that you have the right materials and know what you are doing before attempting this project on your own. If you find yourself in need of help or advice with fixing a crack in your fish tank, contact us for more information about how we can assist!
You may read it also – How to Plant Carpet Seeds in an Established Aquarium


