I’m here today to share with you my expertise on how to fix a cracked bathtub floor. I’ve gathered some helpful tips that will ensure your bathtub is as good as new in no time! When fixing the crack, you must understand what type of material your tub is made out of. If you have a cast-iron tub, the best way to fix the crack would be by using an epoxy resin and not using any metal parts because they can cause rusting.
A fiberglass tub should be fixed with hydraulic cement, which does not contain any metal particles or fibers which can lead to corrosion.
Types of Bathtub Floor Crack
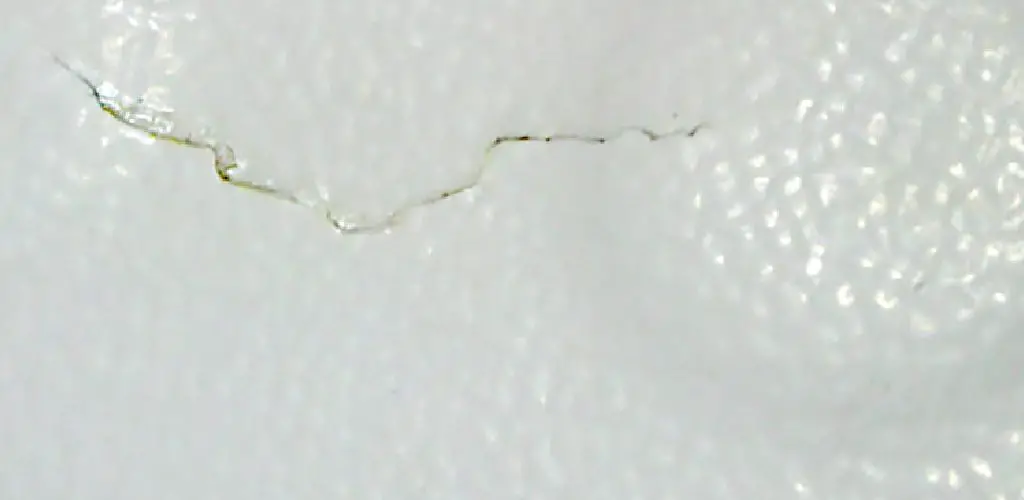
There are three types of bathtub floor crack: hairline, spider web, and slab. Hairline cracks are the most common type of crack and are caused by stress on the tub’s surface. Spider web cracks are also caused by stress, but they extend further into the surface of the tub. Finally, slab cracks are the most severe type of crack and indicate that the tub is about to break.
Supplies You Might Need
- Epoxy resin or hydraulic cement
- Primer
- Sandpaper
- Safety gear
- Putty knife
- Clamps
- Drill
- Jigsaw
A Detailed Guide on How to Fix Cracked Bathtub Floor
Once you have the supplies, you can begin fixing the floor. The following steps will guide you through the process:
Step 1: Determine
The first step is to determine where the crack is and how big it is. If the crack is small, you may be able to fix it with epoxy resin or hydraulic cement. If the crack is large, you will need a putty knife to fill in the crack and then let it dry.
Step 2: Surface Preparation
If the crack is more than 1/8 inch wide, use a drill to widen it. Be sure to wear safety gear while doing this. You can also use a jigsaw to cut away any loose material around the crack.
Step 3: Clean the Area
Before you do anything, make sure to clean the area around the crack. This will help ensure that the adhesive or cement will stick properly. Next, clean the area and remove any debris. Clean the area with a degreaser if there is any grease or oil on the surface.

Step 4: Prepare Adhesive
Mix up your adhesive according to its manufacturer’s instructions. It is best to mix small amounts because epoxy resin or hydraulic cement cures fast. If you use epoxy resin, you will need one part hardener and two parts resin. You can also purchase epoxy pre-mixed in bottles with a 1:1 ratio (hardener/resin). Hydraulic cement needs about 1 gallon of water for each bag of powder. Mix until completely smooth – do not leave any lumps or clumps un-blended.
Step 5: Apply Adhesive
Apply the adhesive to the crack using a putty knife. Be sure to fill in the entire crack and then spread the adhesive around it. If you use hydraulic cement, pour the water into the hole, then add the powder. Blend until there are no clumps.
Step 6: Clamp and Wait
Use clamps to hold the crack together while it sets. Please make sure they are in place securely and that the adhesive has a chance to cure completely. Hydraulic cement will take about 5-10 minutes before it is healed completely, whereas epoxy resin may take 24 hours.
Once it is scorched, you can sand it down and paint it if necessary.
Step 7: Sand
Once it is dried, use a sander and sand the epoxy’s surface carefully; this will smooth out bumps in your surface. Sanding block will smooth out all sharp ridges left from your clamping process or apply your adhesive. You can also use wet/dry sandpaper for this step but be sure not to make the surface too smooth because you will need some traction when climbing out of your bathtub. A superfine grit (220) is best for this step.
Step 8: Apply Primer
If you are painting the area, apply primer to the surface. After thoroughly sanding the floor, wipe away any dust with a damp rag. Use a paint roller or spray can for this step and let it dry completely. Be sure that there is no sanding residue on the surface before priming it.
If you are using oil-based primer or paint, make sure that all of your priming supplies (rollers/paint) are made with oil-based products; otherwise, they will not stick properly. This step will help in how to fix a cracked bathtub floor.
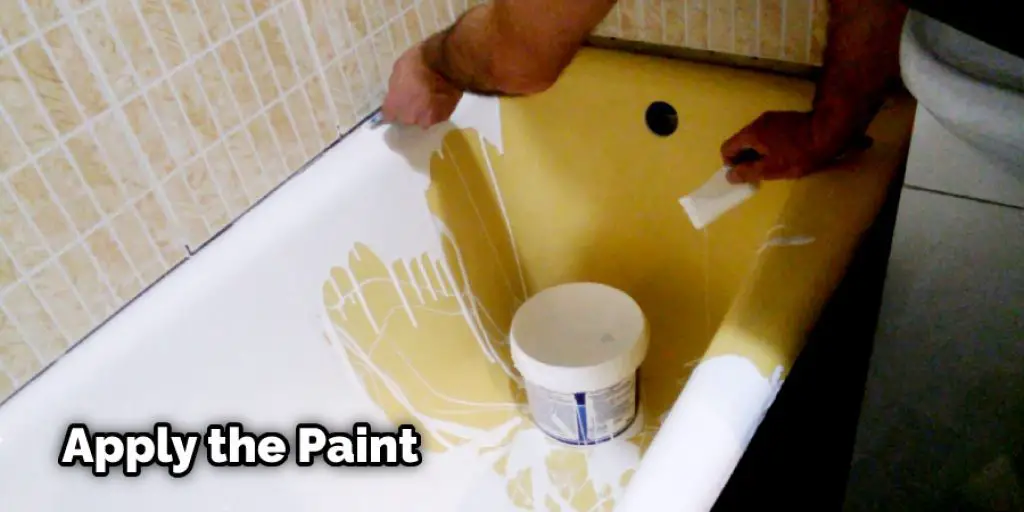
Step 9: Apply Paint
Once the primer has dried, apply the paint of your choice. Latex paint is recommended to create better traction on wet surfaces; however, you can use water-based paint if that works better for you. A little bit of warning though, latex may cause the crack to expand over time as it reacts with the clay underneath.
You can prevent that by using an epoxy or even some masonry sealant on top of the crack first before applying your first coat of paint – make sure they are compatible before doing so.
Step 10: Finish
Once the paint is dry, your bathtub floor should be good as new – be careful not to slip!
If you have followed these steps correctly, your bathtub floor should be repaired and will be ready for use again.
Tips and Warnings
Tips
- Be sure to use compatible products when working with epoxy and primer/paint.
- Do not sand the surface too smooth; you will need some traction when climbing out of your bathtub.
- If latex paint is used, it may cause the crack to expand over time.
- Use a super fine grit (220) when sanding.
- Apply primer to the surface before painting.
- If the crack is small and does not go through the entire thickness of the tub, you can fix it with epoxy.
- If the crack is larger or goes all the way through the tub, you will need to replace it.
Warnings
- If you are using a product that emits fumes, be sure to use a fan to ventilate the area.
- Do not get the epoxy on your skin or in your eyes.
- Wear gloves and goggles when working with the epoxy.
- Allow the epoxy to dry completely before getting into the bathtub.
You Can Check It Out to Turn Off Bathtub Water in Apartment
Will Flex Seal Fix a Cracked Bathtub Floor?
If you have a cracked bathtub floor, Flex Seal may be the answer to your problem. Flex Seal is a sealant that can be used on various surfaces, including concrete, metal, and plastic. It is easy to apply and dries quickly.
To fix a cracked bathtub floor with Flex Seal, clean the crack’s surface with alcohol or acetone. Then, apply Flex Seal to the crack using a brush or sprayer. Let the sealant dry for 24 hours before using the bathtub.

Flex Seal is not the only option for fixing a cracked bathtub floor. You could also use epoxy putty or silicone caulk. Epoxy putty is easy to apply, but it must dry for at least 24 hours before use. Silicone caulk is an affordable option that can last for several years if applied correctly.
Do Acrylic Bathtubs Crack?
Yes, acrylic bathtubs can crack. In fact, any bathtub can potentially crack, depending on the material it is made from and how it is used. Bathtubs can crack for a variety of reasons, such as temperature changes, settling or shifting in the foundation of your home, or even impact from something striking it.
Conclusion
Go through the steps on how to fix a cracked bathtub floor. You don’t have to replace your whole bathtub, but it may be time for a new floor. If you feel lucky or want the job done right the first time around, hire an expert contractor to do this work. They will know how much adhesive and cement are needed so that there’s no chance of another crack in the future.


