Whether your antique cabinet door is warped from too much humidity or old age, don’t fret – there’s a fix for that. With a few simple tools and some patience, you can have your cabinet door looking as good as new in no time at all. This blog post will show you how to fix a warped antique cabinet door using nothing but wood glue and clamps. Let’s get started!
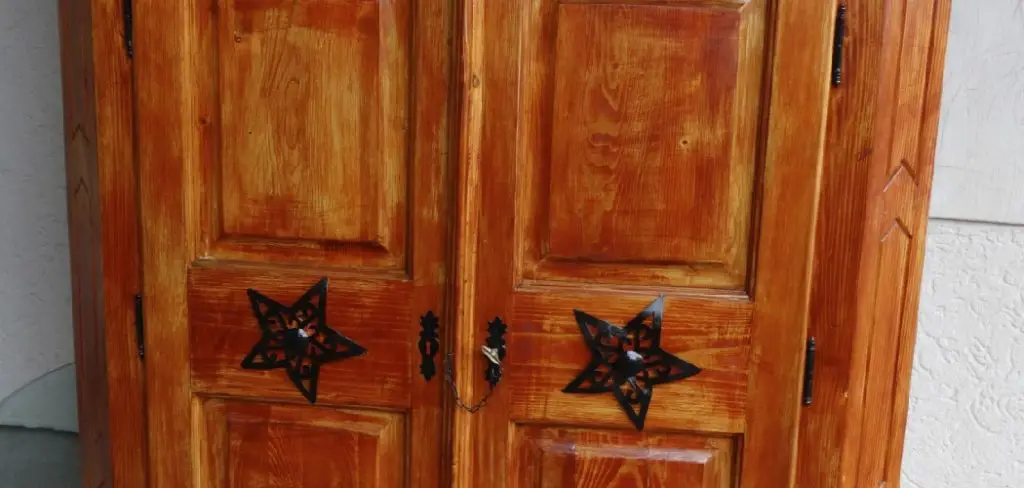
A warped antique cabinet door can be caused by several factors, such as humidity and age. If your cabinet door is warped, don’t worry – there’s a fix for that.
Things You’ll Need
- Straight edge
- Cabinet door clamp
- Sawhorses
- Sandpaper (100, 220, and 320 grits)
- Tack cloth
- Stain or paint
- Clear finish (varnish, polyurethane, shellac)
- Clothespins
- Rubber bands
- Paper towels
Optional Materials:
- Router with a round-over bit
- Pattern bit
How to Fix a Warped Antique Cabinet Door Step by Step
Step 1: Remove the Door:
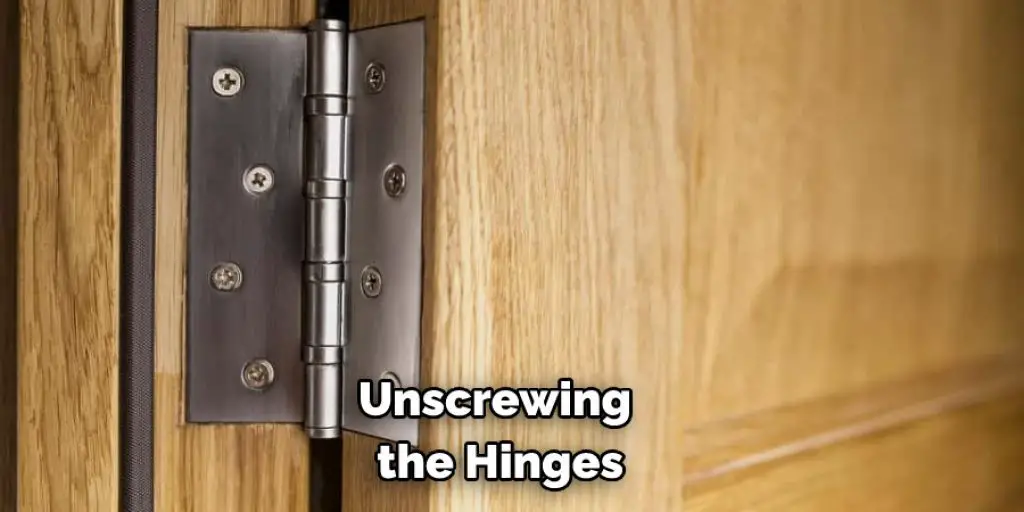
Take off the cabinet door by removing the hinges. Before you do so, note how many screws are holding each hinge to the cabinet face. If your hinges have two screws for each hinge, remove them one at a time.
If they have three screws or more, remove all of them at once. The best way to remove the door is by unscrewing the hinges. If your hinges have two screws for each hinge, remove them one at a time. If they have three screws or more, remove all of them at once.
Before removing the cabinet door, please take a picture of how the hinges are attached so you can put them back in the same place.
Step 2: Cut Out the Warped Area
After the initial sanding wipes down, a sharp utility knife is used to cut out the warped area. Using a circular saw will leave ridges that need to be dealt with later on. Cut just outside the perimeter of the warp or cup in multiple steps working your way into it, then clean up any rough areas leftover with light sanding. After the warping has been cut out, you will want to start working on the replacement.
Step 3: Prepare the Wooden Strip
is and cut a thin strip of wood at least 3/4″ wide about an inch longer than the warp. The width measurement will likely be different from door to door, so make sure you measure first before cutting any strips. For example if the warp is 1/2″ wide, cut a strip of wood that is at least 1-1/4″ tall. If the warp is only 1/4″ wide, you can get away with cutting a strip that is 3/4″ tall.
The wood strip should be tall enough so when it’s glued over the warp area, there will still be about an inch sticking up above it. This will be how much of the door needs to be sanded down for the door to close properly once it’s put back together. Cut the wood strip out. Sand it down with the sandpaper until it’s nice and smooth.
Once you’re done sanding, put some of the Gorilla Glue or E6000 onto the underside of the wood strip. Carefully place the wood strip on top of the warp area so that it is centered as much as possible. Squeeze it down well to make sure it makes good contact with the door.
Step 4: Sand the Door:
Use 100-grit sandpaper and a 1/4 sheet palm sander to even out the warped area. Run the sander over the door until it’s smooth, shaking any dust off once in a while. The other sandpaper you can use is 220-grit. Again, use it for sanding the door until it’s smooth.
When using 100-grit or 220-grit sandpaper, always use sand in the same direction as the wood grain. This will help to minimize sanding marks and give you a smooth finish. To avoid excess sawdust in your work area, always use a vacuum attachment when you are using your saw. This will help to collect the debris from your work area as you cut.
To start, sand the warped area until it’s even with the rest of the door. Make sure to shake any dust off regularly. Then, use higher grit sandpaper (220-grit) for sanding the door until it’s smooth.
You Can Also Check It Out to Fix an Overloaded Generator

Step 5: Fix the Jambs and Flatten the Bowed Wooden Cabinet Door:
After the cabinet has dried, if you notice that the jambs are also warped or damaged, then you will need to repeat steps 2 through 5 on how to repair a warped antique cabinet door and fix loose hinges on the jambs.
Once the cabinet door and jambs have dried, you will need to take a straight edge and try to find high and low spots. If there are any high spots, then you will simply sand them down until they level out with the rest of the flat surface on the cabinet door or jambs.
Step 6: Fill Small Holes, Cracks, and Pencil Marks with Wood Filler:
If you notice any small holes or cracks on the cabinet door or jambs after removing all of the hinges, you’ll need to take some wood filler and fill them in. Let the wood filler dry according to the label (some brands are faster than others), and sand down the filler until it’s flush with the cabinet door.
Step 7: Refinish the Cabinet Door:
If you did not refinish or paint your cabinet door before you started this project, then now is the time to do so. Give the whole cabinet door a coat of primer and two coats of paint and let it dry according to how the label on the can of paint specifies.
Step 8: Replace the Door:
Once your cabinet door has dried, replace the hinges and reattach them to the jambs. If there are any screws that you used to temporarily fasten the hinges back on during step 3, then replace those as well. If you want to know more about how to fix a warped antique cabinet door, keep reading.
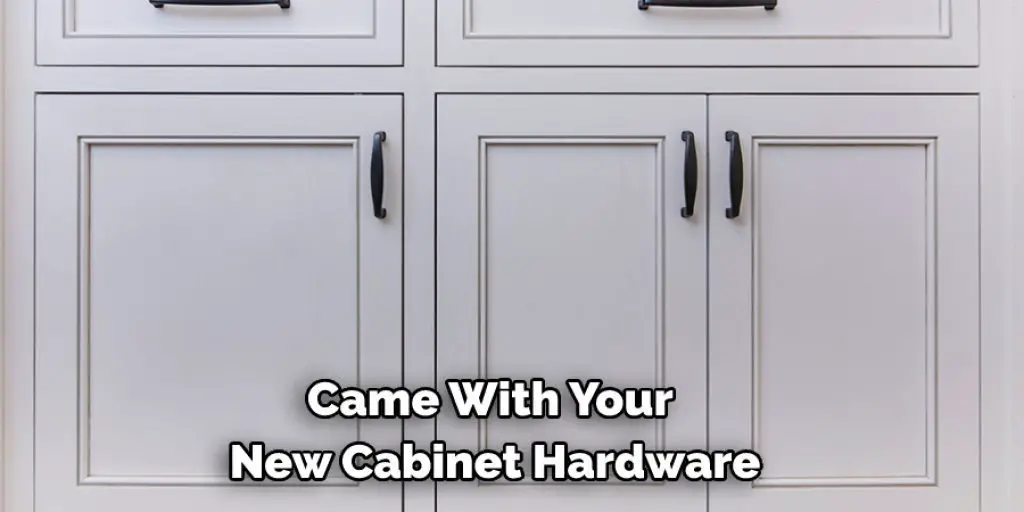
Step 9: Reattach the Door Knob or Pull:
Lastly, take your new or refurbished antique cabinet doorknob or pull that you purchased and place it back onto the cabinet where it used to be. Screw-in any fasteners that came with your new cabinet hardware and stood back and admire how much better your antique piece looks now!
By following these simple steps, you will easily fix a warped antique cabinet door without ruining the integrity of the cabinet itself.
What Causes Cabinet Doors to Wrap
1. Excessive Moisture:
One of the most common causes of cabinet doors wrapping is excessive moisture. When the door is exposed to too much moisture, it can warp and twist, which can cause the door to become difficult to open and close.
2. Incorrectly Installed Door Hinges:
Hinges are often the culprits of cabinet door warping. If one or more hinges are installed incorrectly, the weight that is supposed to be distributed evenly over all three hinges will end up being placed on only one or two at a time, which can cause problems with how the cabinet door operates.
3. Excessive Heat:
Another common cause of cabinet doors wrapping is exposure to excessive heat. When the door is subjected to high temperatures, it can warp and distort, which can lead to problems with opening and closing.
4. Stripped Screws:
Another common problem that can lead to cabinet doors wrapping is stripped screws. When the screws become loose, they can no longer hold the door in place, which can cause it to warp and twist.
Keep reading for more information about how to fix a warped antique cabinet door.
Tips and Warning
Tip:
If you’re having trouble getting the door to close properly, try using a humidifier in the room to add some moisture to the air. This can help to prevent the wood from drying out and warping again, saving you the trouble of having to fix it again in the future.
When a cabinet door is swollen with humidity, it cannot contract back down to its sealed position. If this happens, the only way to resolve the issue is re-hanging the door with new hardware or replace it entirely.
Warnings:
- Be very careful when using any kind of wood glue, as it can easily seep through the cracks and damage the finish on the cabinet door.
- If you’re not comfortable with doing this repair yourself, it might be best to call in a professional to help.
- You can try using a humidifier to put some moisture into the vacant space.
- Place a small amount of wood glue on the warped area and press firmly in place.
- If you’re having trouble getting the door to close properly, try using a humidifier in the room to add some moisture to the air. This can help prevent the wood from drying out and warping again, saving you the trouble of fixing it again in the future.
- If you are looking to get this type of repair completed by a professional, look for cabinet refinish shops near your home. They’ll have experience fixing warped doors quickly and accurately, so you don’t have to worry about how it will look.
- If you are having trouble with the door being swollen, you can try placing a humidifier in the room to add some moisture into the air. This can help to prevent further warping by allowing for quick contraction back into its sealed position.
Frequently Asked Question
Is It Possible to Get Warped Again if I Fix It, or Will the Problem Go Away Once and For All?
The problem can go away once and for all, but it is also possible to come back again if you don’t take proper care of the cabinet door. Make sure that you fix it correctly and use a sealant or wood glue to help keep it in place.
What Are the Best Tools to Use for Fixing a Warped Antique Cabinet Door?
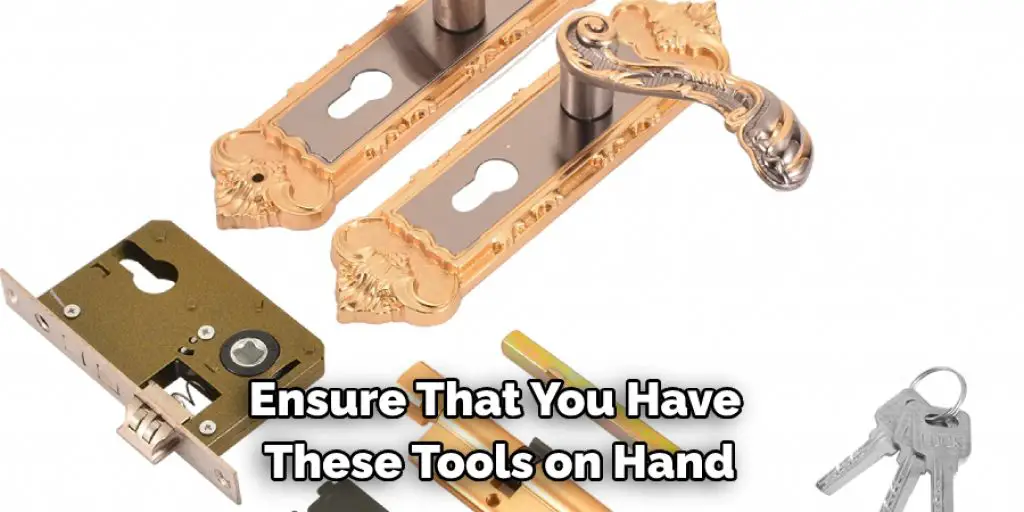
The best tools to fix a warped antique cabinet door are a T-bar clamp, wood glue, and a sealant. Ensure that you have these tools on hand before you start repairing the door.
Conclusion
The last thing you want is to have a warped antique door in your home. But if the only option is replacing it, we recommend using Gorilla Glue for this project and know that there are other options! Thanks for reading our post about how to fix a warped antique cabinet door.


