Introduction
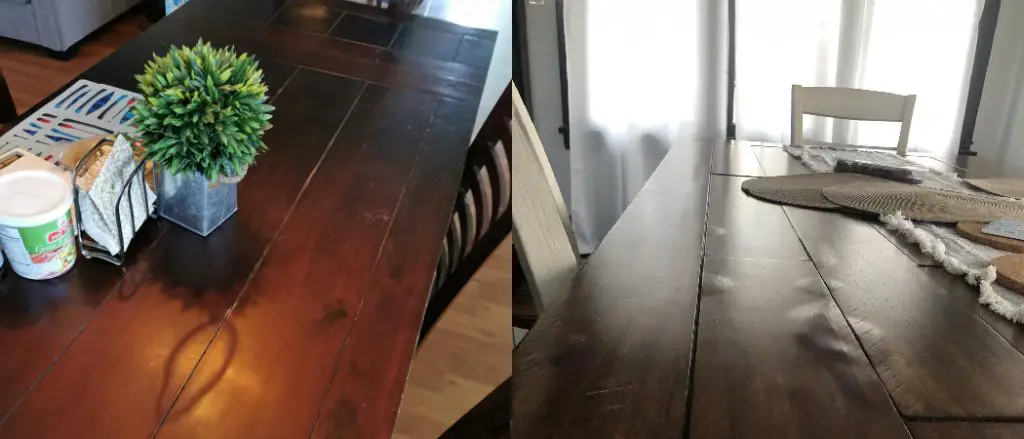
Bubbled wood tables are common tabletops that appear to have bubbles in them. This can be caused by moisture or heat, both of which cause the surface to expand, producing the bubble effect. Other causes include low-quality wood and insufficient preparation before the topcoat application. This article will cover methods for how to fix bubbled wood table so they return to their original flat state, giving your home a freshly restored look once again!
Reasons Behind Bubbles on Wood Table Surfaces
There can be many reasons why a wood table surface has bubbles, and of course, there are also ways to fix it. To simplify the problem, the most common sense bubbles appear is when your furniture is still new when you have just purchased it from furniture stores. The problem is that an oxidation process occurred between the varnish or any other finishing product they used on the table surfaces and wood itself.
Another possible reason for bubbles on a wooden table surface is when moisture is trapped underneath it, which causes swelling in certain areas instead of going upwards towards its edges. But regardless of these reasons, what is more, critical in fixing this kind of situation is knowing how to go about them properly.
A Stepwsie Guide on How to Fix Bubbled Wood Table
Use do-it-yourself repair kits. There are now DIY kits you can purchase online or in hardware stores. These kits are usually quick-drying mixtures of wood filler, sandpaper, and primer, which can be directly applied to the bubbled area on your table.
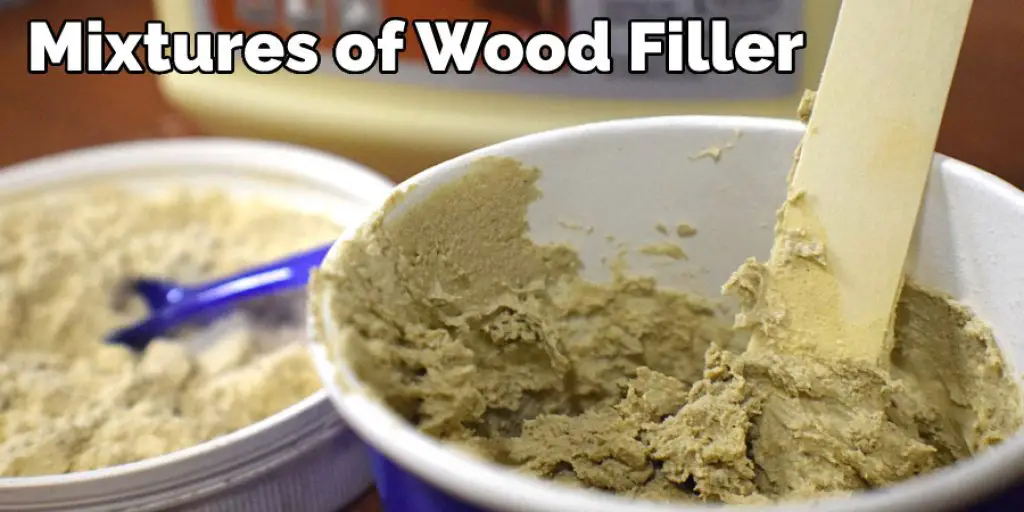
- Prepare the Filler: Most DIY kits only need some ingredients like wood filler, sandpaper, and primer. However, you might want to first check the exact components necessary for your specific needs before buying one of these sets. Sometimes, you may not need extra items but will take more space in your toolbox or cabinet if bought anyway.
- Apply Wood Filler: Once you’ve got the appropriate kit for fixing bubbled wood table, apply it on top of the affected part using an old paintbrush. Make sure that you get the consistency just right so it’s neither too runny nor too thick.
- Sand and Prepare for Primer: Once dry, sand off the excess wood filler using fine sandpaper until smooth.
- Priming Your Table: This is the final step in fixing a bubbled wood table, giving your furniture a fresh new look. First, apply primer on top of the area to be repaired, then let it dry completely before applying paint or stain on top of it.
- There are different types of wood bubbles. The type of surface damage depends upon how heat has affected the table. There are often small cracks in parallel lines all over with sun exposure, along with coffee-cup stains around these cracks. Thermal damage from a space heater often results in more circular bubbles with darker edges. If your table looks like the picture above, this is likely due to thermal damage from a space heater or hot pot.
- If you notice that the bubble has a very irregular shape, there may be another problem beneath. A rock embedded inside can cause an unusual hump on the surface, while termites eating away at the wood will leave collapsed tunnels and voids between layers of wood that push up against each other, making it look like bubbles.
- If you suspect that termites may cause your bubbled area, call pest control services right away for inspection and treatment before they do further damage. The last thing you want is for them to infest your entire house.
- Repairing Bubbles on the Surface: Bubble-like deformations caused by moisture or humidity are often filled with clear resin to level out the affected part of the table. Hence, it matches the rest of its surface again.
- If you have hardwood flooring, avoid curing these bubbles in an area where they could affect your installation later on. However, if there’s only one bubble that isn’t close to any wood flooring, this type of repair is acceptable. By doing this, you can ensure that all future visitors will be admiring your wood table and not cringing at it.
Precautions While Fixing a Bubbled Wood Table
- Turn off the power to your outlet or circuit supplying electricity to your table before attempting any repair – this is a significant measure in ensuring personal safety while working with wood and tools!
- Do not use devices such as drills, routers, sanders, saws, etc., near your bubbled tabletop unless you have a proper containment system for the device – if the item slips from your hands, it could cause damage to you or others around you, or result in serious bodily injury! It may also be hazardous to use specific powered tools on surfaces with existing damage.
- The fumes from most glues can irritate eyes and nasal passages, so operate in a well-ventilated area when using adhesives of all types.
- Using a respirator is recommended for all sanding and finishing work to prevent the inhalation of harmful dust particles.
- There are many ways to solve the issue of a bubbled tabletop, numerous techniques, tools, and materials that can be used – always check which type will be most effective for your particular bubble before beginning any repair!
- When using any sharp or potentially dangerous tool, understand fully how it operates, and its proper usage procedures before taking action with the device – accidents involving power tools often happen when they are mishandled by those who do not understand their function and power!
- Remain alert at all times while completing your project – if you become tired, fatigued, or light-headed, stop what you are doing until you feel alert enough to continue working.
- Always be sure that your family member or friend knows where you are and how long you will be before starting any project – this is another critical step in ensuring personal safety!
- Store all tools properly after they have been used. Always clean off excess glue, mud, paint, etc., from tools after completing a repair, so they do not become damaged!
- Ensure that no electrical devices are plugged into the same circuit as power tools – if an electrical surge occurs, it could cause damage to either machine or possibly even electrocute anyone touching either appliance at the time!
Is Spray Paint Suitable for Furniture
Paint is not just for walls. It can be used to refresh your entire home, including furniture items. For example, if you want to freshen up the look of an old desk or chair, the paint may be the best choice for you. However, are you wondering if spray paint is suitable for furniture?
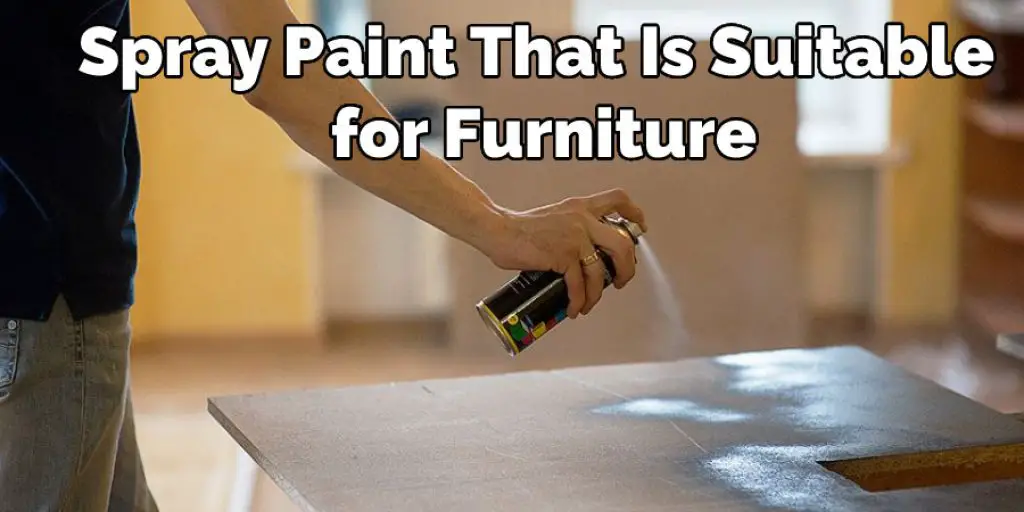
You are not alone! The truth is that spray paint will work on most types of wooden furniture with some preparation and effort. There are several reasons why people choose to use this type of paint when it comes to décorating their furniture pieces:
- It’s quick and easy. Painting with a brush can take hours. Spraying takes less time because no detailed work has to be done since the paint is applied to the surface with a few quick passes.
- It’s versatile. Not many brushes can be used on sofas and cabinets, but spray paint works for all wood furniture items. When you use a meeting, you have very little control over where the color goes on your piece. Spraying allows you to get even coverage on almost every part of the furniture item without having to deal with brush strokes or unevenness in color.
- It allows for mistakes. Painting by hand leaves more room for error as continuous surfaces need special attention when being painted. Spray painting eliminates some of those risks because it is quicker and easier than using a brush. In addition, there’s less time spent carefully applying paint, so even if you make a mistake, you can spray over it, and no one will be able to tell.
- It’s cheaper. With paint that comes in cans, the cost per ounce is lower than paint in bottles. This means that when you buy spray paint, not only is it more convenient, but it’s less expensive as well!
- You can use several different colors and materials. When painting with a brush, the texture of your furniture item will likely change because of the bristles on your brush. If you want to keep some consistency on your piece while adding color at the same time, consider using rust-oleum 2X Ultra Cover Spray Paint for multiple layers.
Frequently Asked Questions
Will Swollen Wood Shrink?
Yes, it will. Wood shrinks because the tannins and lignin in the wood cause the wood to become smaller. The shrinking process is gradual and does not happen suddenly like a tree might do when it dies from a forest fire or some other natural disaster.
Can You Sand Water Damaged Wood?
Yes. There are a few methods to sand water-damaged wood.
- One way is to use a hand sander, which can be difficult because the area is so small and delicate.
- The second method is to use a power sander with a narrow-tooth sanding pad and attach it to an electric drill or another power tool like an oscillating tool.
- The third method is to use sandpaper on your hands and then start rubbing the wood down with your hands until you have gone through all of the damaged areas.
What Can I Spray on Water Damaged Wood?
There are many different options for repairing wood damaged by water. You can use a vacuum cleaner to remove the excess water, but that will only work for small areas.
One of the best ways to fix this problem is using a spray-on polyurethane varnish or lacquer. This coating is designed to create a hard and durable protective film on all surfaces, including paint, metal, and plastics, without changing the original color or texture of the surface.
Another option is an epoxy resin which works by creating a barrier between moisture and the wood in order to stop further damage from occurring.
What Happens When Wood Furniture Gets Wet?
When wood furniture gets wet, it is the natural inclination for the water to seep into the wood fibers and then evaporate.
However, if you are not careful, this can lead to moisture buildup in the wood, which will cause mold and mildew growth. This is because there is no effective way of removing excess moisture from wet wood.
Conclusion
These simple steps will help you fix bubbled wood tables using DIY kits. It’s important to remember that you are not repairing the affected part but rather filling it out with a mixture that matches the rest of your table. I hope you have obtained a clear idea of how to fix bubbled wood table. Thank you and have a nice day!
You may also read-How to Get Scratches Out of Cherry Wood Furniture.


