Bubbles in drywall tape are never a good thing. Drywall tape bubbles after painting can be frustrating and time-consuming to fix, but luckily, you can take some steps to help reduce the occurrence of this problem. One possibility is using an electric sander or sandpaper on all sides of the drywall joint before taping it up for painting.
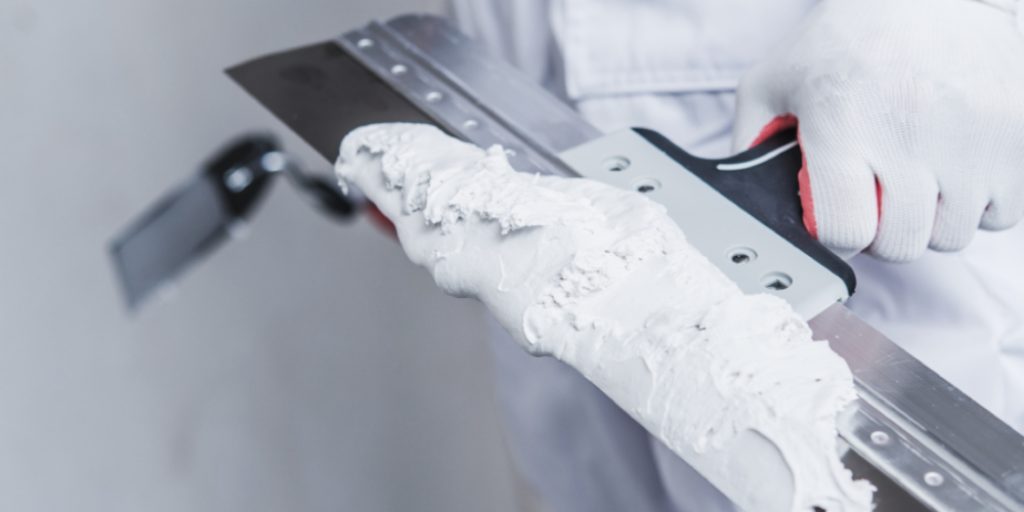
Another option is to use less paper when applying joint compound, which will make it easier to remove any excess with your finger or a putty knife if necessary. In this article, I’ll show you step-by-step instructions on how to fix bubbles in drywall tape after painting.
Step to Follow on How to Fix Bubbles in Drywall Tape After Painting
Step One : Determine
First, if the bubbles are tiny, you can pop them. Use a pin and prick it through the center of the bubble. Then use your finger to press down on either side of the pin until the bubble pops. If the bubbles are large, you will need to follow the steps below.
If the bubbles are tiny, you can attempt to pop them. First, use a pin and prick it through the center of the bubble. Then use your finger to press down on either side of the pin until the bubble pops. If the bubbles are large, you will need to follow the steps below.
It is virtually impossible to avoid a few bubbles in a thin coat of drywall compound. Even the best tapers and finishers get a little bumpy here and there, but significant, stubborn bubbles can become annoying after you have sanded out all your orange-peel texture.
Step Two : Mark the Spots
First, determine which side of the tape has bubbles underneath. Then, decide whether they are on the tape or behind it. You will need to mark both spots for inside corners because bubbles could be on either side. After making your mark, take a straight edge and place it on the tape to touch the wall.
Then use a razor blade to cut through the tape at the bubble location, cutting through the tape and drywall layers. Mark both sides of inside corners because bubbles could be on either side. If the bubble is on the tape, use a sharp razor blade to cut out a small square.
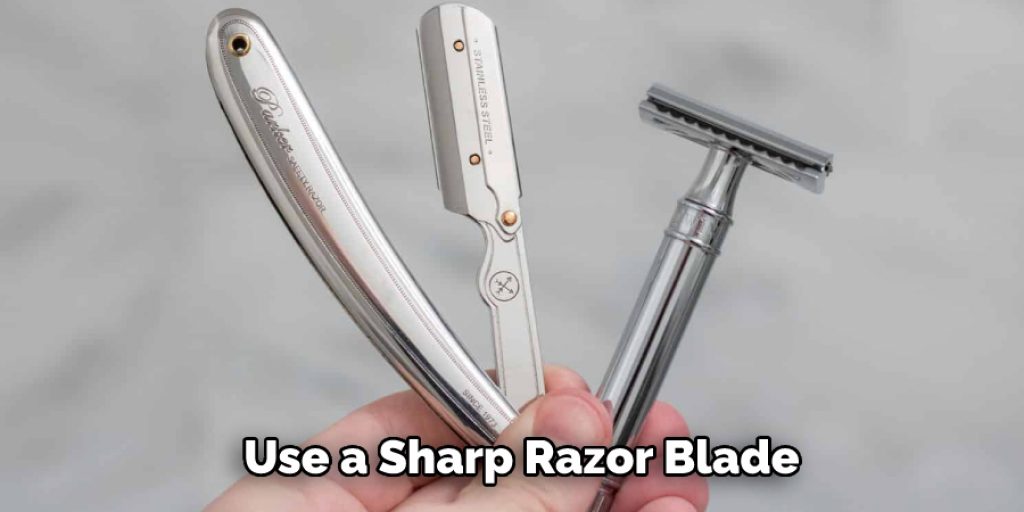
Then remove both pieces of tape and add a new layer. If there’s also paint or drywall underneath the bubbles, you will need to add mud underneath it before adding the next coat of compound. If the bubbles are behind the tape, cut out a small hole with a razor blade.
Step Three : Repairing the Hole
If the bubble is behind the tape, then you’ll need to cut out a hole to repair it. Again, use a straight edge and place it on the tape to touch the wall. Then use a razor blade to cut through the drywall at the bubble location. Once you have your hole cut, use a screwdriver to remove the drywall around the bubble.
Pry it off gently and try not to break it into smaller pieces. If it’s in good condition, you can reuse it. Otherwise, you will need to discard it and replace it with new drywall. If there is paint or drywall underneath the bubbles, you will need to add mud underneath it before adding the next coat of compound.
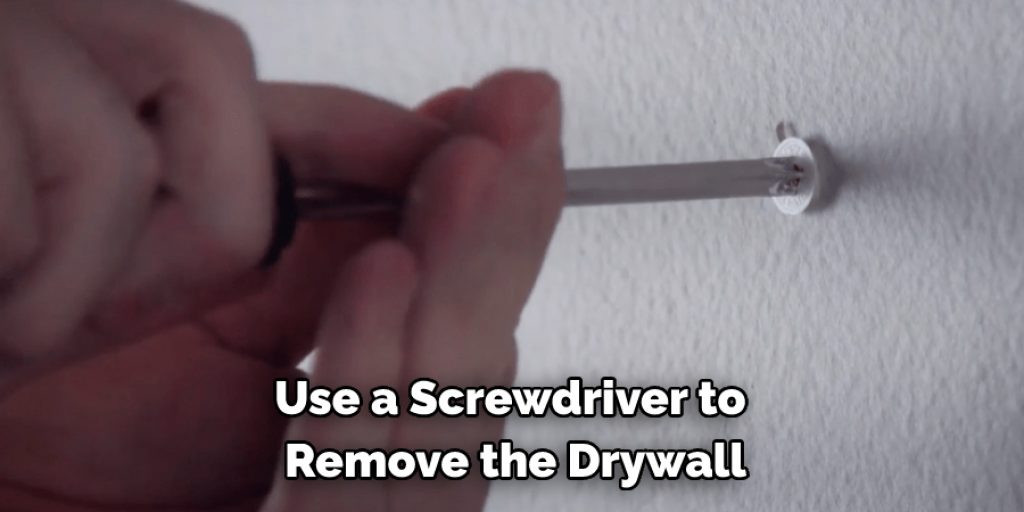
Once you have your hole cut, use a screwdriver to remove the drywall around the bubble. Pry it off gently and try not to break it into smaller pieces. If it’s in good condition, you can reuse it. This will help in how to fix bubbles in drywall tape after painting.
Step Four : Remove Bubbles in Wide Area
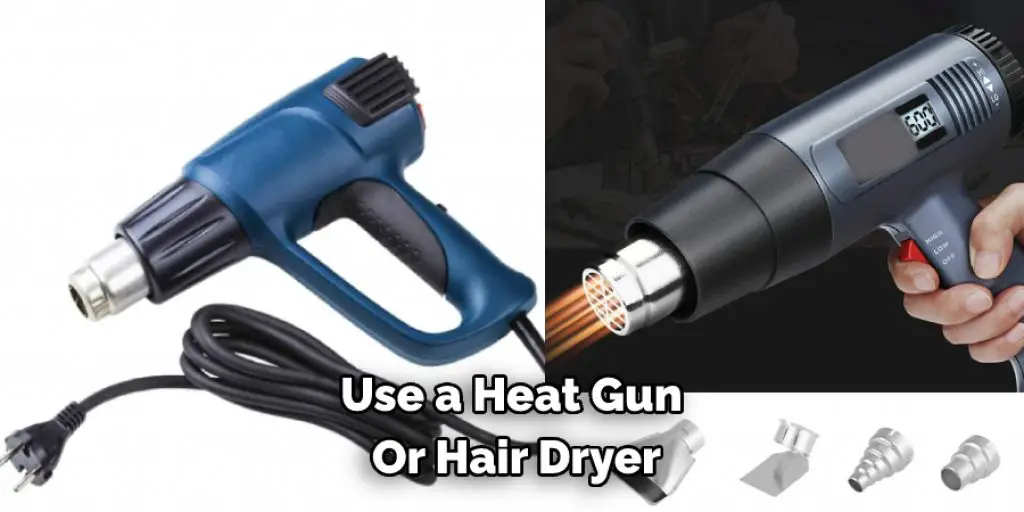
If you have a large area with bubbles, it’s best to use a heat gun or hair dryer to warm up the compound. This will make bubbles pop out more easily. When they become visible, prick them from the center with a pin. If necessary, place a rag over the bubble and use a heavy object to press against it.
Then it would help if you sanded the area so that it’s flush with the surrounding surface. Once again, choose the sanding depth based on how far gone your texture is. For example, if there are several large bubbles in an area, you should do more sanding than if only a few small ones are present.
If you have a large area with bubbles, it’s best to use a heat gun or hair dryer to warm up the compound. This will make bubbles pop out more quickly. When they become visible, prick them from the center with a pin. If necessary, place a rag over the bubble and use a heavy object to press against it.
Step Five : Apply Finishing Coats
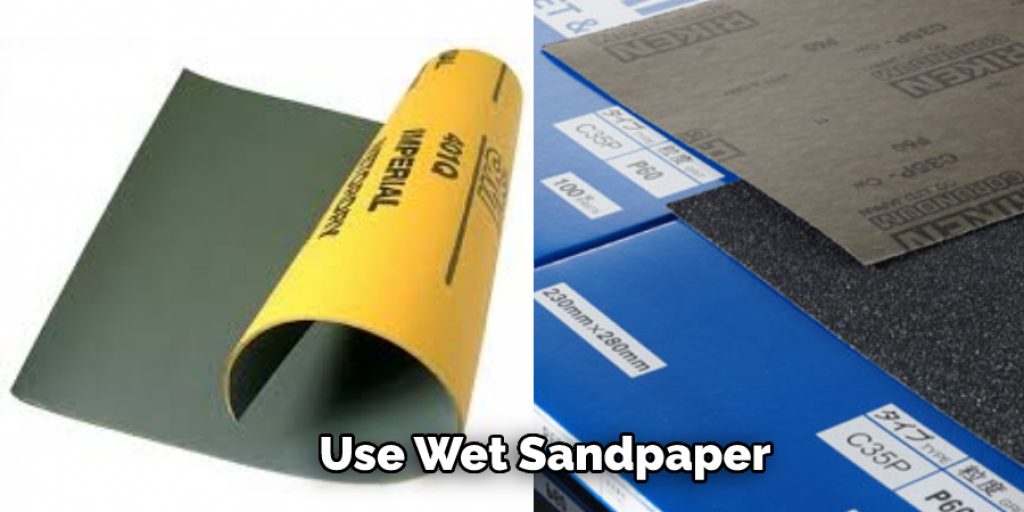
After repairing all the bubbles, it’s time to apply your finishing coats. Make sure that the area is arid before starting. Add a thin coat of compound, and then use wet sandpaper to achieve a smooth finish. Feather out the edges so that they are gradual and not too abrupt.
Once you’re happy with the results, apply a second coat. Let it dry, and then apply a third coat if needed. If you’re using paint instead of the compound, make sure to use a primer before adding your topcoats. After repairing all the bubbles, it’s time to apply your finishing coats.
Make sure that the area is arid before starting. Add a thin coat of compound, and then use wet sandpaper to achieve a smooth finish. Feather out the edges so that they are gradual and not too abrupt. These steps should help you learn how to fix bubbles in drywall tape after painting.
Step Six : Sanding and Finishing
You can use a hand sander for this part, but make sure that the area is already smooth before you start. Next, sweep up all the dust and then wipe down the area to remove any residue. Again, you can use a hand sander for this part, but make sure that the area is already smooth before you start.
Sweep up all the dust and then wipe down the area to remove any residue. If you’re using paint instead of the compound, make sure to use a primer before adding your topcoats. After repairing all the bubbles, it’s time to apply your finishing coats.
Add a thin coat of compound, and then use wet sandpaper to achieve a smooth finish. Feather out the edges so that they are gradual and not too abrupt. Once you’re happy with the results, apply a second coat. Let it dry, and then apply a third coat if needed.
You Can Check It Out to Fire Tape Drywall
Step Seven : Maintain Your Drywall
Now that you’ve finished repairing the drywall make sure to maintain it every few months. Use a vacuum cleaner or damp cloth to remove dust and cobwebs. If the texture gets too bad, you can retexture it yourself using a joint compound.
Make sure not to do this more than once every three years, though, or it can damage the drywall. Now that you’ve finished repairing the drywall make sure to maintain it every few months. Use a vacuum cleaner or damp cloth to remove dust and cobwebs.
If the texture gets too bad, you can retexture it yourself using a joint compound. Make sure not to do this more than once every three years, though, or it can damage the drywall. All of this information will help you learn how to fix bubbles in drywall tape after painting.
You can check it to Drywall Over Brick
Why is My Drywall Tape Bubbling?
There are a few reasons why your drywall tape may be bubbling after you’ve painted it. The most common reason is that the paint is not adhering to the surface of the tape properly. This can be caused by several factors, such as an unclean or oily surface or a lack of primer.
It would help if you took the necessary precautions before painting to ensure a smooth finish. First, smooth out the tape using a handheld drywall taping knife. Make sure not to press too hard or apply uneven pressure with your knife.
Conclusion
When you paint over drywall tape, it can leave bubbles. It would help if you used a painter’s blue masking tape to cover the area where the new paint will go and put a thin layer of joint compound on top before painting. Feather out the edges so that they are gradual and not too abrupt, and then let it dry.
You can use a hand sander for this part, but make sure that the area is already smooth before you start. Next, sweep up all the dust and then wipe down the area to remove any residue. We hope you enjoyed this article on how to fix bubbles in drywall tape after painting.
Check it out also – How to Glue Wood to Drywall


