When you notice your cabinet door panels are starting to look a little worse for wear, it’s time to take some corrective action. Luckily, the process is not as daunting as it may seem at first glance. In this article, we’ll outline how to fix cabinet door panel damage. You can restore your cabinets to their former glory by following these instructions!
Cabinet doors are often one of the first places that show wear and tear. This is because they are constantly being opened and closed, which can cause the panels to become loose or warped over time. If you notice that your cabinet doors are no longer fitting snugly against the frame, it’s time to take action. Unfortunately, many people think that the only way to fix this problem is to replace the entire door. However, this is not necessarily the case. With a little bit of elbow grease, you can quickly fix cabinet door panel damage!
Tools and Materials
- Drill
- Jigsaw
- Circular saw
- Measuring tape
- Level
- Chisel
- Cabinet door panel replacement kit
- Hammer
- Nail setter
- Putty knife
A Step by Step Guide on How to Fix Cabinet Door Panel
Step 1: Determine What is Wrong with the Cabinet Door Panel
If your cabinet door panel is sagging, warped, or otherwise not level, you must replace it. If the panel is damaged beyond repair, you will need to replace it. To determine if the door panel needs to be replaced, start by taking off the hinges and removing the door from the frame. Next, place the door on a flat surface and look at it closely to see if there are any visible signs of damage. If there are any cracks, holes, or other damage, you will need to replace the door panel.
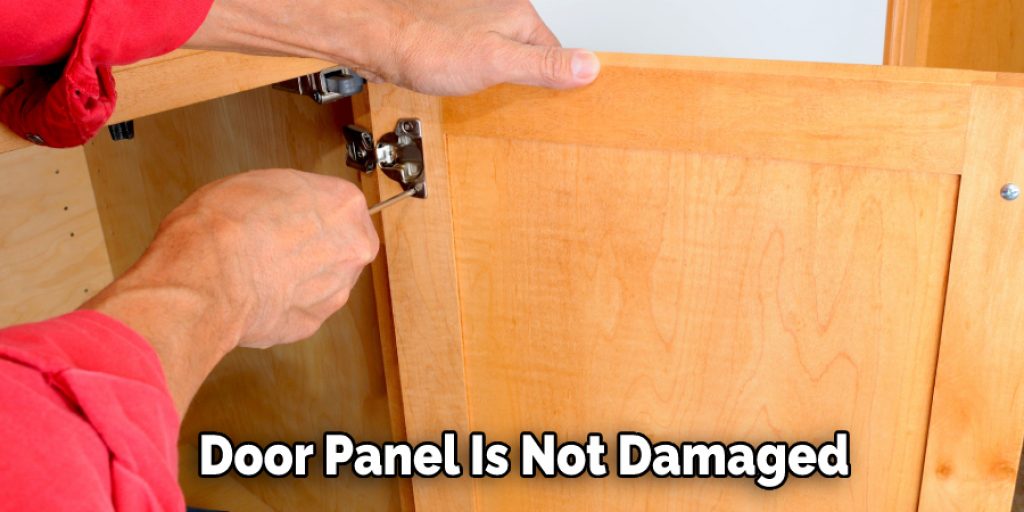
Step 2: Fix a Loose Cabinet Door Panel
If the door panel is not damaged but is not level, you can try to fix it. To do this, you will need to remove the door from the frame and then use a chisel to remove any old glue or nails holding the panel in place. Once you have removed the old glue or nails, you can apply new glue or nails to secure the panel in place.
Step 3: Determine the Type of Cabinet Door Panel You Need
If the door panel is damaged beyond repair, you will need to replace it. There are two types of cabinet door panels: solid and raised. Solid door panels are made from a single piece of wood, while raised door panels have a frame around them. If you are not sure which type of panel you need, you can measure the opening of the cabinet door and then compare it to the measurements of the panel you are considering.
Step 4: Measure and Cut the New Cabinet Door Panel
Once you have determined the type of panel you need, you will need to measure and cut the new panel. To do this, start by measuring the opening of the cabinet door. Then, add 1/4 inch to each side of the opening so that the new panel will fit snugly into place. Next, use a saw to cut the new panel to size. If you use a solid door panel, you can use any saw. If you are using a raised door panel, you will need to use a jigsaw to avoid damaging the frame.
Step 5: Attach the New Cabinet Door Panel
Once you have cut the new panel to size, you will need to attach it to the cabinet door. To do this, start by applying glue or nails to the back of the panel. Then, place the panel into the opening of the cabinet door and use a hammer to secure it in place. If you are using nails, be sure to set them below the surface of the wood so that they will not be visible.
Step 6: Reattach the Hinges and Hang the Door
Once the new panel is in place, you will need to reattach the hinges and hang the door. Start by aligning the hinge with the hole in the door frame. Then, use a drill to screw the hinge into place. Repeat this process for the other hinge. Finally, hang the door on the hinges and close it to ensure it fits properly.
Step 7: Add Trim Molding (optional)
If you want, you can add trim molding around the perimeter of the door panel. This is unnecessary, but it will give the door a finished look. To do this, start by measuring the length of the door panel. Then, cut the trim molding to size and attach it to the door panel using glue or nails. Finally, use a putty knife to fill gaps between the trim and the door panel.
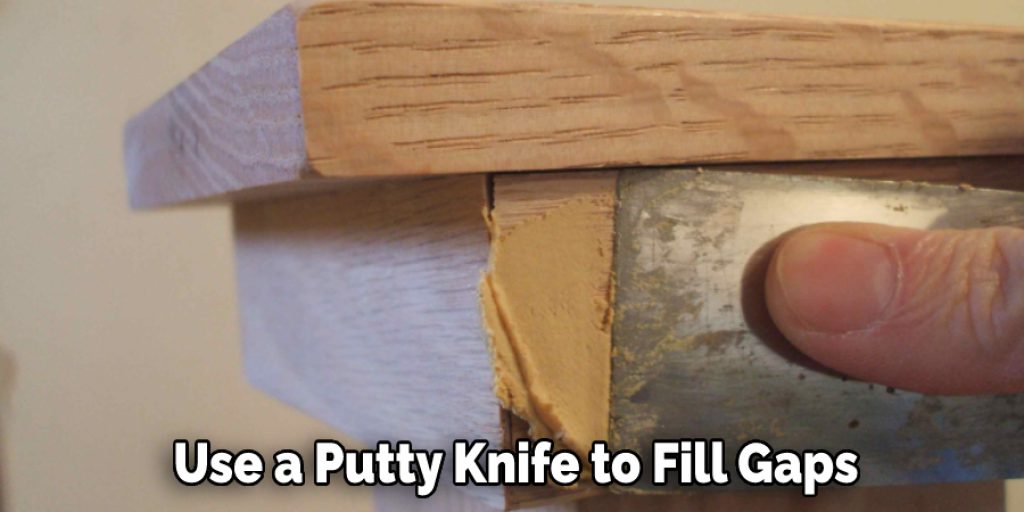
Adding trim molding is an optional step, but it is an excellent way to give your cabinet door a finished look.
Step 8: Inspect the Door for Proper Function
Once you have replaced the door panel, you will need to inspect the door for proper function. Start by opening and closing the door to make sure that it opens and closes smoothly. Then, check to ensure that the latch on the door is working correctly. Finally, test the hinges to make sure that they are secure.
If your door panel is loose, you may be able to tighten the screws that hold it in place. However, if the screws are stripped or too big, you may need dowels or plugs to fill the holes and then redrill them. Your door panel should be secure once the screws are tightened, or the plugs are in place.
If your cabinet door has a hole or crack, you can use wood filler to repair it. First, clean out the area around the hole or crack with a putty knife. Next, apply the wood filler to the area and smooth it out with the putty knife. Finally, allow the filler to dry completely before painting or stain the cabinet door.
If everything appears to be working correctly, you have successfully replaced the cabinet door panel. If not, you may need to adjust the hinges or latch, or you may need to replace them entirely.
With a little bit of time and effort, you can easily replace a cabinet door panel. This process is relatively simple and does not require special tools or materials. These steps will help how to fix cabinet door panel.
Additional Tips
- Make sure that the door panel is evenly supported while working on it. Otherwise, you might end up with an uneven surface.
- Use a level when attaching the new panel to the cabinet door. This will ensure that your panel is installed correctly and looks level from all angles.
- Be careful not to overtighten the screws when attaching the new panel. This could strip the screw holes and make it difficult to remove the panel in the future.
- Use a putty knife to smooth out any excess adhesive that might be visible after attaching the new panel.
- Allow the adhesive to dry completely before closing the door. Otherwise, you might end up with a sticky mess.
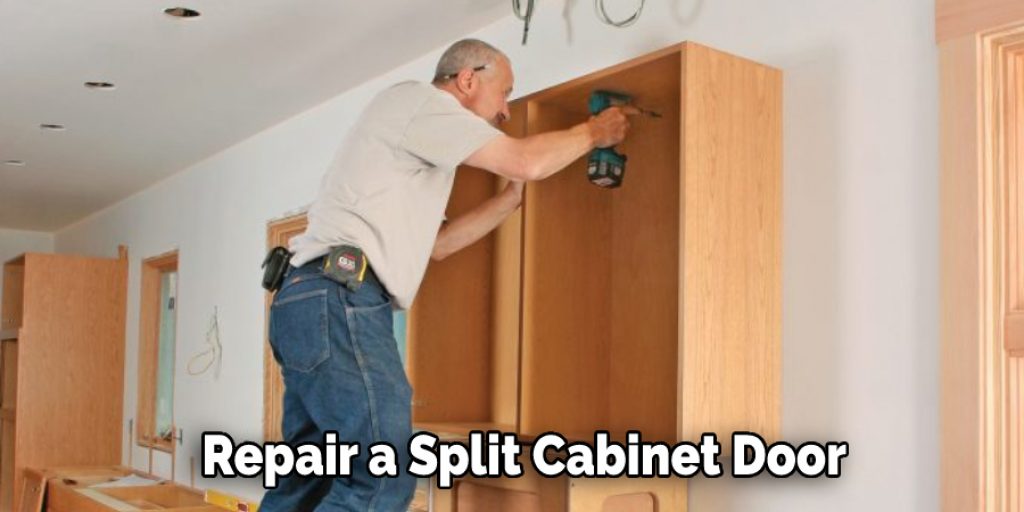
How Do You Repair a Split Cabinet Door?
If your cabinet door has split, you will need to repair it as soon as possible. A split cabinet door can cause the door to become misaligned and may ultimately lead to the door coming off.
To Repair a Split Cabinet Door, You Will Need:
- A hammer
- A screwdriver
- Some wood glue
- Clamps
- A piece of wood (optional)
First, remove the door from the cabinet. If the door is already off, skip to the next step. If the door is still attached, use a screwdriver to remove the screws that hold the door in place. Once the screws are removed, gently pull the door away from the cabinet.
Next, take a look at the split. If the split is relatively small, you may be able to glue it back together and clamp it until the glue dries. However, if the split is larger, you will need to reinforce the door with a piece of wood before gluing and clamping it.
To do this, cut a piece of wood that is slightly smaller than the opening in the door. Apply wood glue to the piece of wood, and then place it over the split. Clamp the door shut until the glue dries.
Once the glue has dried, you can reattach the door to the cabinet. Start by aligning the door with the opening, and then use a hammer to tap the screws back into place. Tighten the screws until they are snug, but be careful not to overtighten them, or you may strip the threads.
Your cabinet door should now be repaired and ready for use.
How Do You Fix a Broken Cabinet Door Hinge?
A broken cabinet door hinge can be a frustrating problem, but it is relatively easy to fix.
The first step is to remove the door from the cabinet. Once the door is terminated, you will need to determine what type of hinge you have.
There are three main types of hinges- overlay, inset, and half-mortise. Once you know what type of hinge you have, you can purchase the correct replacement at your local hardware store.
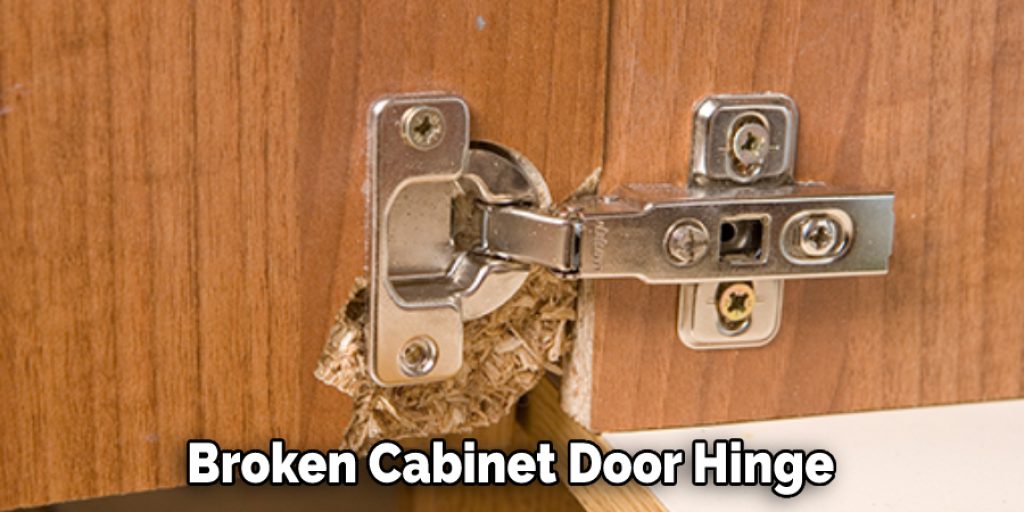
To install the new hinge, remove the old hinge and attach the new one in its place. Be sure to use the correct screws and tighten them firmly. With a bit of time and effort, your cabinet door looks as good as new.
Conclusion
If you’re experiencing the same issue with your cabinet door panels, don’t fret! There is an easy fix that doesn’t require time or money. All you need is a few simple tools and supplies that you may already have in your home. Follow the steps we’ve outlined on how to fix cabinet door panel, and your cabinet doors will be looking like new again in no time.


