Even if you have a small yard and don’t plan on fencing it off, the chances are that your property has at least one fence. If you want to keep animals in or out of the yard, this is an excellent solution for keeping them safe and secure. However, there is always a chance that something could go wrong with these fences as well.

One such problem could be the gap between the bottom of the gate and the ground below it. This can be highly frustrating because pets will often use this area to get under the fence into your neighbor’s yard or, even worse – let all of their dogs run free!
There are many ways to fix this issue, though, so here we will look at some helpful tips for improving gaps under gates. So, this article is for you. You will learn how to fix gap under fence gate with just one simple trick!
7 Steps to Follow on How to Fix Gap Under Fence Gate
Step One: Determine
First, you must know the difference between a pedestrian gate and a driveway gate. The pedestrian gate usually has a large gap underneath it, whereas the driveway gate is flush with the floor. Also, some walls have an air vent system that goes through them.

If your fence wall has this feature, you can use an air vent. It will act as a flange, which you will cover with your rubber flooring material. The beauty of using the air vents is that they are already mounted, and it would be much easier to install the rubber flooring behind them.
Then, you must know what type of material your wall is made of. The most abundant wall materials are cement, wood, and concrete block. Wood walls usually have a hollow space that you can feel through the outside paneling when you knock on them.
Step Two: Prepare
Once you know what type of wall structure your fence is made out of, it’s time to prep for installation. First, measure the width and height of the gate opening. Mark these measurements with a marker on the rubber flooring material. You will use this as a guide to cut it to size using either an electric saw or utility knife.
Next, dig out the space underneath your fence gate. You will want to make sure it is deep enough for you to place at least 4 inches of rubber flooring material in there. If your wall is made out of concrete, you will need to go to the store and buy some cement.
Use this as a filler between the concrete wall and the ground. This will hold your rubber flooring material in place, and it can also be used to create a better seal by using metal mesh tape around the edges of the gate opening.
Step Three: Install
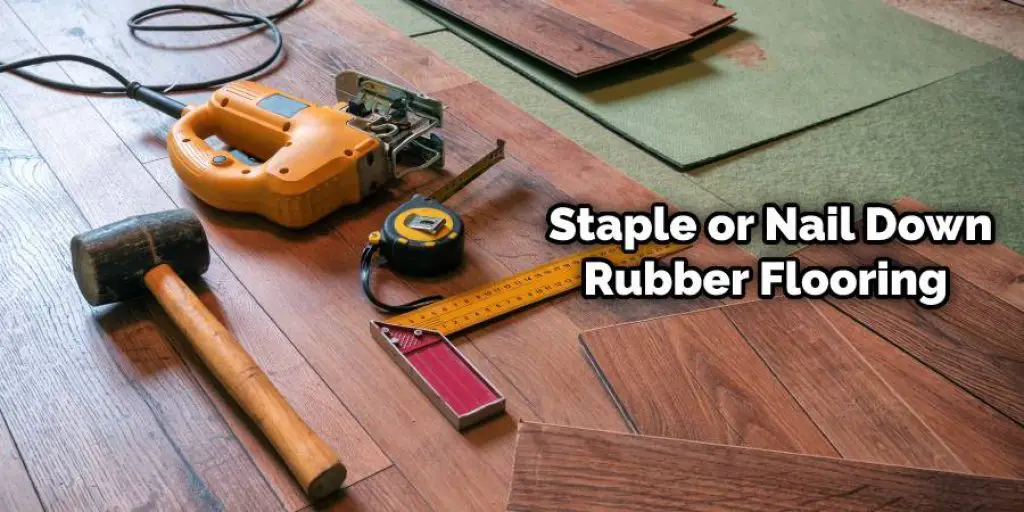
Once you have all the supplies, it is time to install. To begin, staple or nail down your rubber flooring material around the gate opening until the entire surface is covered. This will be used as a base for your rubber flooring material. Then, cut out a section of the air vent and lay it flat on the rubber flooring.
This is how you will cover the gap under the gate. Next, overlap your rubber flooring material by about an inch on each side of the wall both inside and out. Finally, cut this piece with either a knife or electric saw to make it fit the dimensions of your fence opening.
Then, please place it in between your stapled or nailed-down rubber flooring and your gate. You will then need to apply cement between the wall and the ground and around the edges of your new piece of rubber flooring. If you want to find out more about how to fix gap under fence gate, keep reading.
Step Four: Trim
Once your new piece is installed, you will need to trim the excess rubber flooring around the edges. Use either an electric saw or hacksaw for this step. Then you can use a utility knife or Sawzall to cut out any pieces that go over the edge of the air vent flange.
Finally, you will need to use your cement again to fill in the gaps around the edges of your new piece. Again, try not to put too much, as you want it to be leveled with the concrete underneath. Then apply either a thin layer of cement or asphalt on top of this for grip and safety reasons.
If your wall is made out of the concrete block, you will need to remove all of the blocks outside your fence gate. First, make sure that there are no holes or spaces left underneath them. You can then use a Sawzall or electric saw to cut slits into each cement piece before installation.
Step Five: Clean Up
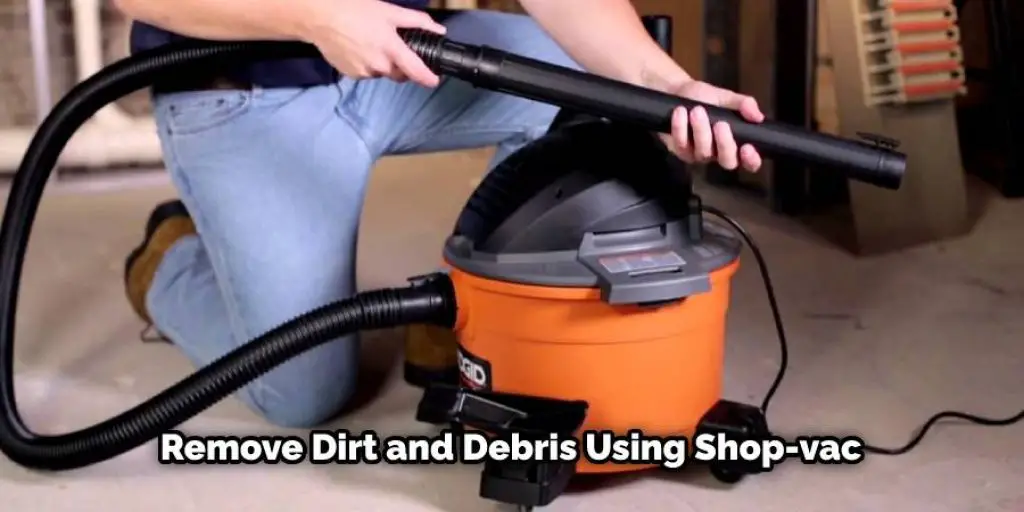
Once your rubber flooring material has been set for at least 24 hours, it is time to clean up. First, use a Shop-Vac or blower to remove all dirt and debris inside the air vents. Then, you can use either paint thinner or lighter fluid to remove any oil stains on your asphalt surface.
Your new rubber flooring material will now prevent things from getting caught underneath your gate, as well as prevent any debris or grass from accumulating between the cracks. This way, nothing can get stuck there and damage your new piece. Of course, you must use your materials properly to avoid damaging the rubber flooring during installation.
Once you have attached it with nails or staples, make sure you snap a chalk line onto the gate to help you properly align your new piece. Also, check to be sure that it is level before installation. These steps should help you in learning. These steps should help you in learning how to fix gap under fence gate.
Step Six: Maintain
Once your rubber flooring material is installed, it will only need to be replaced every six months. The pieces are cheap and can easily be removed by cutting them with either a hacksaw or Sawzall. However, if you use too much cement during installation, your new piece may warp after time due to continuous heat or extreme weather.
You must use the right materials and adhere to all installation instructions. This way, your rubber flooring will be completely removable without needing to replace any parts of your fence or gate. In addition, you can easily swap out this new piece for another one if you decide to change the look of your outdoor space.
Overall, rubber flooring material is an easy, affordable way to fix the gap under your fence gate. First, make sure that you securely attach it on all sides using staples or nails. You can then paint over any seams where cement or asphalt have been used with colored spray paint if you would like.
Step Seven: Enjoy
Your new rubber flooring material makes it easy to keep your gate clean while still allowing it to look aesthetically pleasing. Use the proper materials to prevent damage during installation, and you will be able to replace your piece in six months without any fuss.
You must use this product properly so that it doesn’t get damaged or cause problems later on. If you follow all of these steps, it should last a long time without causing problems. Before starting this project, you must have the proper tools and materials, as not using these properly can damage your fence or gate.
If there are even small defects in your fence, it will tear easily during installation as well as longer-term usage. Therefore, it is crucial to understand how to use this material properly to avoid damaging your fence or gate. Thanks for reading about how to fix gap under fence gate.
How Do I Stop My Dog From Going Under the Gate?
This is a common problem that many dog owners face. Dogs love to explore and dig, which means that a hole under a fence gate can pose a significant danger to the security of your yard. In addition, you don’t want your pet getting into the road or lost in an unfamiliar area, and a loose dog is also more likely to get into fights or be at risk of being hit by a car.
Fortunately, there are several easy ways to fix this problem and keep your dog from going under the gate. In most cases, you can fill in the hole with dirt or gravel to make it too difficult for a dog to use. However, this is not a permanent solution and will require some upkeep to prevent future digging by your pet.
Conclusion
The gate may have been installed incorrectly. For example, if the gap is just wide enough for a person to slip through, screws are likely missing or misaligned on one side of the gate. This can be fixed by unscrewing and re-screwing them incorrectly until they fit tightly together again.
However, if the space is wider than this, you will need to remove some boards from your fence so that it fits tighter against your ground surface before fixing any gaps in between with new wood boards. We hope you enjoyed this article on how to fix gap under fence gate.
You may also read – How to remove fence staples


