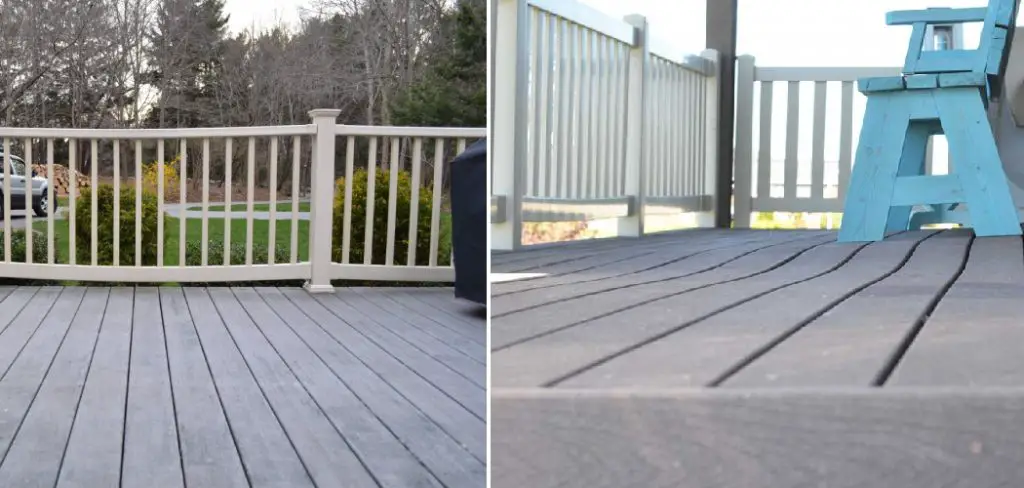
Deck railing has been a staple of many homes for decades, but they can become sagging over time. This is due to the weight of the deck and what it is made out of. If you want to fix your sagging railings, this article will give you some ideas on how to do so!
The first thing one should do when fixing their deck railing has measured the height from where it starts going down at each end. The next step would be to attach them with screws through pilot holes drilled into the decking boards on either side of where they will be attached. In this blog post, we will go over how to fix sagging deck railing.
8 Steps to Follow on How to Fix Sagging Deck Railing
Step One: Inspect the Deck
If you have a deck, you should check it regularly to make sure the railings are secure. If you find an area where the railing is loose or sagged, it means there is probably damage to the decking underneath. Mark the spot with a flag so you remember to fix it later.
If you are making a new railing for your deck, it is helpful to first make a blueprint of your deck so you can accurately measure everything. If you didn’t make a blueprint beforehand, don’t worry, you can still do it. Just mark everything on the blueprint as you go along.
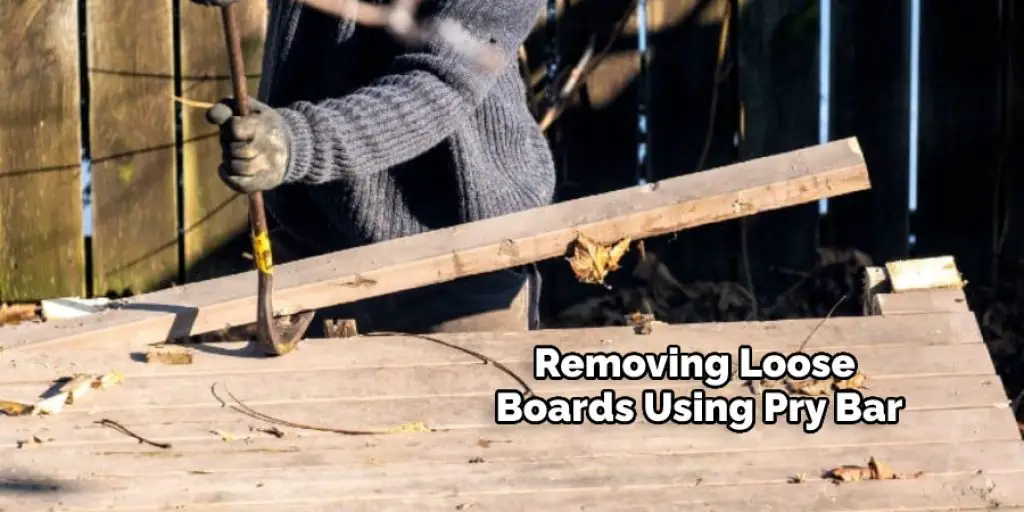
Step Two: Remove Loose Boards
To mark the locations of the joists, use a reciprocating saw to cut through the wood deck boards. Insert a pry bar between two of the boards to lift the corner enough so that you can slip a piece of scrap wood beneath it for support. Then, cut underneath the board, following the joist as close as possible.
Pry out both boards and set them aside; they should be relatively easy to remove after you’ve cut through them. The joists should now be visible and easy to mark for cutting. Once you’ve marked all the joists on the deck, use a reciprocating saw to remove them. Cut the joists to their final length, then replace them in the deck.
Center each joist so that it is evenly spaced between the two boards on either side of it. If you’re cutting the joists to size, be sure to use clamps or another board to support the ends of the joists while you cut them.
Step Three: Measure for Joists
Now you can mark the new joist locations with a pencil. Next, use a measuring tape to measure the spacing of the original deck boards. Then, transfer those measurements onto your sub-floor framing members. Measure twice and cut once!
Use pry bars to lift sections of sub-flooring between boards. You should be able to cut through the joists with a reciprocating saw with ease now that you’ve exposed them. Cut the joists to length and discard the old ones.
Step Four: Add Support to Sagging Areas
NNow it’s time to add support beneath the decking where you removed the joists. Use 2″ x 4″s and plywood as supports, and cut them so that they fit between the joists. For the first course of boards under the deck, space them about 3/4″ apart to give your finished railing plenty of room to attach to them.
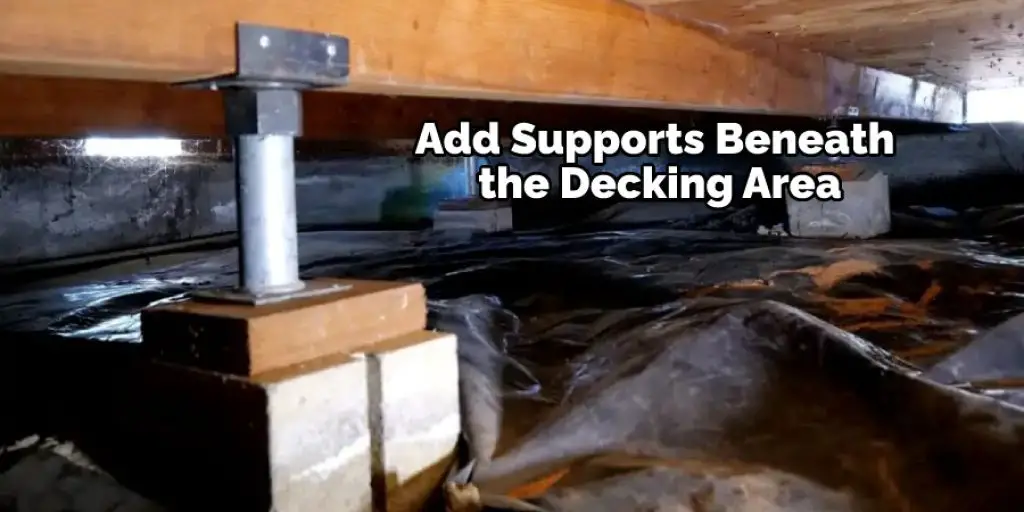
You don’t want it to look unprofessional, so take the time to measure and cut accurately at this point. Next, attach the 1/4″ plywood to the 1″ sub-flooring with a 1 5/8″ deck screw. Then, attach the 2x4s using ring shank nails after pre-drilling holes for each screw.
Step Five: Cut Deck Boards
For this part of your project, you will need a circular saw with an appropriate blade for cutting deck frame. There are many different types of decking used on railings, so be sure to consult the directions that come with your specific product.
Most of these products either snap toMost of these products either snap together or use tongue-and-groove joints, so be prepared to do more than just cut boards for this section of the project. Sometimes it’s necessary to cut matching notches so that boards can fit together properly.
Step Six: Glue and Screw Boards
Once you’re finished cutting your decking, spread a thin layer of glue on the ends and inside if needed of each board edge. Then, use a pneumatic nail gun or a hammer and ring shank nails to attach the boards to the joists. For best results, stagger alternate joints as you go.
The result should be a tight fit between boards that looks like an even floor covering rather than a random arrangement of boards. If they’re not lined up evenly, it will look sloppy and unprofessional. Be sure you have the right measurements, so the result is professional-looking.
Step Seven: Stain or Seal Boards
For a finishing touch to your new deck railing, apply a sealer that will help prevent warping and damage from the elements such as water and humidity. Most people prefer to use a clear sealer so that the natural color of the wood shows through, although some choose to stain their decks for different looks or colors.
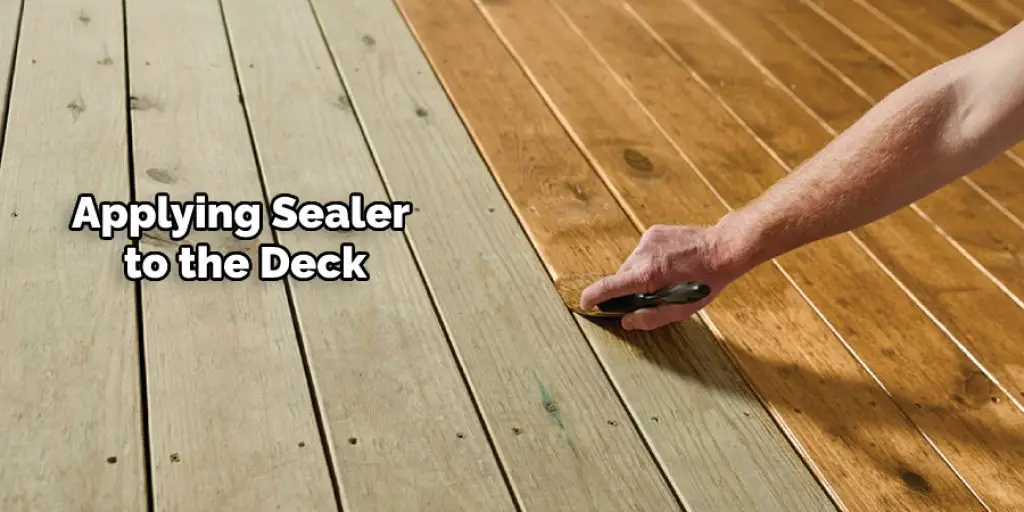
Make sure you use a penetrating sealer that won’t allow moisture to penetrate the surface. One common type of sealant is called an oil-modified alkyd, and these are available in different sheens such as semi-gloss or matte, so choose one that will suit your tastes. If you use the steps outlined above for how to fix sagging deck railing, you can do it yourself.
Step Eight: Enjoy Your New Deck Railing!
Now that your new deck railing is finished, you can enjoy it for many years to come! Just take some time to maintain it properly, and be sure to replace any boards that start to rot or show signs of wear. You can also purchase cheaper wood preservatives, but replacing the boards is usually the best solution since they’re relatively inexpensive compared to completely redoing your railings.
Frequently Asked Questions
Why Is My Deck Railing Sagging?
There Are Many Reasons Why the Deck Railing Sags, Such as :
- The load is too great for the railing system,
- The supporting structure beneath the deck has deteriorated,
- There was not enough reinforcement in place when it was built, or
- You have installed steel post anchors that are too heavy for your wood posts.
Can You Strengthen a Sagging Deck?
A deck is a floor or roofed structure that covers an area such as a room, porch, patio, or balcony.
The word “deck” comes from the Dutch word “deken,” which means “to cover.” The term has been used in English since the 17th century and originally referred to the covering of ships’ decks with tarred cloths. Today, it can also cover a swimming pool’s surface with tiles or plastic sheeting and its surroundings with gravel, sand, paving stones, or pavers.
How Do You Stabilize Wood Railings?
To stabilize wood railings, the first thing you need to do is remove any nails that are holding the railing on. You can use a hammer and nail puller or just your hands to remove these nails.
Next, drill holes in the top of each post using a power drill with an appropriate bit. Once this is done, insert galvanized metal into the holes to make contact with the wood posts. You will also need to use a hacksaw or reciprocating saw to cut off any excess metal so that it does not protrude from the railing post.
Finally, sand down all exposed edges so that they match up nicely before applying a clear finish such as polyurethane or lacquer.
Is it hard to Fix Sagging Deck Railing?
It is not hard to fix the sagging deck railing. All you need to do is replace the slats with a stronger and sturdier type of wood.
All you need to do is go through your home and find the areas where the slats are sagging. You can then use a rubber mallet or wooden hammer to remove the loose slats, fill in any gaps with wood filler, and replace them with new ones that are at least 1/4 inch thick by 2 inches wide.
This will make sure that your deck railing does not sag or fall off in the future due to being weakened by having too many weak boards on it.
Conclusion
To conclude, there are a few different methods you can use to fix the sagging deck railing. The most common way uses screws and brackets, which is cheaper than replacing the entire railing or designer railing. You’ll need first to drill holes in the posts of your deck and then screw them into place with wood screws or drywall screws.
Once mounted, you will also want to attach two braces on each side of the post by drilling through one brace’s hole and inserting another bracket from underneath it so that they both go into the same hole drilled into the post below.
This should keep any future sagging at bay and provide additional support for those who would like to hang off their porch railings without worrying about falling over! The infomercial style of this article has shared information on how to fix sagging deck railing.
Check it out- How to Jack Up Deck Stairs


